19 Halloween Table Decorations That Guests Photograph Before Dinner (Most Under $25)
Executive Summary
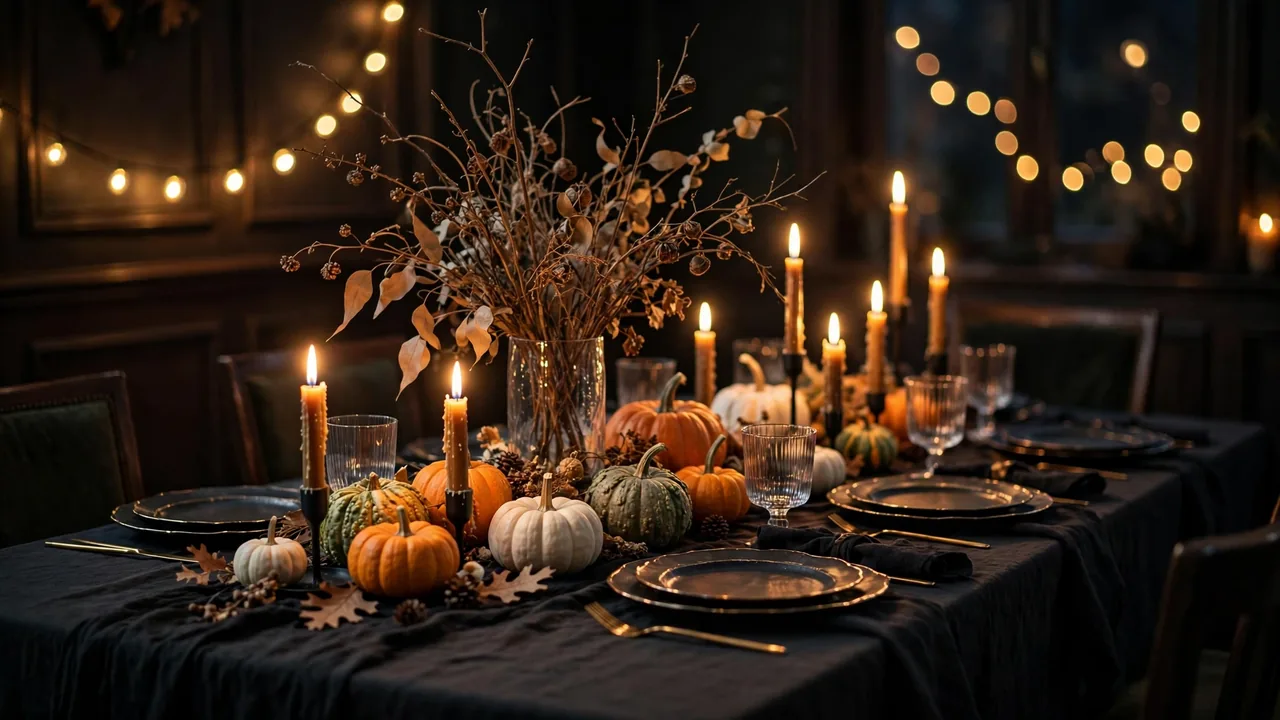
If you are hosting your first Halloween dinner party, here is something worth knowing before you buy a single thing: your guests will photograph the table before they sit down at it. Phones come out the moment people arrive, and the overhead tablescape shot is usually the first thing posted. The good news is that a photogenic table costs far less than most first-time hosts assume — it is mostly contrast, candlelight, and restraint.
These 19 Halloween table decorations are organized the way a photographer would plan the shot: base first, then light, then a centerpiece, then place settings, then the tiny details that get photographed up close. Every idea costs under roughly $25 as of 2026, most come in well under $15, and each one ends with a quick photo tip so your table looks as good on screen as it does in the room. Renters are covered too — nothing here damages a deposit.
In short: Start with a dark base, add warm light at three heights, build one low centerpiece from pumpkins and produce, dress each setting with a single natural object, and protect the table with drip trays or flameless candles.

Set a Photogenic Base Before Anything Else
Cameras love contrast, and nothing gives you more of it than a dark base with warm accents. Sort out what is underneath everything before placing a single pumpkin — the fabric layers are what make the table read as designed instead of random.

- Start with a black or charcoal tablecloth. A dark cloth hides stains and wear and makes every candle flame, gold accent, and orange pumpkin pop. A plain black polyester tablecloth typically runs $8–$12 as of 2026 and is washable enough to reuse next year. Photo tip: iron or steam it — wrinkles are the first thing a camera exposes.
- Layer a runner off-center, not in the middle. A textured runner in deep purple, burgundy, or burnt orange, laid slightly off-center, gives the table an artful asymmetry that photographs far better than a centered stripe. Velvet, linen, or even a folded length of fabric from the craft aisle works; expect around $10–$18 as of 2026. Photo tip: let the runner hang a few inches past the table edge on one side — that trailing edge is what makes the shot look styled rather than staged.
- Drape cobweb gauze along one edge. Stretchy spider-web fabric (usually $3–$6 for a big bag as of 2026) turns into your most photogenic texture when pulled thin and festooned over the table edge — just keep it off the food zone so it does not shed on anyone’s plate. Photo tip: shoot from a low angle so the gauze silhouettes against the candlelight — it will look ten times more expensive than it was.
Light the Table Like a Photographer
Candlelight is what makes a Halloween table look moody and expensive instead of flat and garish. Vary the heights, mix warm tones — and know where real flame is a bad idea.
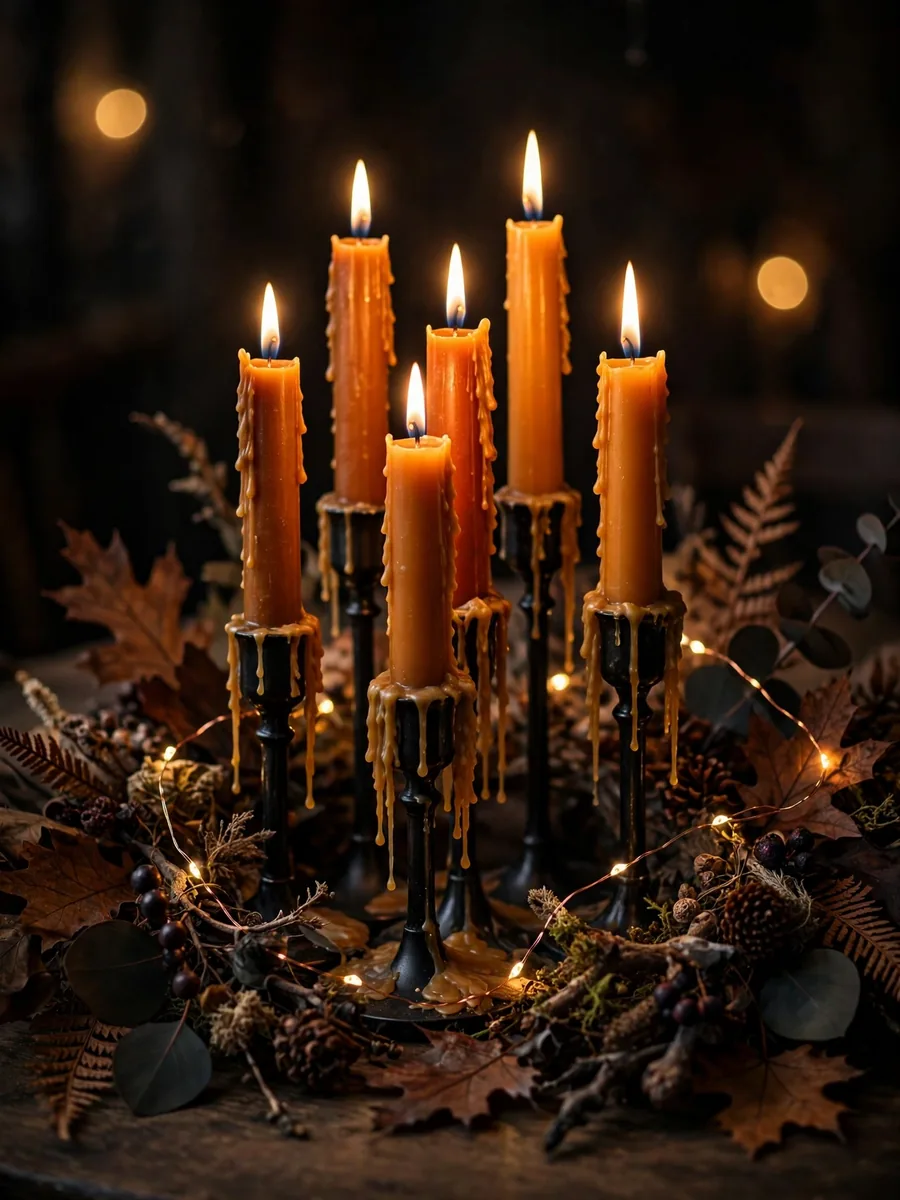
- Cluster candles at three different heights. Group tapers, pillars, and tealights so flames sit at low, medium, and tall levels along the table. Amber and orange tapers with a bit of melted-wax texture are the classic Halloween look and usually cost $1–$3 each as of 2026. Photo tip: shoot with the flames slightly behind your focal point so they glow as bokeh rather than blowing out the exposure.
- Go flameless anywhere real flame is risky. Near dried gauze, fabric, or walls, battery-operated taper candles give you the same warm glow with zero fire risk — a set of six typically runs $10–$15 as of 2026, and most guests cannot tell the difference once the room is dim. Photo tip: mix flameless candles with two or three real ones in the center of the table for the flicker cameras love.
- Weave micro fairy lights through the base layer. A strand of copper-wire fairy lights (about $5–$8 as of 2026) tucked under eucalyptus, fabric folds, or a runner edge creates tiny pinpoints of warm light that read beautifully in photos. Keep the battery pack hidden under a folded napkin or the table edge. Photo tip: take one wide shot with the room lights off — those pinpoints of light are what make people ask what you spent.
Centerpieces That Photograph Beautifully
The number-one mistake first-time hosts make is building the centerpiece too tall. If guests cannot see each other across the table, dinner suffers — and cameras catch awkward faces peering around decorations. Keep everything low.
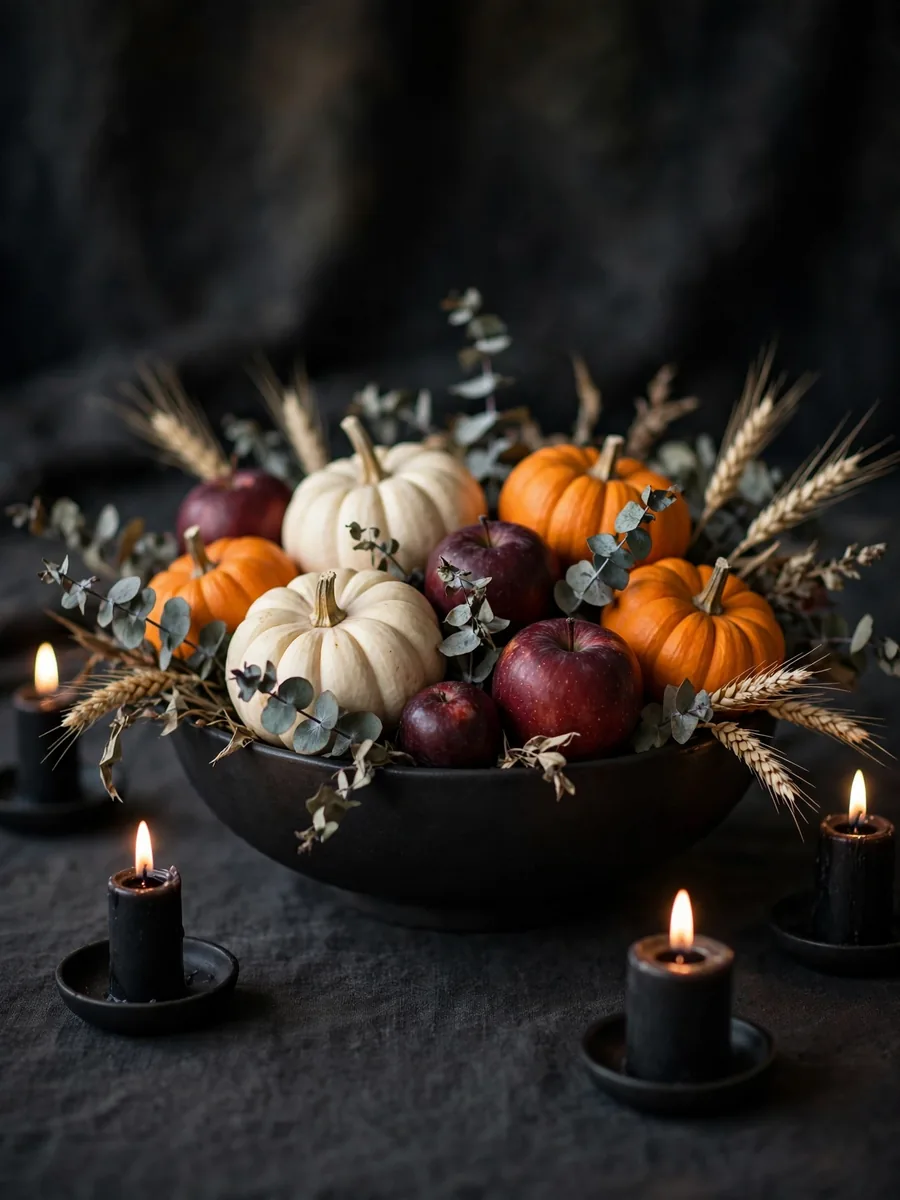
- Build a low pumpkin-and-apple bowl. Fill a matte black or dark ceramic bowl (often $8–$15 at discount home stores as of 2026) with a mix of white and orange mini pumpkins, dark red apples, wheat stems, and eucalyptus sprigs. The produce is real, cheap, and reusable for cooking afterwards. Photo tip: style it with the tallest element at the back and step to the side of the table so the arrangement leads the eye diagonally across the frame.
- Add height with dried branches, not tall vases. Bare branches, dried wheat, or eucalyptus in a tall glass vase give vertical interest that still lets people see over the top. Forage branches from your yard, or pick up dried stems for a few dollars as of 2026. Photo tip: backlight the branches with a candle or fairy lights behind them so the stems glow with a halo effect.
- Keep the middle lane clear for serving. Once the centerpiece is set, remove anything that blocks the line of sight between opposite seats — nothing in the center should be taller than about 10 inches. Photo tip: this is also what lets you take the classic “down the length of the table” shot without an ugly visual roadblock.
Tableware Tricks That Look Expensive
Nobody can tell a mismatched tableware set once the room is candlelit — contrast and layering do all the heavy lifting.
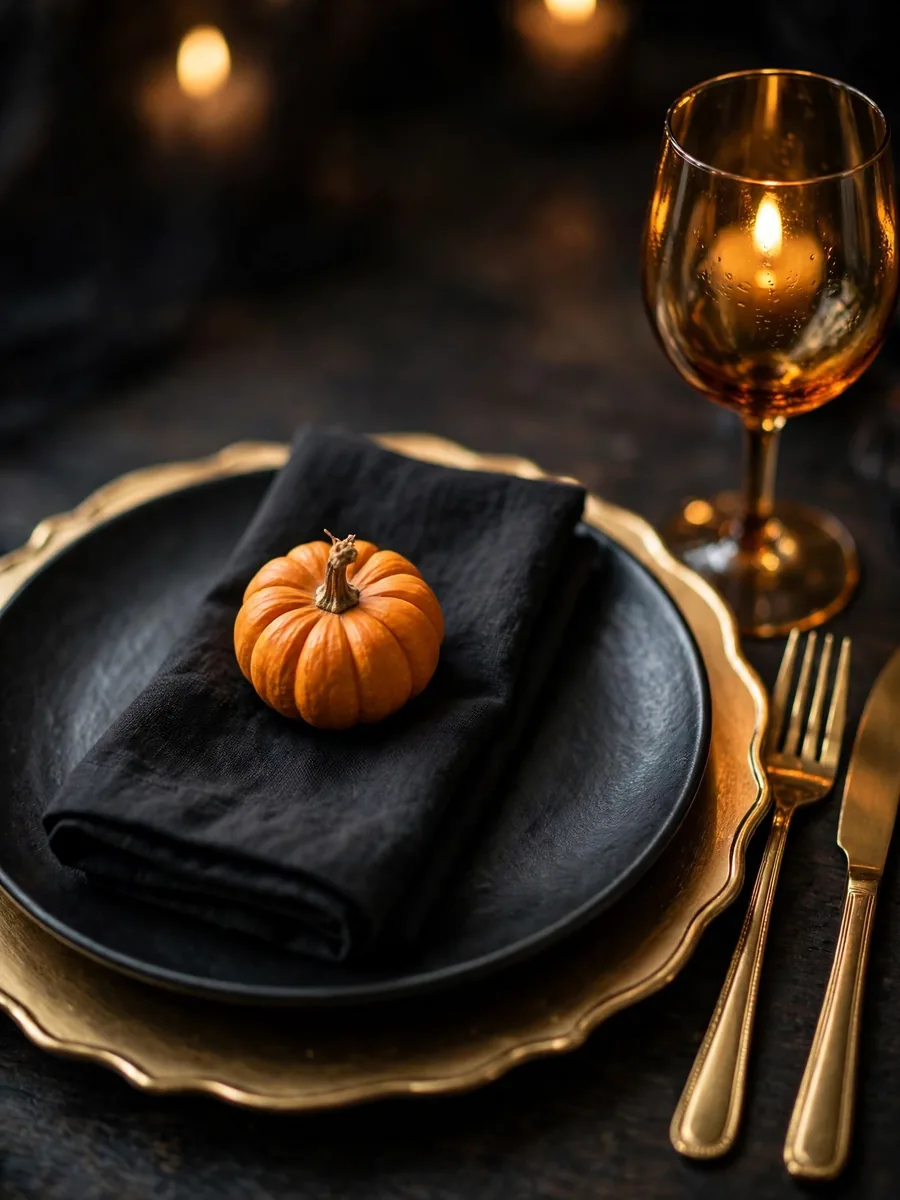
- Stack black plates over gold chargers. A matte black dinner plate on a gold charger looks designer, but chargers are often sold in sets of four for $10–$14 as of 2026. If you already own plain white plates, flip the scheme — black napkins and gold-accented flatware on white work just as well. Photo tip: angle one place setting slightly toward the camera so the layered edge catches the light.
- Dress each napkin with a single natural object. Fold a plain black or dark napkin and top it with one mini pumpkin, one sprig of dried rosemary, or one dark leaf. It costs almost nothing if you already own napkins, and it gives every guest their own little photo moment. Photo tip: this is the close-up people post — get the napkin sharp and let the candlelight blur behind it.
- Tint the drinkware amber. Amber-tinted glasses turn any drink into part of the decor — a set of four amber tumblers usually runs $10–$16 as of 2026, and they work year-round. Photo tip: backlight an amber glass with a candle so the drink glows — it is the most-shared detail shot at dinner parties.
Small Details Guests Snap Up Close
After the wide tablescape shot, guests photograph the details: place cards, scatter, the small things they notice up close. These are your cheapest and most-shared ideas.
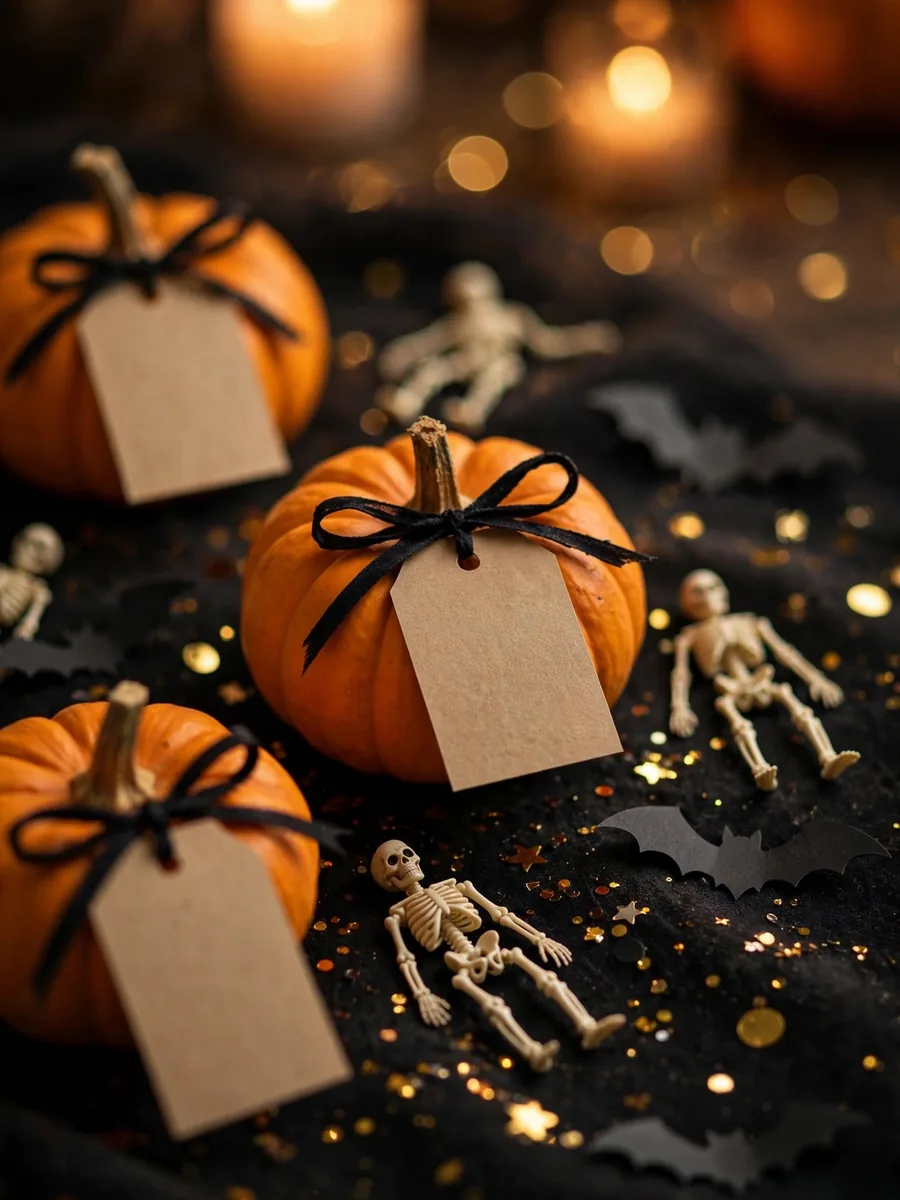
- Turn mini pumpkins into place cards. Tie a blank kraft-paper tag to each mini pumpkin’s stem with black ribbon and write the guest’s name in a metallic marker. A bag of tags and a roll of ribbon usually total under $8 as of 2026, and mini pumpkins are often a few dollars per bag at grocery stores in October. Photo tip: photograph one finished place card alone against the dark table — it is your most pinnable image.
- Scatter macro-friendly details between settings. Tiny plastic skeletons, paper bats, and gold star confetti (a mixed bag is typically $4–$7 as of 2026) give cameras texture to discover in close-ups. Keep pieces flat and away from food. Photo tip: leave one or two photogenic pieces near each place setting rather than dumping them all in the middle — scattered reads as styled, dumped reads as messy.
- Add one unexpected texture. A handful of dried moss, a swath of dark velvet ribbon, or a few whole cinnamon sticks adds a texture nobody expects and every close-up benefits from. Most of these cost $3–$6 as of 2026 at craft stores. Photo tip: place the texture next to something smooth — like a glass or a plate — because contrast between textures is what makes macro shots interesting.
Food and Drink Styling That Doubles as Decor
Your menu is part of the tablescape. A little height and one dramatic drink turn food itself into decor, which means less decor to buy.
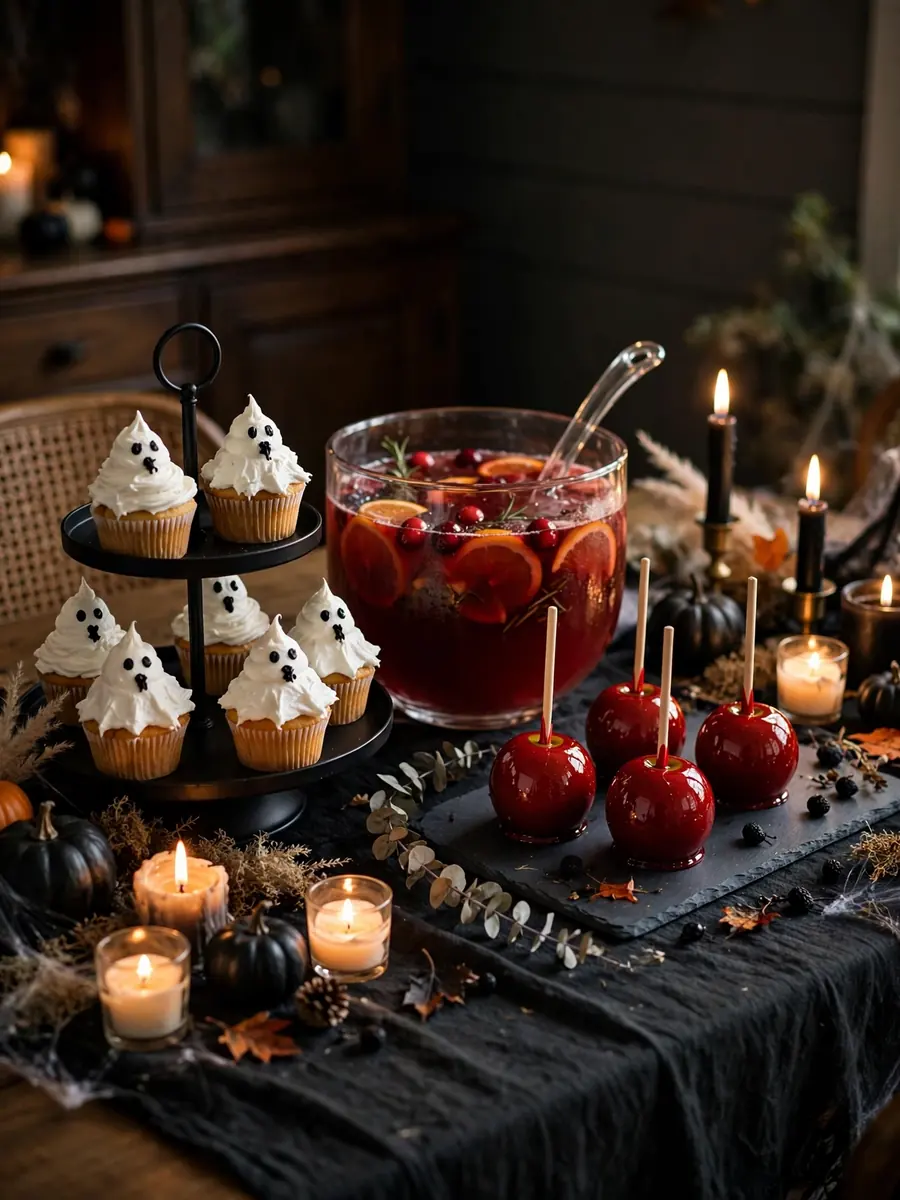
- Tier your desserts for height. A simple two-tier black stand (about $12–$18 as of 2026) turns ordinary cupcakes into a display — top them with piped white frosting ghosts for instant theme. The vertical lift breaks up the flat line of the table. Photo tip: shoot the stand from slightly below eye level so the tiers stack dramatically against the candlelight behind them.
- Make the punch bowl the second centerpiece. A large glass bowl of deep red punch with floating orange slices and cranberries is a glowing centerpiece from across the room. Serve it on the sideboard or at the table’s end, with a black ladle and a few dark candles around it. Photo tip: backlight the bowl — red liquid with candlelight behind it photographs like stained glass.
Renter-Safe and Small-Space Solutions
Small apartment, rented table, deposit on the line? You can still pull off a photogenic Halloween table with a little planning.
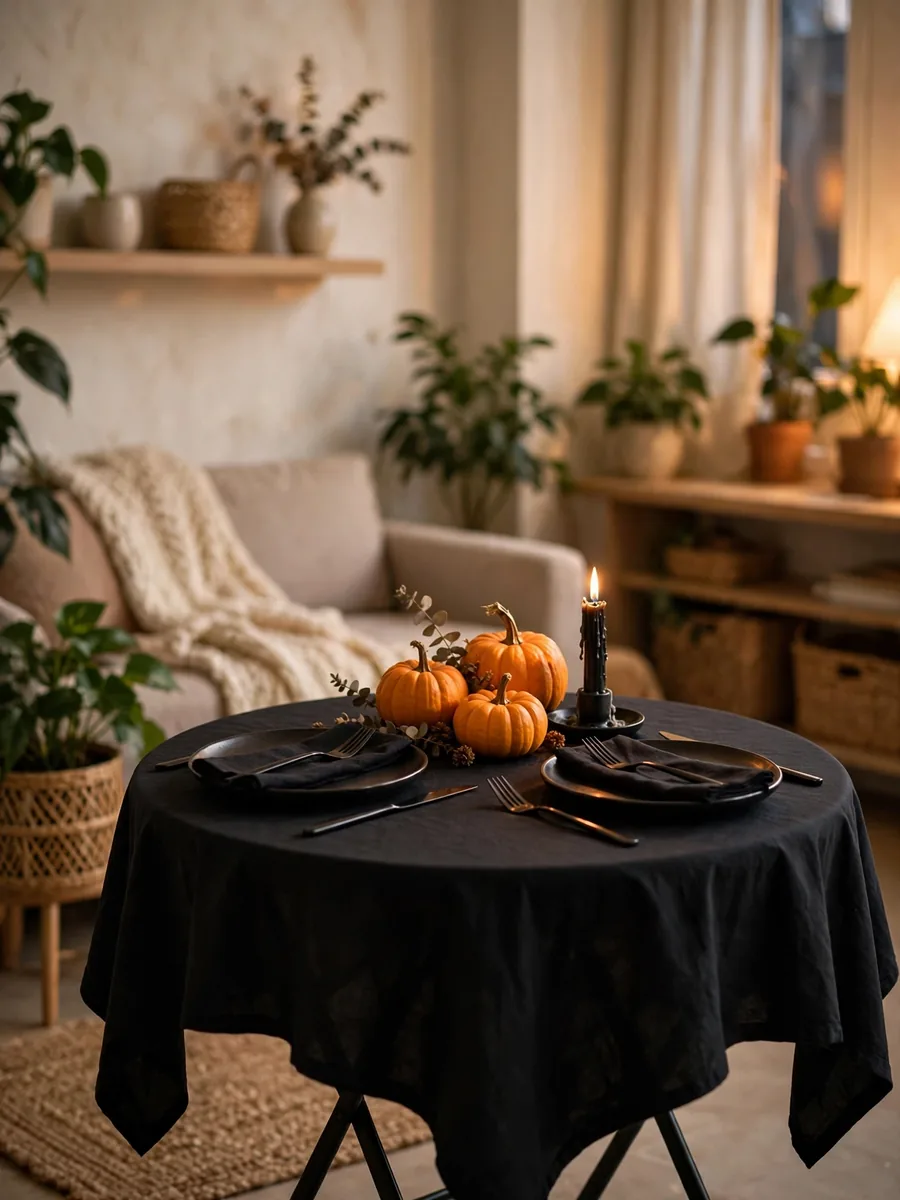
- Shrink the whole scheme for a folding table. A round folding table covered with a floor-length black cloth looks intentional, not improvised. Use two place settings’ worth of ideas — one compact pumpkin cluster and one candle — and let the emptiness be the design. The cloth is usually the only purchase, around $8–$12 as of 2026. Photo tip: shoot tighter and lower than you think; a cropped photo of a small table looks grand, while a wide shot of one looks small.
- Protect every surface like your deposit depends on it. Melted wax, dye from cheap fabric, and candle soot are the three real deposit risks here. Use drip trays or saucers under every candle (a few dollars as of 2026), pre-wash any dark fabric to check for dye transfer, and default to flameless candles on rented wood or veneer tables. Photo tip: drip trays in black or brass actually look like part of the styling — nobody will know they are a safety move.
Frequently Asked Questions
How much should a Halloween dinner table cost to decorate?
For a first-time host, a photogenic table typically runs $30–$60 total as of 2026 if you already own plates and candles, or $75–$100 if you are buying chargers and a tablecloth from scratch. The ideas above are all under roughly $25 each.
Can I make a Halloween table look good without candles?
Yes — fairy lights, a backlit punch bowl, and dark-on-dark fabric layers create plenty of mood. If your table is small or open flame is restricted, flameless candles plus fairy lights get you about 90 percent of the effect.
What is the best color scheme for a Halloween dinner table?
Black with warm amber and gold is the most photogenic and easiest to shop for — it works with pumpkins, candles, and most tableware. Deep purple and burgundy are strong second choices; use lime green sparingly, as it can look cheap in photos.
How do I decorate a Halloween table in a rental apartment?
Stick to removable items — tablecloths, runners, flameless candles, drip trays under real flame — and avoid adhesives, wax drips, and unwashed dark fabrics. Everything in this post is renter-safe with those precautions.
When should I set up the table?
Base layers — tablecloth, runner, chargers, non-perishable decor — can go out a day or two ahead. Add candles, produce, and food the morning of the party so everything looks fresh in photos.
How do I keep the centerpiece from blocking conversation?
Keep centerpieces under about 10 inches tall in the middle of the table and put height at the ends or on the sideboard. If you can see every face from every seat, the height is right.
Conclusion
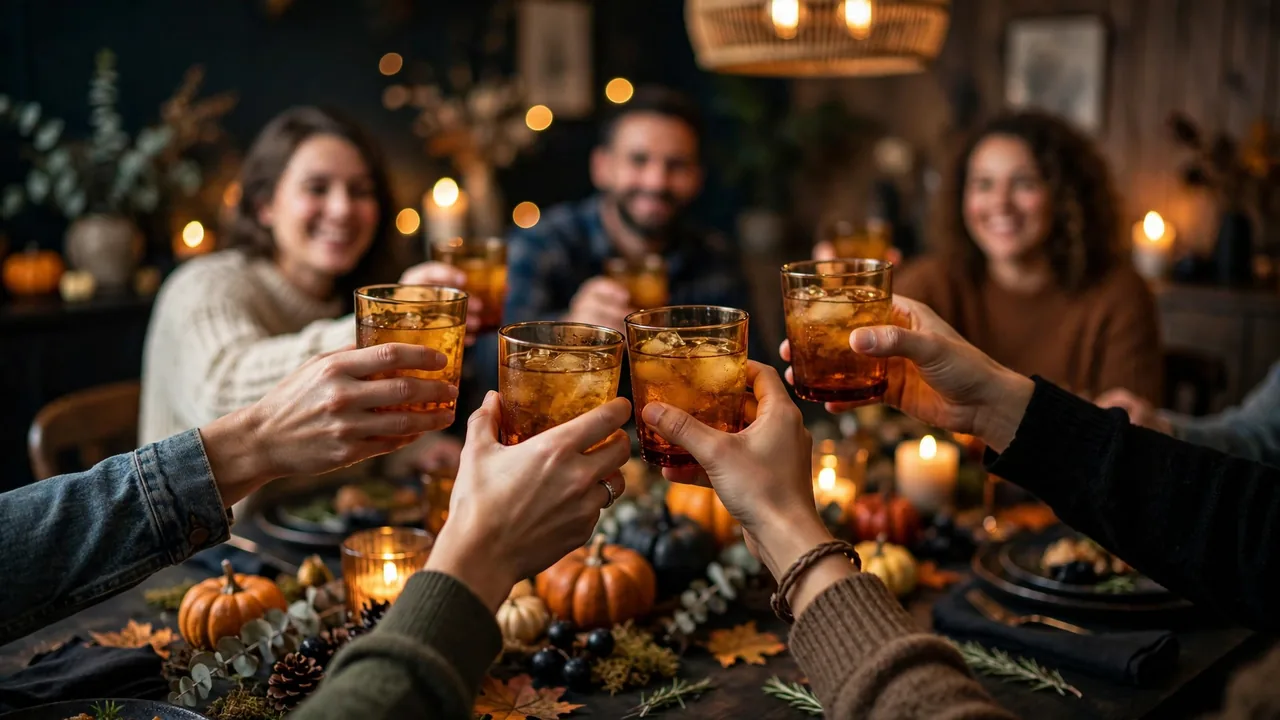
Your first Halloween dinner party does not need a big budget — just a dark base, warm light at a few heights, one low centerpiece, and details that reward a closer look. Guests will photograph the table before they taste a bite, and these 19 ideas will make those photos look like you hired someone.
Once the table is sorted, give the rest of the evening the same treatment: our indoor Halloween decor guide pairs naturally with this table if you are still planning the broader room. And if your porch is already dressed for the season, carry the same dark-and-amber palette from the front door to the dining table so the whole night feels like one event.

Thiago Alexander is the Chief Editor at Nested Charm. With a deep passion for interior design and cozy living spaces, he leads the editorial team in crafting stories that make every house feel like a home.