Paint Flashing? 12 Fixes for Uneven Shine and Patchy Sheen
Executive Summary
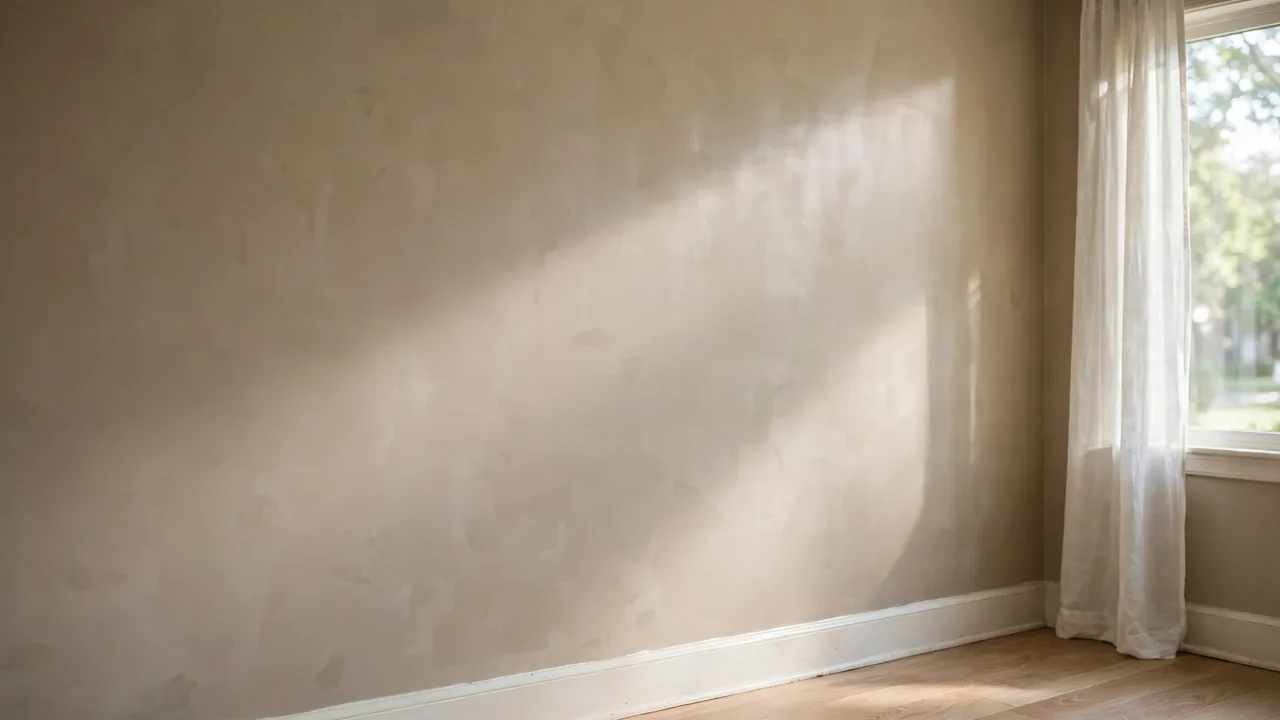
Paint flashing is the patchy, uneven shine that shows up on a wall after the paint dries — dull spots next to shiny ones, visible roller tracks, or a touch-up that glows like a spotlight every time the sun hits the wall. Straight on, the wall can look fine; catch it at an angle and every inconsistency jumps out. It is one of the most common painting frustrations, and one of the most fixable, because flashing almost always has a specific cause: a missed primer coat, a touch-up from a different batch, paint that dried too fast, or a roller that ran dry at the edge.
You rarely need to strip the wall or start over. Most flashing is fixed by diagnosing the cause first, then matching the fix to it — feathering a touch-up, spot-priming a repair, re-rolling a full wall in one wet pass, or matching the sheen exactly. This guide walks through 12 fixes in diagnosis order, from free checks to the full repaint that solves stubborn cases.
In short: Paint flashing is uneven sheen caused by differences in how the paint film dried or was applied. Find the cause first — touch-ups, skipped primer, dry roller edges, sheen mismatch, or fast drying — then use the matching fix. Most cases are solved with a feathered touch-up, spot priming, or one careful full-wall recoat.
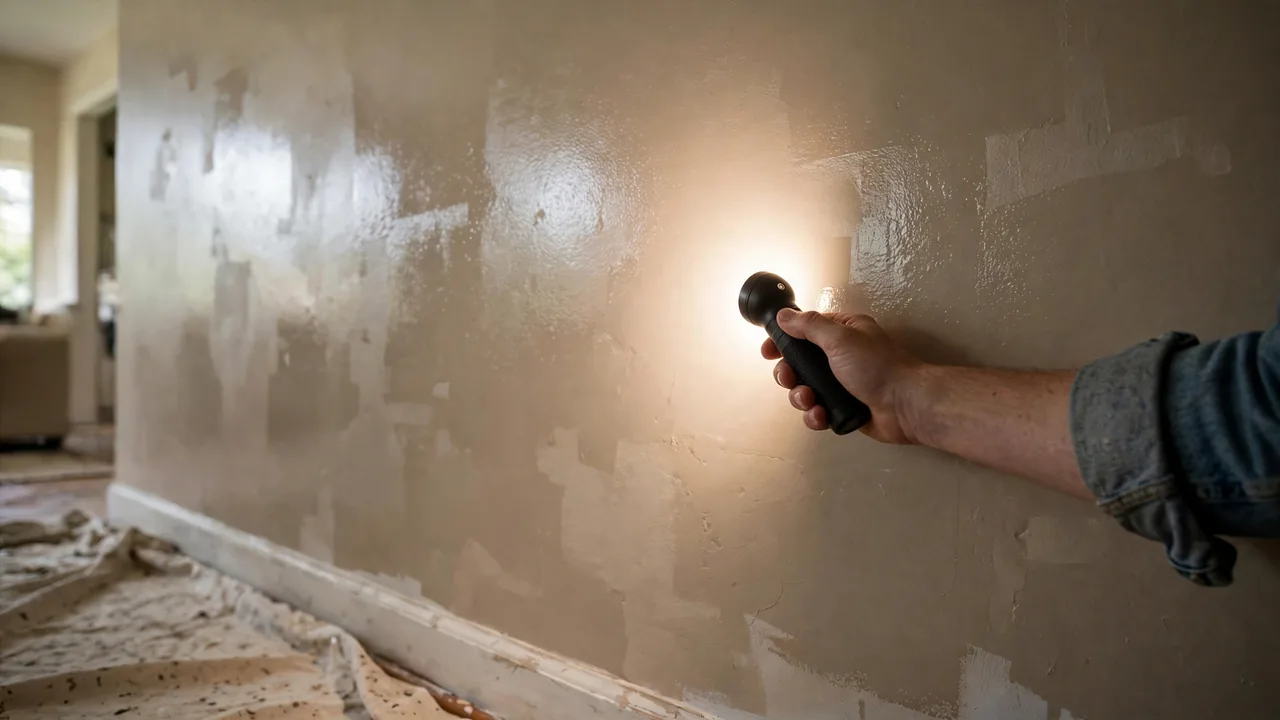
Diagnose the Flashing Before You Touch a Brush
Before you buy anything, spend ten minutes finding the cause. The fix for a shiny touch-up is completely different from the fix for a wall rolled in direct sun, and repainting blindly can leave you with the same problem in a fresh coat.
1. Read the Wall With Raking Light
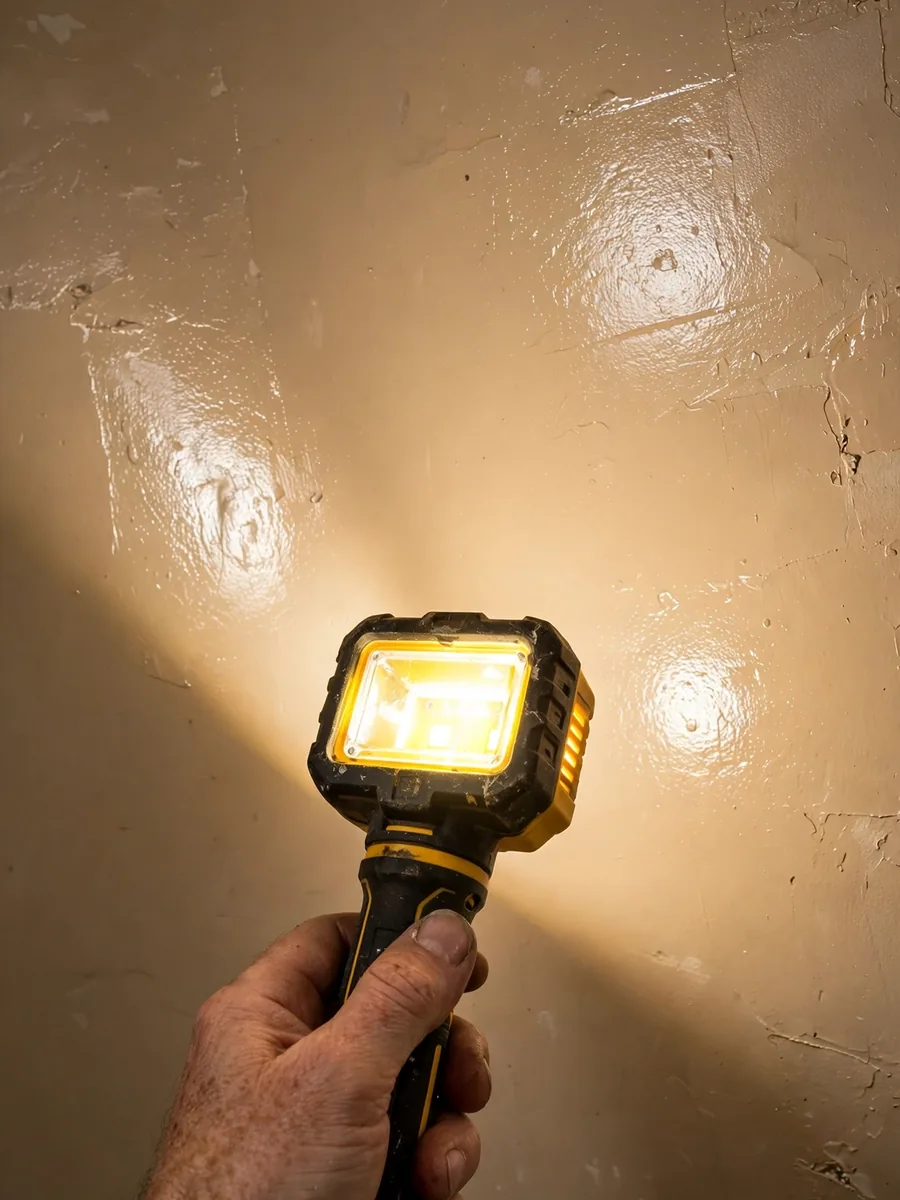
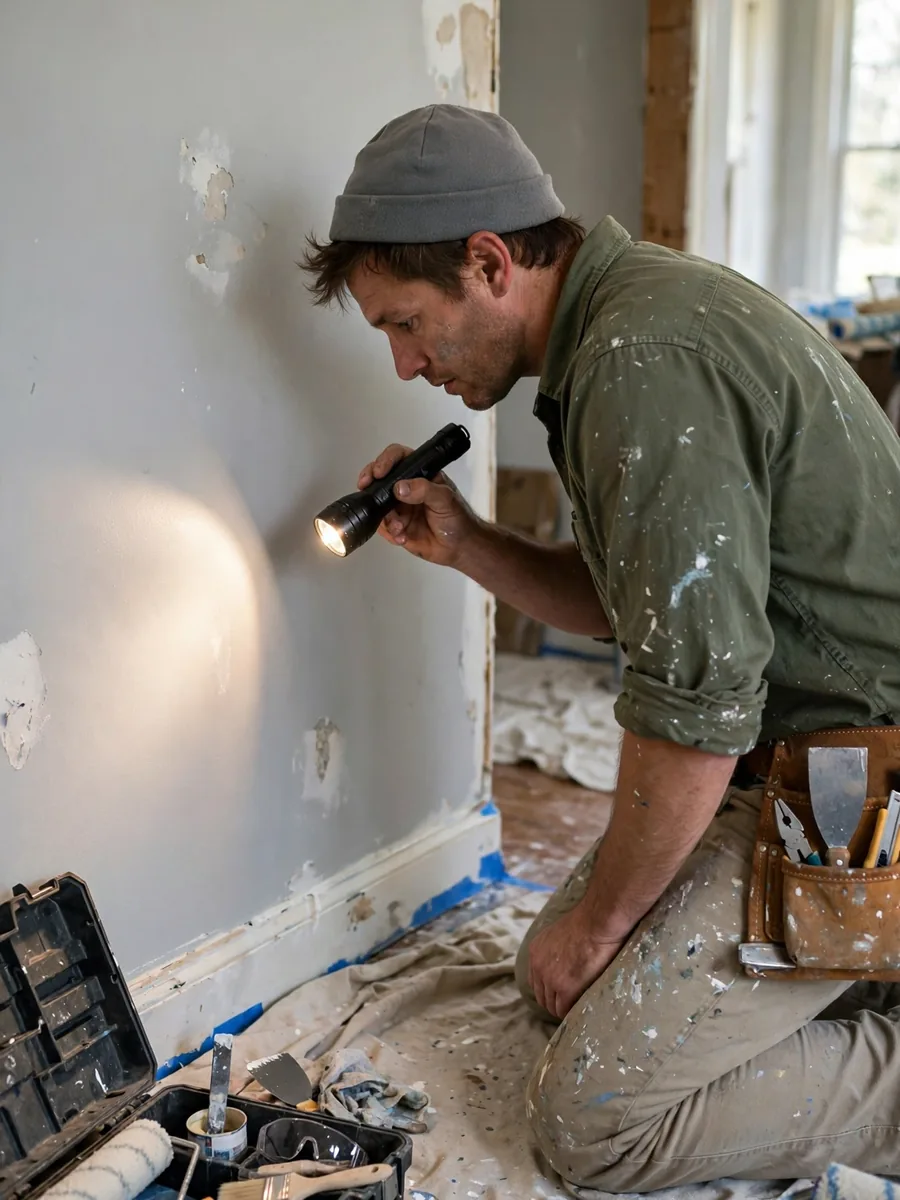
Hold a bright work light or flashlight flat against the wall, close to the surface, and sweep it slowly across the area. Raking light throws every sheen difference into relief: shiny patches, dull spots, roller tracks, and lap lines all show up clearly, while a head-on look hides them. A basic work light costs around $15 to $25 as of 2026. The pattern tells you the cause: a single shiny square usually means a touch-up, long vertical bands mean roller laps, and a big dull patch often means bare drywall or spackle that never got primed.
2. Match the Mark to Its Cause
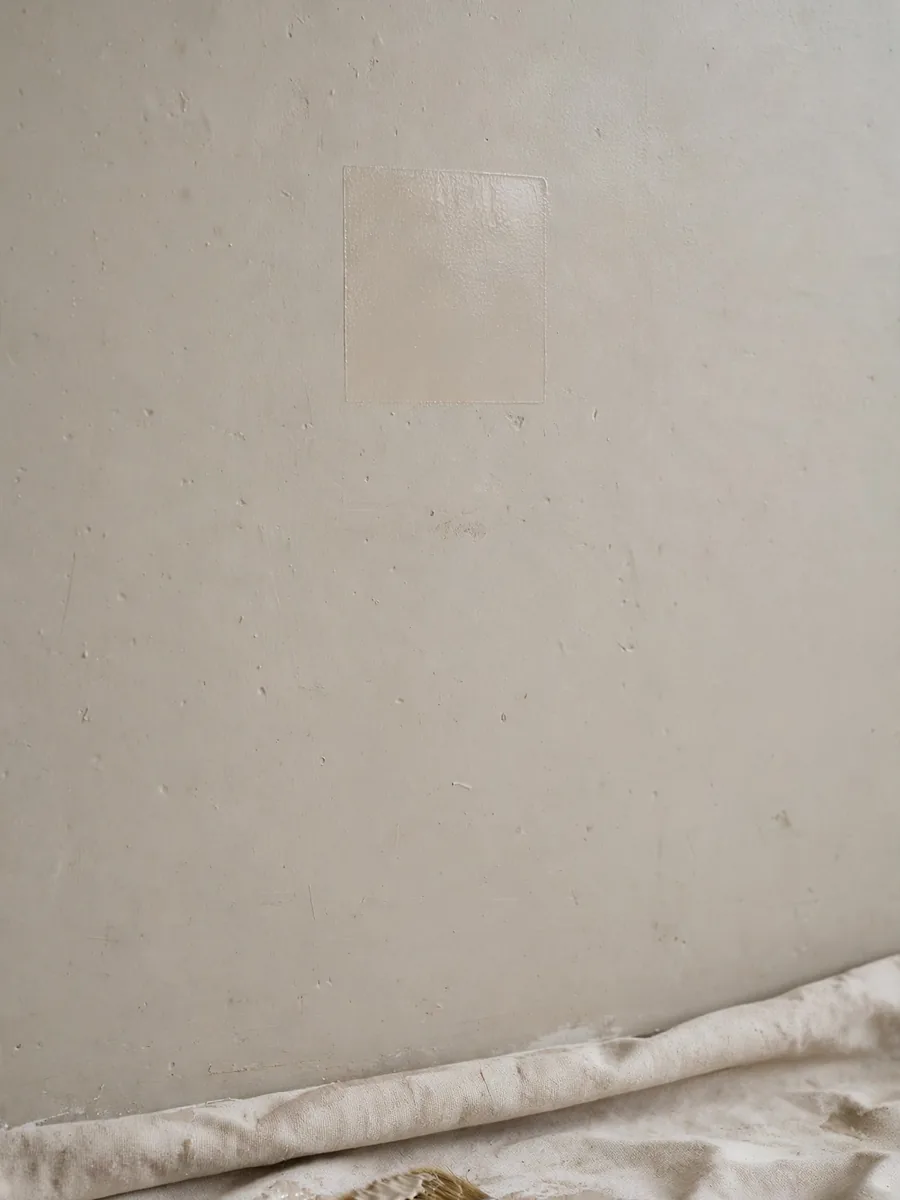
With the pattern mapped, work through the usual suspects. Shiny touch-up spots point to paint from a different batch, a different sheen, or a touch-up over a fully cured coat. Dull patches usually mean paint soaked into unprimed drywall, spackle, or joint compound. Vertical shiny stripes are lap marks, where a roller edge dried before the next pass overlapped it. A whole wall that looks blotchy often means the paint dried too fast — hot room, direct sun, or a fan on wet paint. The sheen name on the label (flat, eggshell, satin) matters, because the same color in a different sheen will flash. This step costs nothing.
Fix Flashing From Touch-Ups
Touch-ups are the number one cause of flashing, and the easiest to fix when small. The goal is to make the repair disappear into the surrounding coat instead of sitting on top of it as a shiny island.
3. Feather a Small Touch-Up So It Blends
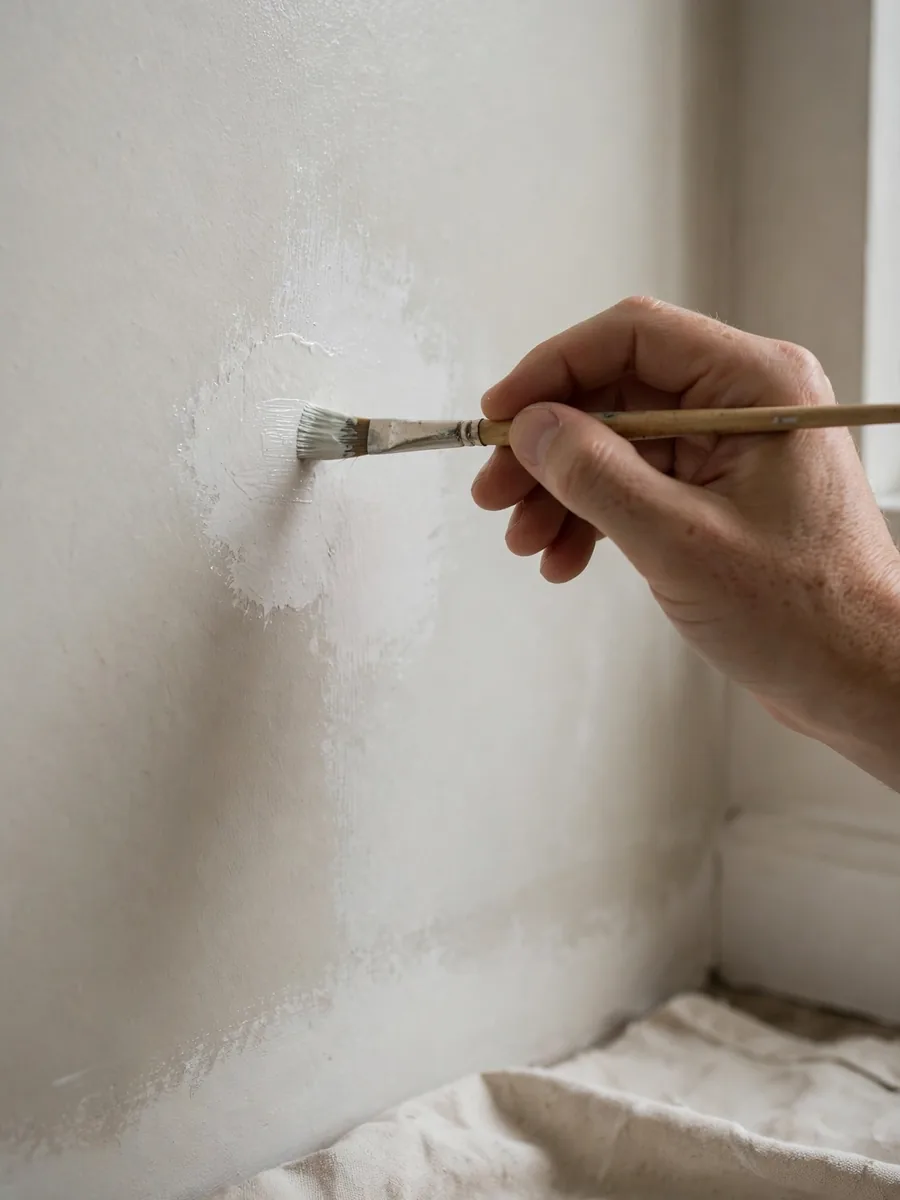
For a touch-up smaller than a dinner plate, feathering is usually the fix. Load a small brush lightly, paint the spot, then pull the brush outward in long, light strokes so the paint thins to nothing at the edges — no hard line where the touch-up stops. Work in thin coats, and let each coat dry fully before judging it. A second thin coat, feathered a little wider, usually finishes the job. A decent 2-inch angled brush runs about $8 to $15 as of 2026, and you are using paint you already have. The most common mistake is dabbing paint on in a thick blob and leaving a hard edge. Feathering is the opposite of dabbing, and it is what makes a touch-up invisible.
4. Spot-Prime the Repair Before You Touch It Up
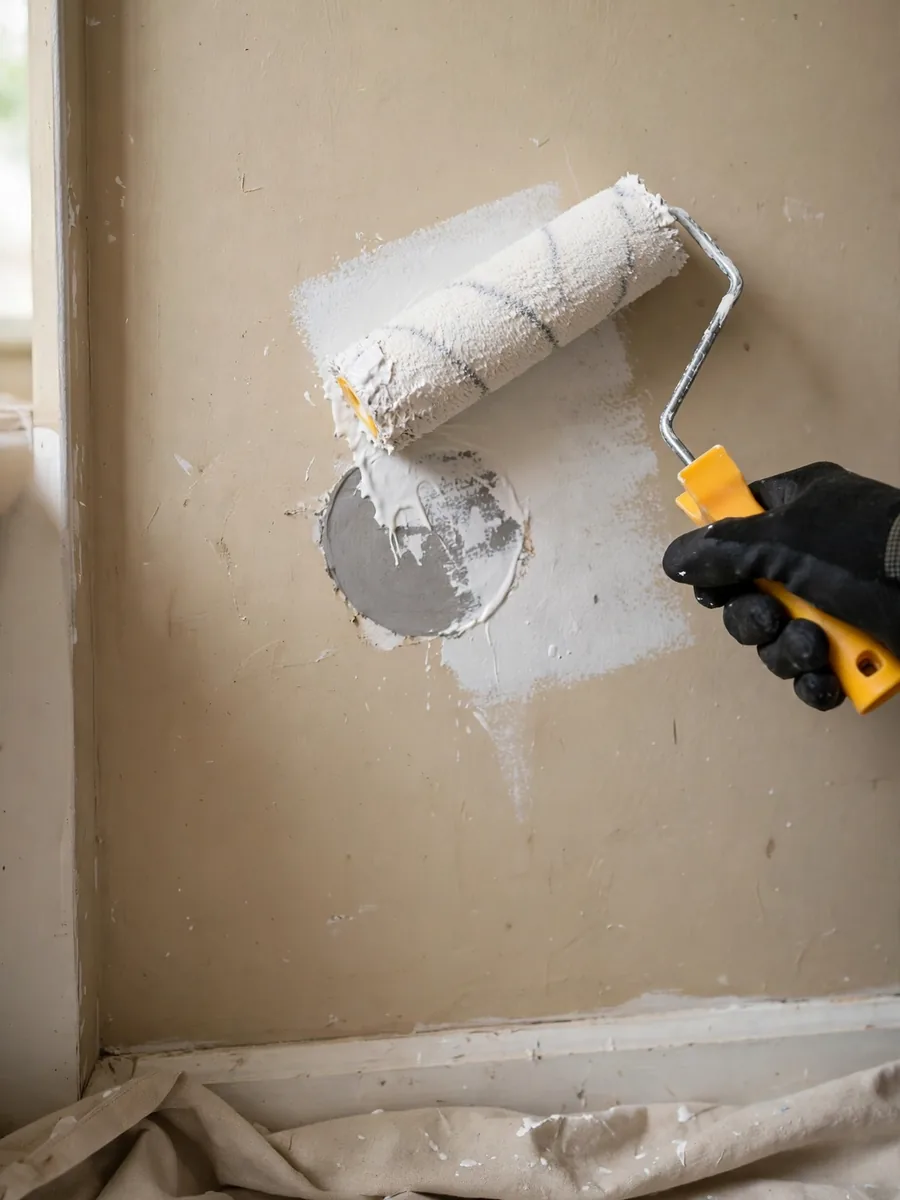
If a touch-up keeps flashing no matter how carefully you feather it, the problem is usually underneath: the repair itself. Bare spackle, joint compound, and raw drywall absorb paint differently from the painted wall around them, so the same paint dries to a different sheen there. The fix is to spot-prime the repair with a proper primer, let it dry fully, then touch up over the primer. A quart of primer costs roughly $12 to $20 as of 2026, and one quart covers many small repairs. Renters: check your lease before priming or repainting beyond a small touch-up — many leases require written permission, and landlord-supplied touch-up paint is often the safer route.
Fix Roller Marks and Lap Lines
Roller marks and lap lines are long, straight bands of uneven sheen that run down a wall. They happen when one pass of the roller dries before the next pass overlaps it, leaving a hard edge that catches the light.
5. Re-Roll the Whole Wall in One Wet Pass
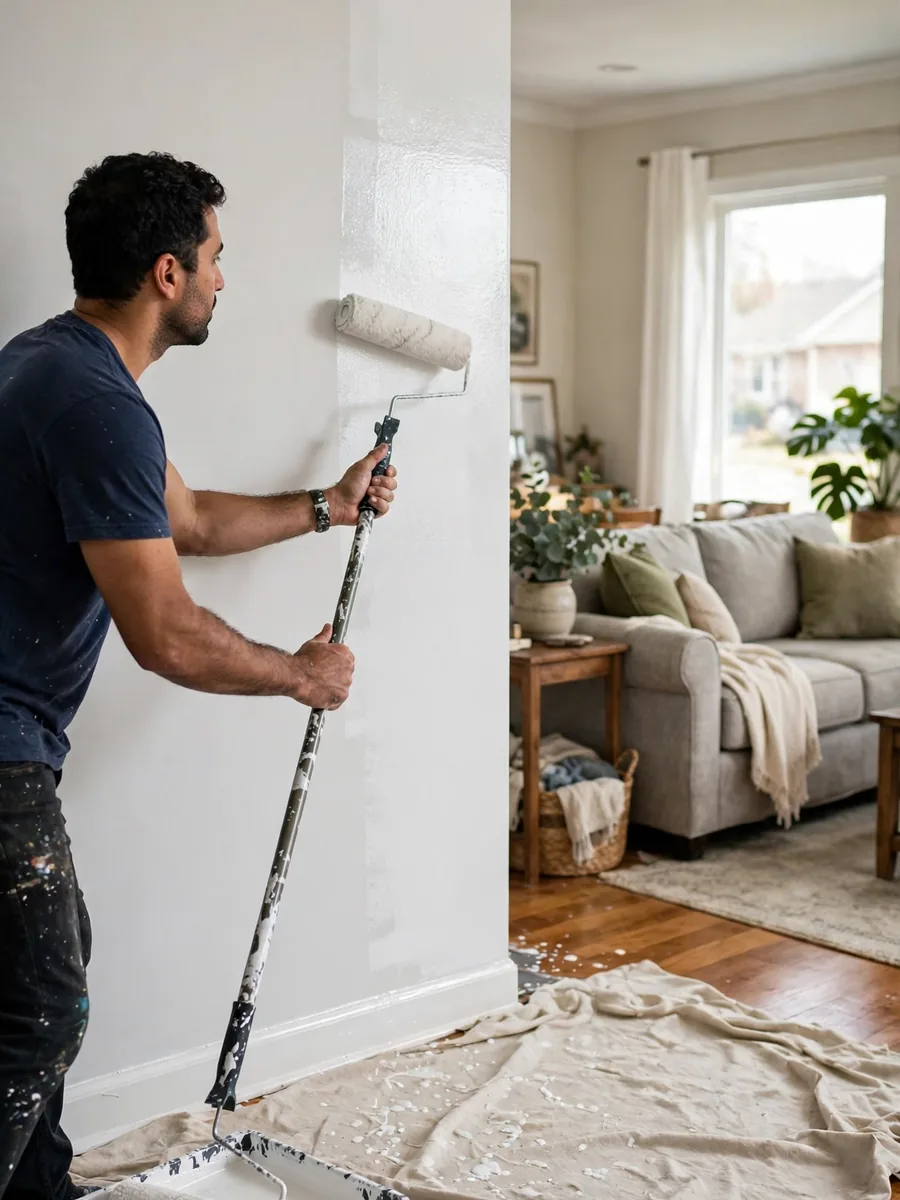
The reliable fix for lap marks is to re-roll the entire wall, corner to corner, in one continuous session, keeping a wet edge the whole time. Work in sections about three roller-widths wide, rolling from dry area into wet paint so each section melts into the last. Load the roller generously and avoid pressing hard. A fresh roller cover costs about $5 to $12 as of 2026, and a gallon of matching paint runs roughly $30 to $60. The key detail is continuity: if you stop halfway, you will likely create a new lap line where you stopped. Plan the wall as one uninterrupted job.
6. Sand Back the Hard Lap Lines First
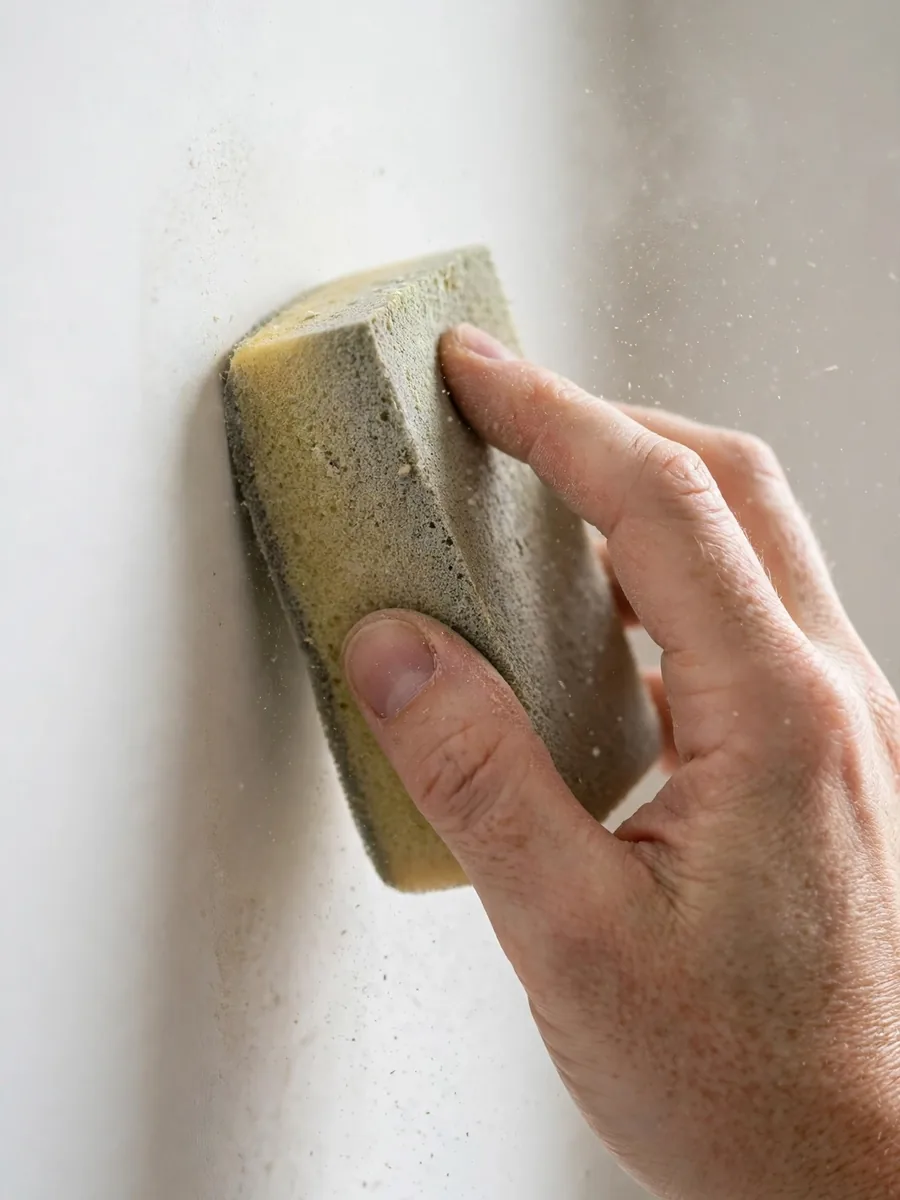
If the lap lines are raised or rough, sand them lightly before you re-roll. Use fine-grit sandpaper, around 220 grit, or a fine sanding sponge, with light, even pressure until the ridge feels smooth — you are leveling the paint film, not stripping it. Wipe off the dust with a barely damp cloth and let the wall dry completely before painting. A pack of sandpaper or a sanding sponge costs about $5 to $10 as of 2026. Wear a dust mask while sanding, and if the home was built before 1978, do not sand painted surfaces until you know whether lead paint is present — disturbing older paint needs proper testing and precautions. In a rental, sanding is worth a quick lease check, since it counts as altering the finish.
Fix Sheen and Product Mismatches
Sometimes the paint itself is the problem: the wrong sheen, a different batch, or paint thinned incorrectly. These fixes are about matching what is already on the wall.
7. Match the Sheen Exactly, Not Just the Color
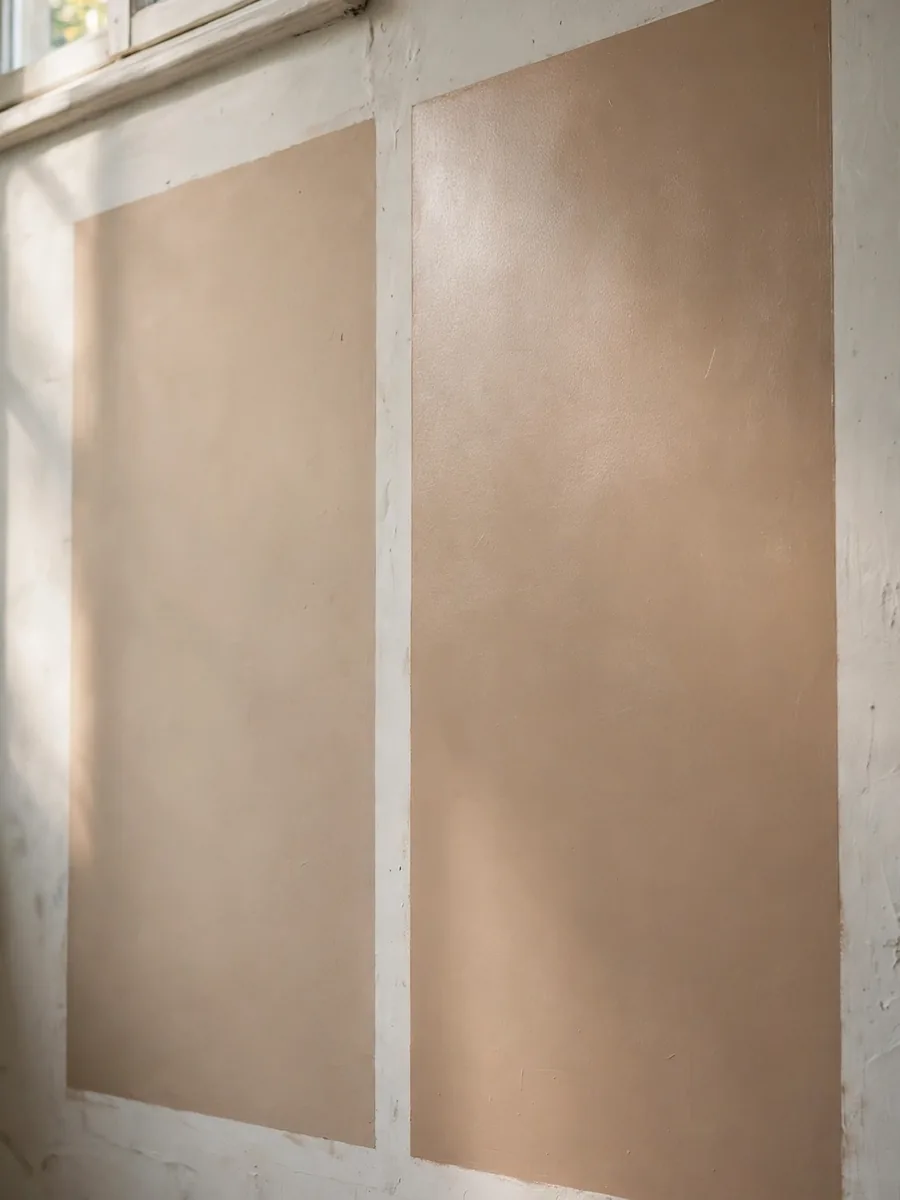
Flashing often appears when a touch-up uses the same color but a different sheen — eggshell over satin, for example. The color matches under normal light, but the sheen difference flashes in raking light. Check the label on the original can, or test a small hidden patch once dry. If the sheen is wrong, the only real fix is to repaint the affected area — or the whole wall — in the correct sheen. A quart of matching paint costs roughly $15 to $30 as of 2026. Bring the old can or a paint chip so the store can match both color and sheen. For help choosing a finish, see our guide to budget-friendly paint finishes that make a starter home look high-end.
8. Thin the Paint Correctly, or Not at All
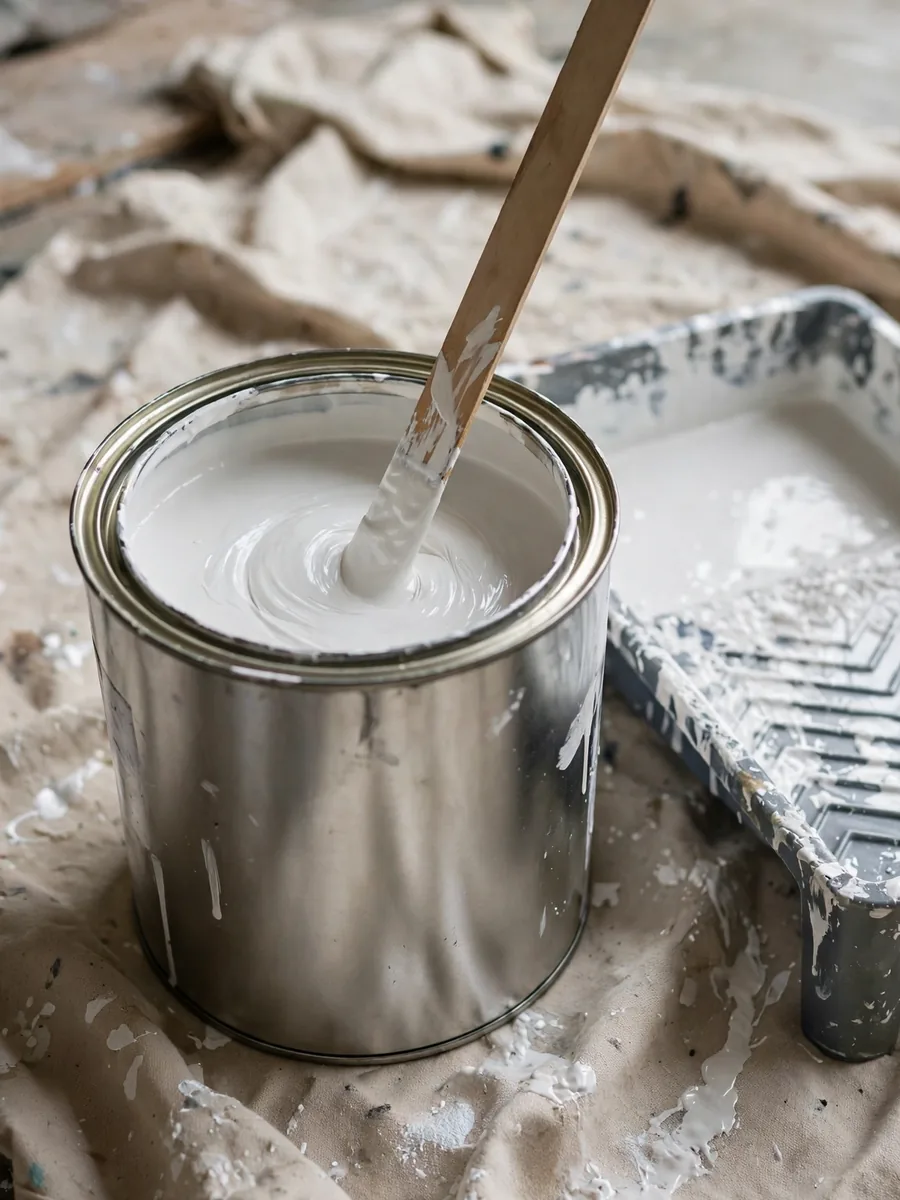
Paint that is too thick drags, leaves roller texture, and dries with an uneven sheen; paint thinned too much goes on patchy and flashes where it dries thin. Most latex paint needs no thinning at all for rolling, and the label will say so. If the label allows thinning, add water a little at a time — usually no more than a few ounces per gallon — and stir thoroughly. If you use a paint conditioner to slow drying in a hot room, follow its own ratio and measure it rather than pouring freehand. Never thin paint with anything the label does not name, and never guess at ratios. If the paint drags or dries before you can spread it, stop and check the label before adding anything.
Fix the Room Conditions That Cause Flashing
Paint is a drying film, and the conditions in the room while it dries matter as much as the paint itself. Heat, sun, and moving air can create flashing on a wall that was rolled perfectly.
9. Slow the Dry Time With Cooler, Calmer Air
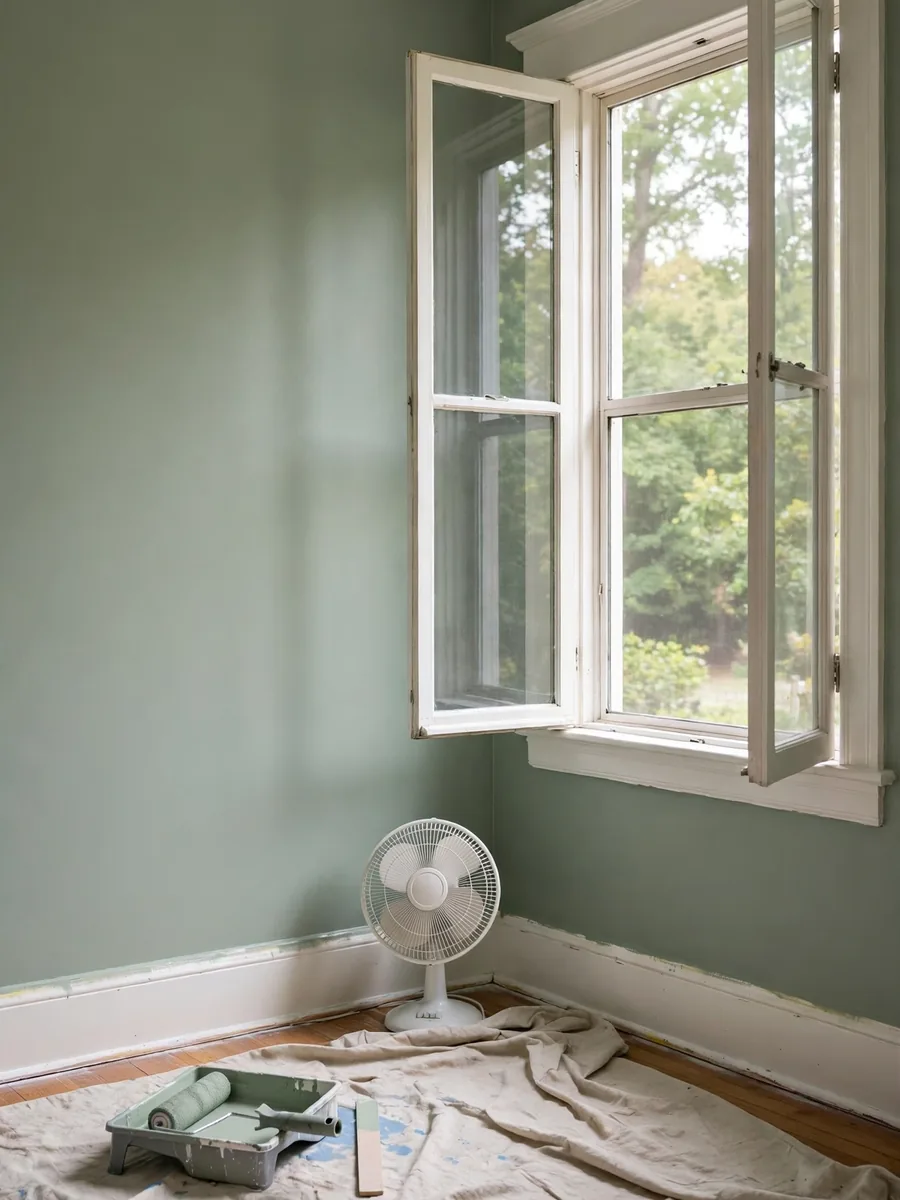
Paint that dries too fast flashes, because the edges of each roller pass set before the next pass can blend into them. Paint when the room is cool and out of direct sun — morning or evening rather than mid-afternoon. Close the windows on a hot, dry day, turn off any fan blowing across the wet wall, and keep the room between roughly 50 and 85 degrees Fahrenheit. This fix costs nothing, and it is the one people skip most often. In winter the reverse applies: a cold room can leave a tacky, uneven film, so a little gentle heat helps.
10. Use the Right Roller Nap and a Full Load
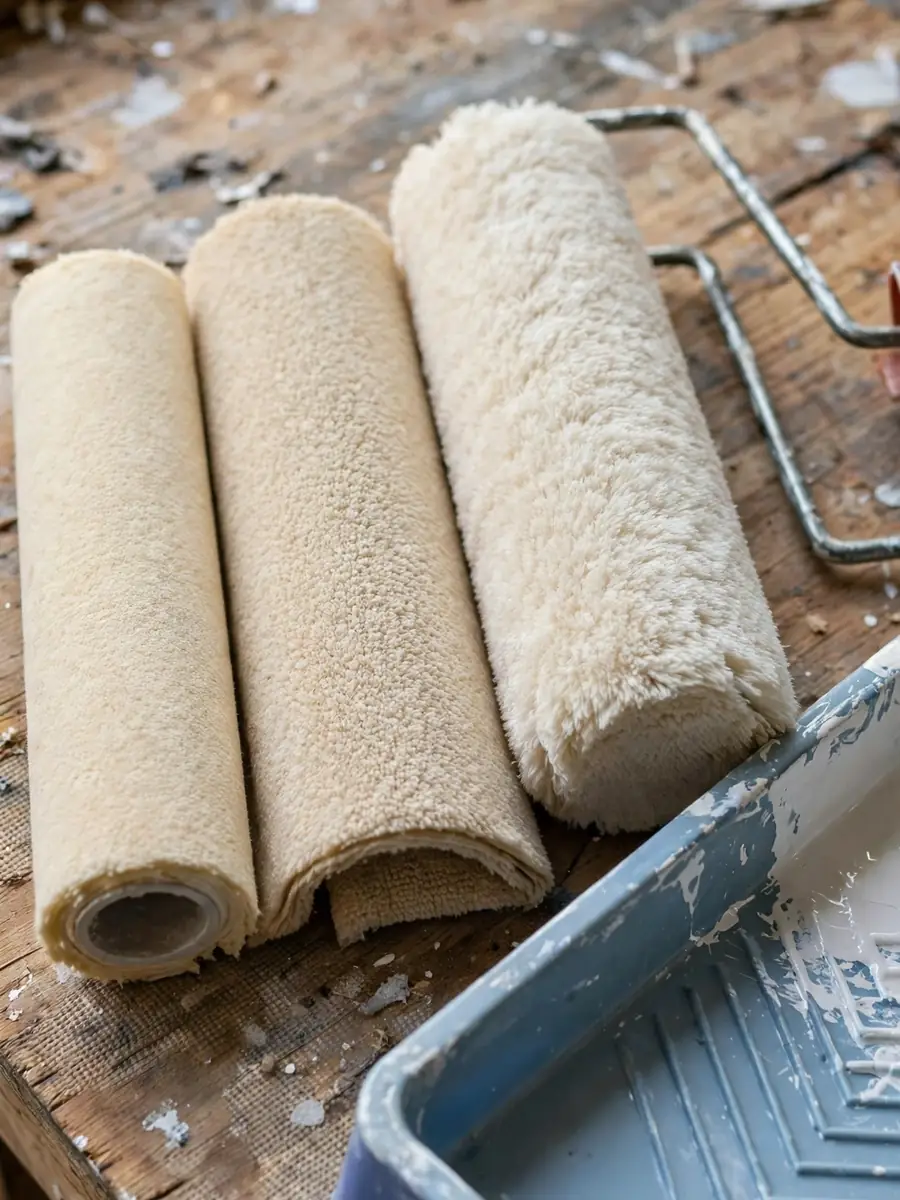
A roller cover with the wrong nap leaves texture that reads as uneven sheen. Smooth walls usually want a short nap, around 3/8 inch; lightly textured walls want a longer nap. A worn cover that sheds or leaves lines will flash no matter how good the paint is. Load the roller fully in the tray, roll off the excess on the ridges, and keep the cover wet — a dry roller is the fastest way to create lap marks. A quality roller cover costs about $8 to $15 as of 2026, and it is one of the cheapest upgrades in painting. Replace a cover that has gone stiff or matted rather than fighting it through a whole wall.
When a Full Repaint Is the Only Real Fix
Some flashing survives every spot fix. When the problem covers most of a wall, or several causes are stacked together, a full repaint done properly is faster and cheaper than chasing patches.
11. Repaint the Full Wall, Corner to Corner
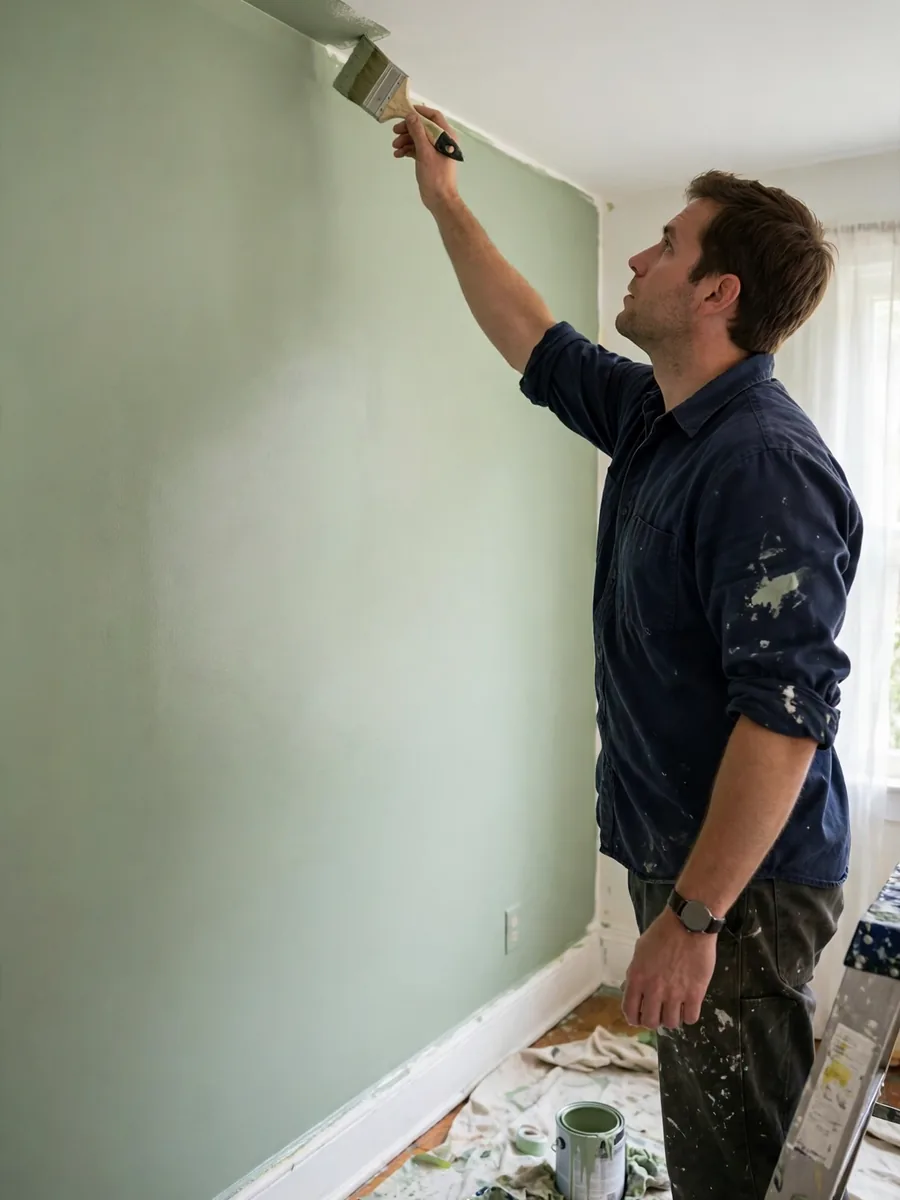
For widespread flashing, repaint the entire wall from one corner to the other in a single session. Prime first if the wall has unprimed patches or a dark color underneath. Cut in the edges with a brush, then roll the field while the cut-in is still wet so the two blend. Keep a wet edge and work top to bottom. Budget roughly $30 to $60 for a gallon of paint, $12 to $20 for primer if needed, and $15 to $30 for a roller, tray, and brush as of 2026 — a single wall usually needs only a gallon. Treat the wall as one job with no stopping points: corners and door frames are natural breaks, but the middle of a wall is not. A full repaint resets the sheen to one even film and erases every cause at once.
12. Know When to Strip It or Call a Pro
If flashing survives a proper full repaint, the problem is likely deeper: incompatible paint layers, a glossy oil-based coat underneath latex, or damage that keeps telegraphing through. The options are to sand the wall back to a uniform surface, use a bonding primer made for slick surfaces, or bring in a professional painter. An assessment typically costs $100 to $200 as of 2026, and many painters apply that fee toward the job if you hire them. Do not sand aggressively or use chemical strippers in a rental without written permission, and never sand pre-1978 paint without checking for lead first. A wall that has beaten two careful repaints is telling you the substrate, not your technique, is the problem.
Frequently Asked Questions
Will flashing go away on its own as the paint cures?
Sometimes, slightly. Paint keeps curing for up to a few weeks, and very mild sheen differences can soften as the film hardens. But a clear touch-up square or a hard lap line rarely disappears on its own. If it still shows after a week, plan on a fix above rather than waiting longer.
Can I fix flashing without repainting the whole wall?
Yes, when the problem is small and the cause is clear. A feathered touch-up fixes a small shiny spot, and spot priming fixes a flashing repair. Whole-wall flashing, lap marks, or a sheen mismatch usually needs a full-wall recoat to look even.
Does a second coat of the same paint fix flashing?
Often, yes — if the second coat is applied correctly, with a wet edge and matching sheen. A second coat evens out the film, which is why so many painters treat two coats as standard. But a second coat applied with the same mistakes will usually flash again.
Why does my touch-up look shiny even though I used the same paint?
Usually because the touch-up dried differently: it may be from a different batch, applied over a fully cured coat, or laid on thicker than the original. Feathering the edges, matching the sheen, and spot-priming underneath solve most cases.
Is paint flashing a sign of bad paint?
Rarely. Flashing is almost always about application or conditions — drying speed, primer, technique, or sheen — rather than the paint itself. The exception is paint that has gone bad in the can, which usually smells sour or looks lumpy.
How do I prevent flashing on my next paint job?
Prime repairs, use one batch and one sheen per wall, keep a wet edge, use the right roller nap, and paint in cool, still air out of direct sun. Our guide to white paint that turned yellow covers another common paint problem with the same diagnosis-first approach.
Conclusion
Paint flashing looks dramatic in raking light, but it is almost always a diagnosis problem, not a disaster. Find the cause and the matching fix is usually simple, cheap, and quick. Start with the free checks and the spot fixes, and save the full repaint for the walls that truly need it. Next time, prime the repairs, keep a wet edge, and stay out of the sun: the best fix for flashing is the one you never have to make.


Thiago Alexander is the Chief Editor at Nested Charm. With a deep passion for interior design and cozy living spaces, he leads the editorial team in crafting stories that make every house feel like a home.