15 TV Wall Panel Ideas for the Living Room (Media Walls That Look Built-In)
Executive Summary
A bare TV on a blank wall can make even a well-decorated living room feel unfinished. Wall panels fix that by turning the screen into part of the room's design instead of a black rectangle floating on drywall, adding texture, hiding cables, and giving the wall a finished, built-in look — usually for far less than a full custom media unit.
The trick is treating the TV and the panels as one focal wall. Size the panelled area to the screen, plan cable runs before anything goes up, and choose a style that suits how you use the room.
In short: Size the panelled area to your TV, plan cable routing first, and pick a panel style that fits your room and your lease. Wood slats and fluted panels suit most living rooms, painted panels are the cheapest route, and peel-and-stick or freestanding panels give renters the same look without wall damage.

Panel Styles That Set the Tone
Pick the panel style first, and the rest of the wall falls into place around it.
1. Warm Wood Slat Panels Behind the TV
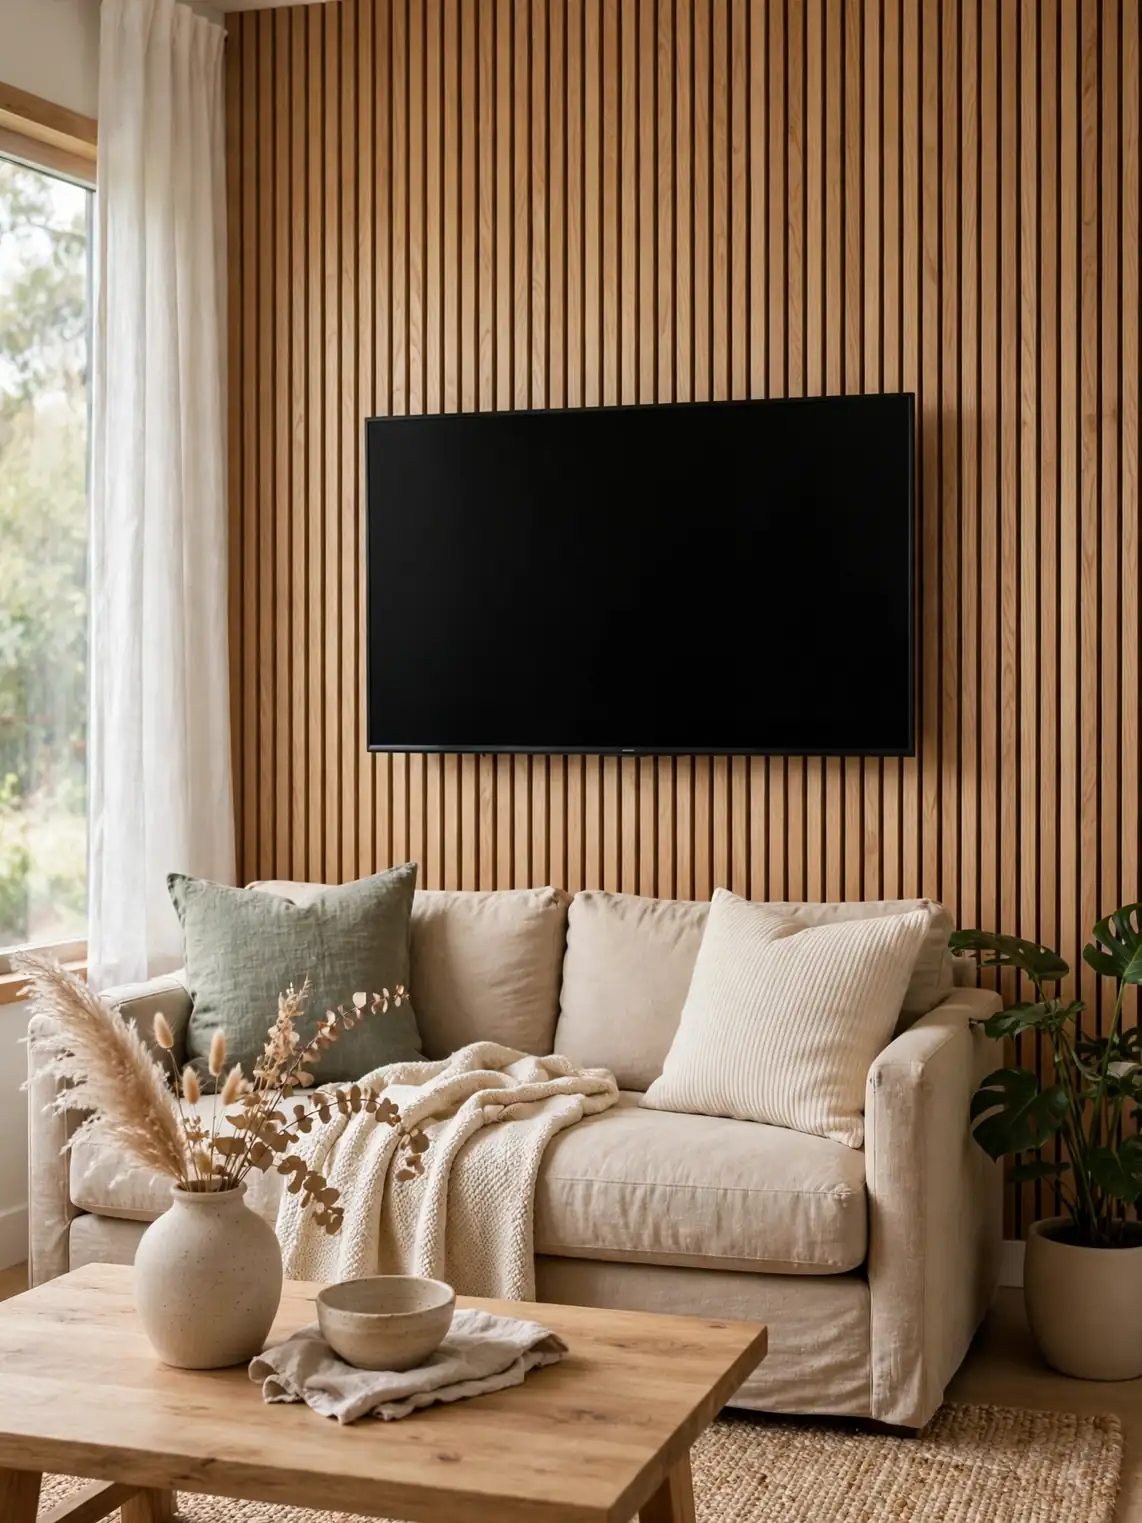
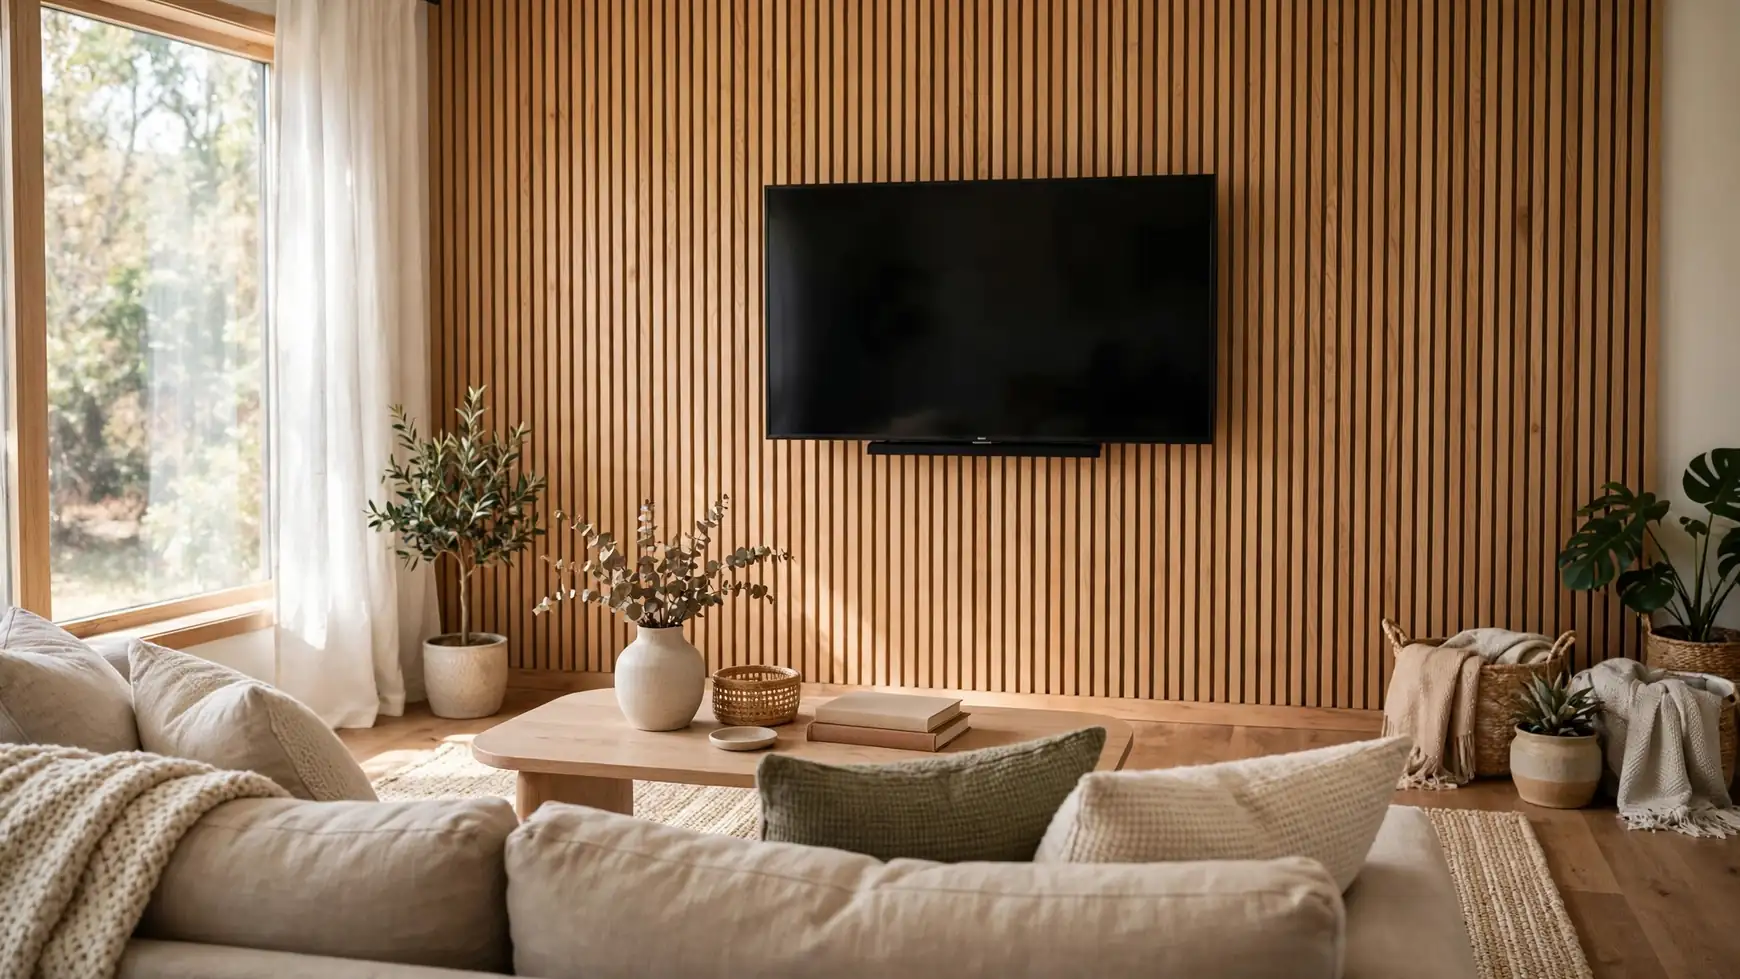
Vertical wood slats are the classic media-wall look: the lines draw the eye upward, the wood warms up a black screen, and the gaps between slats hide small cable runs. Light oak suits bright, airy rooms, while walnut-look slats suit darker, cosier ones. As of 2026, a ready-made slat panel kit for a standard TV wall typically runs about $150–$400.
2. Fluted Panels for a Soft, Modern Texture
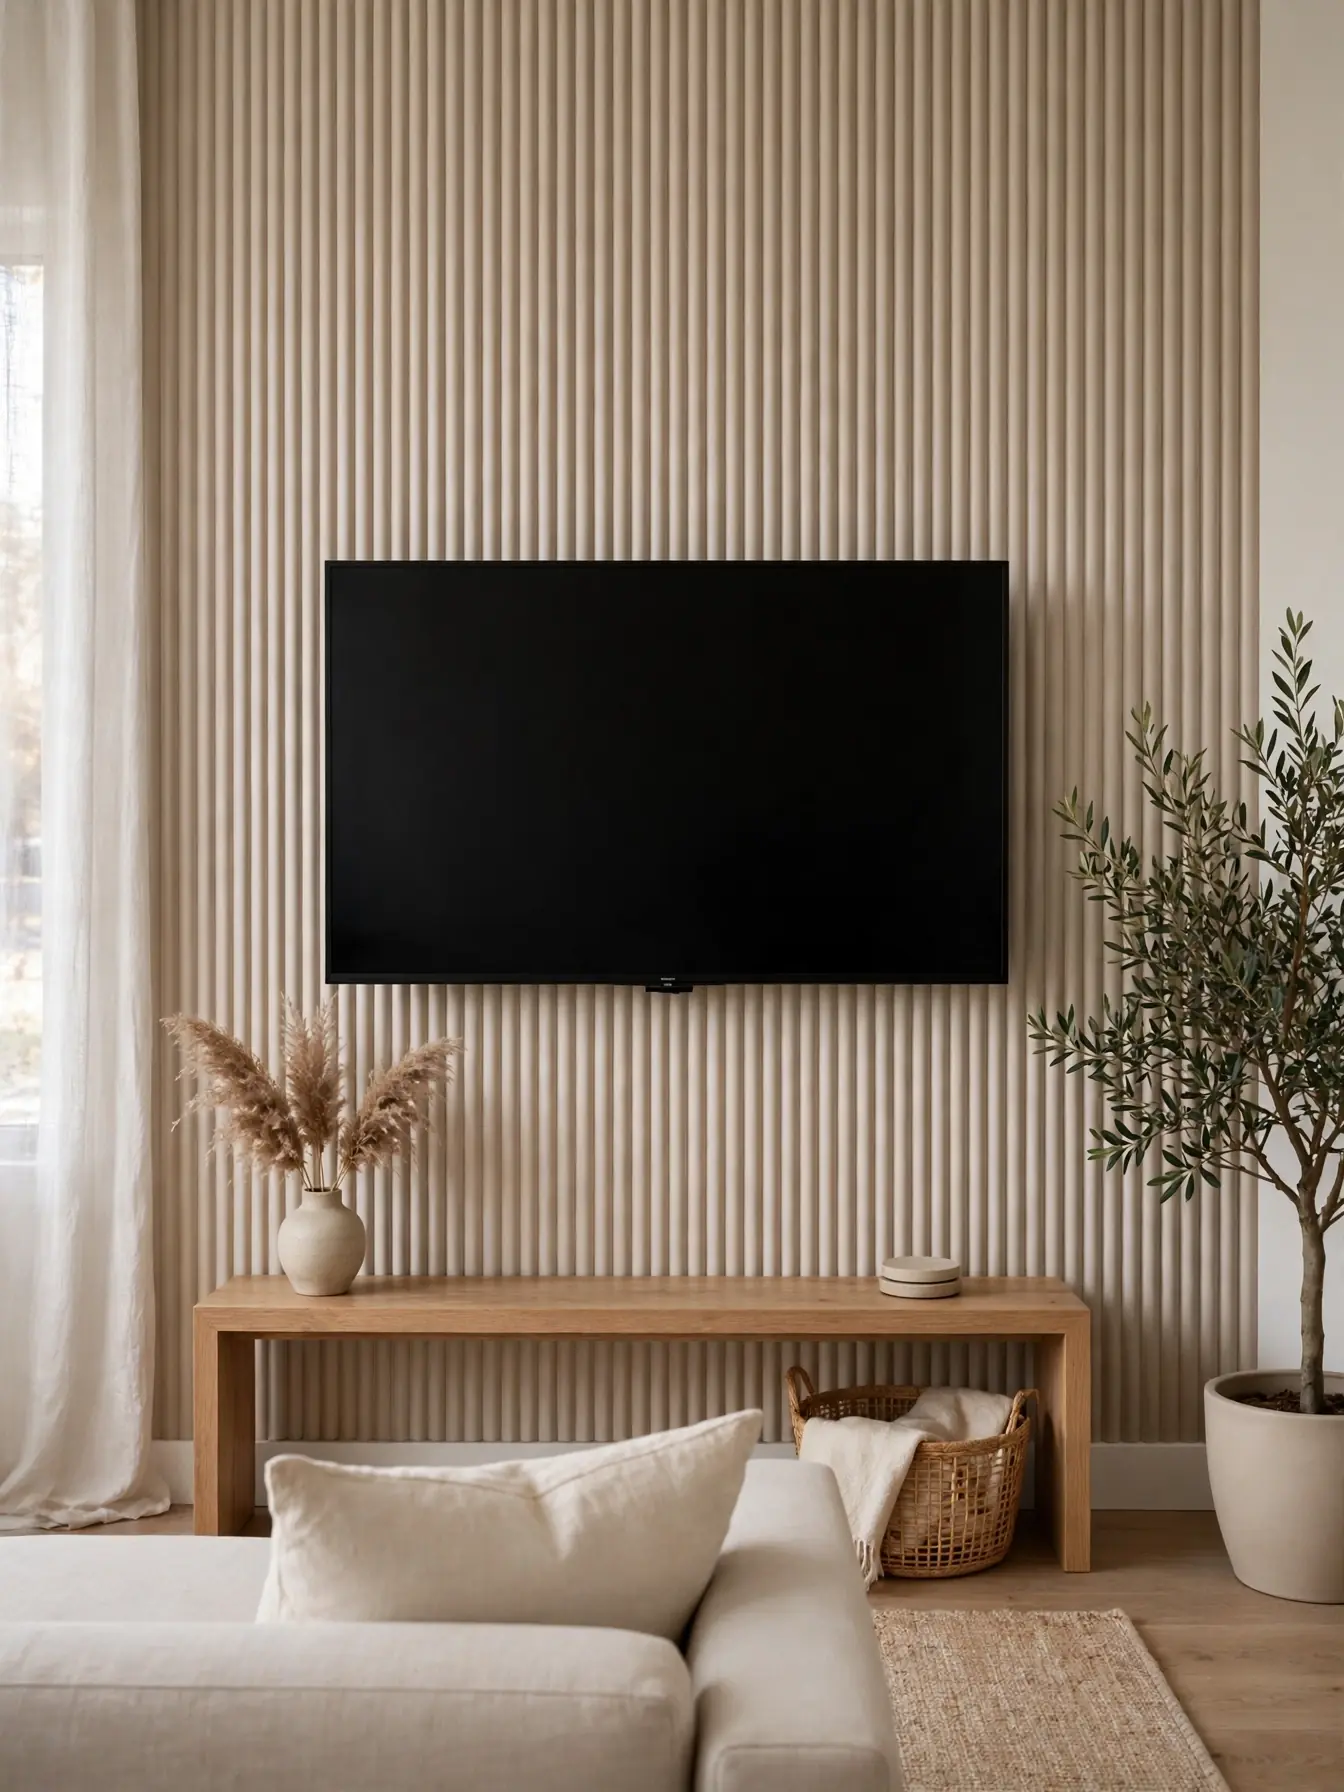
Fluted panels — narrow, rounded vertical ribs — give a softer version of the slat look and suit rooms where wood slats feel too rustic. They are usually sold as lightweight panels that glue or pin to the wall, and they take paint well, so you can match the wall colour or paint a contrasting shade. As of 2026, fluted panel kits for a TV wall typically cost about $120–$350.
3. Painted Shiplap for a Classic Cottage Feel
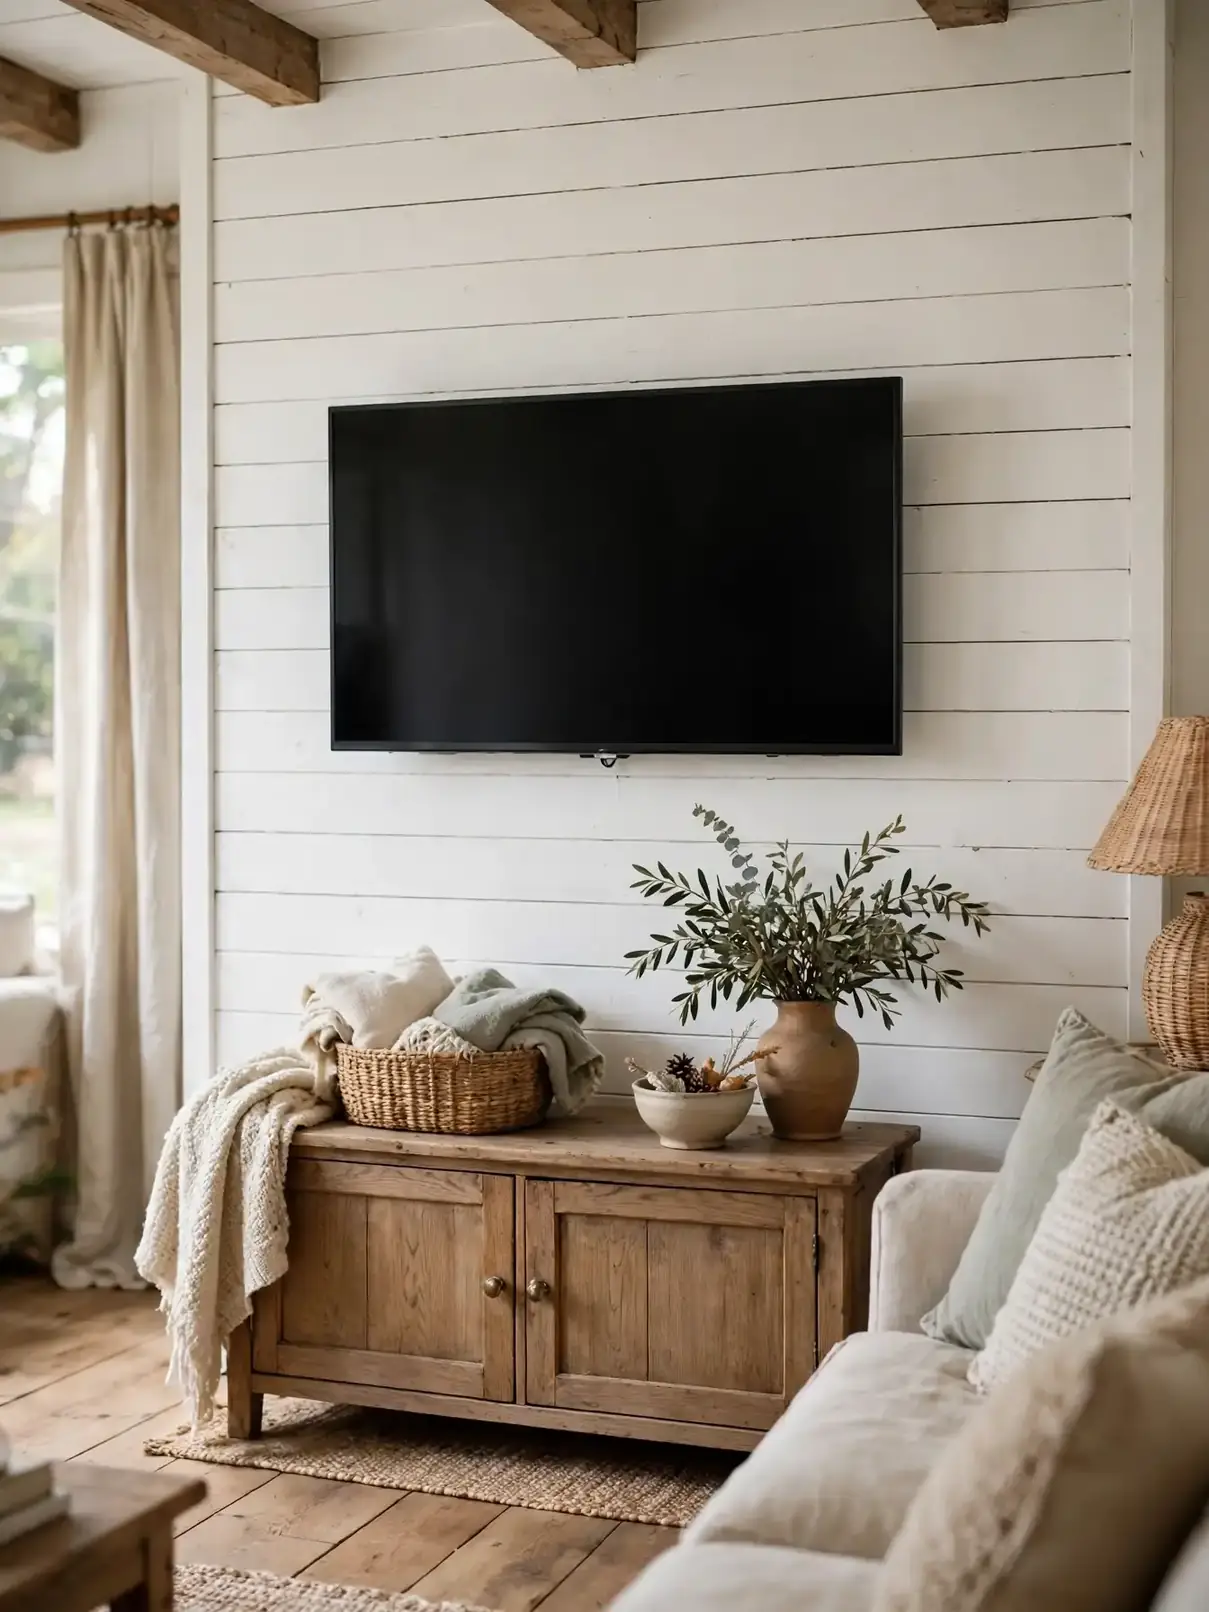
Shiplap gives a media wall a relaxed, cottage-style finish that works well in family living rooms. Horizontal boards make a wall feel wider, while vertical boards make a low ceiling feel taller, so pick the direction to suit your room. As of 2026, painted shiplap for a TV wall typically costs about $100–$300 in materials.
4. Acoustic Felt Panels for Quieter Movie Nights
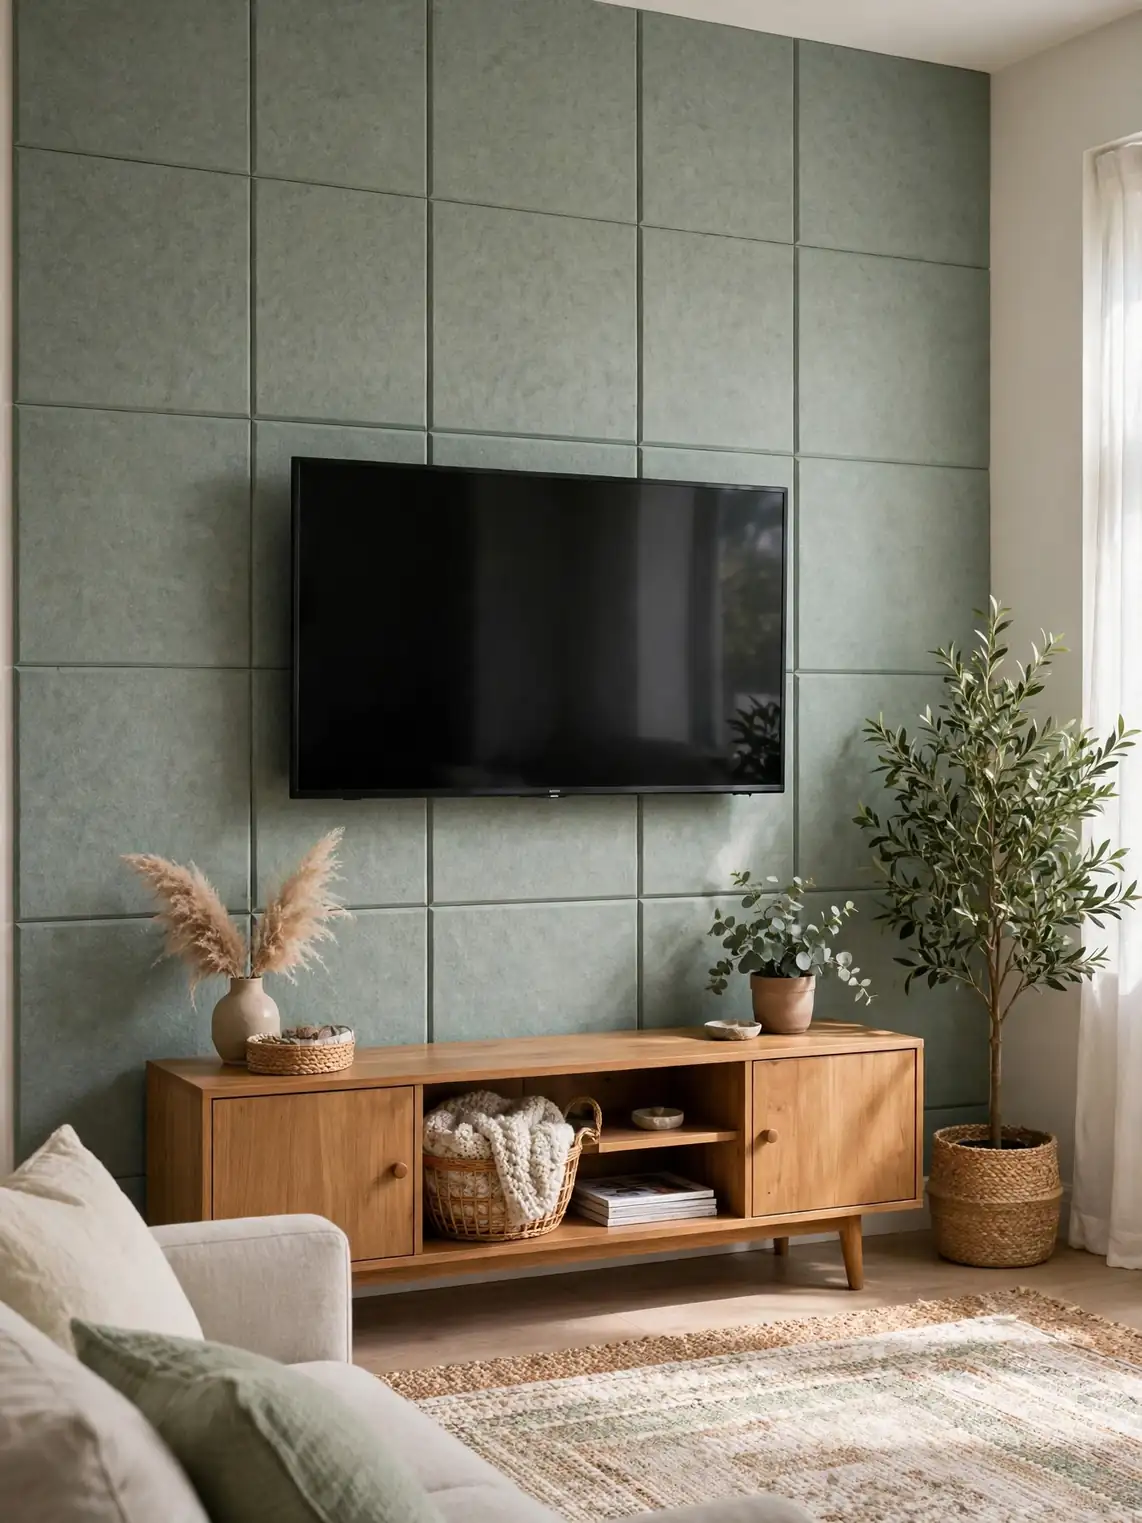
Felt acoustic panels do two jobs at once: they soften echo in a hard-surfaced living room and give the TV wall a soft, upholstered look. They come in tiles or long strips in muted colours, and they are light enough to fix with adhesive strips in many cases, which makes them a good option for renters. As of 2026, felt acoustic panels for a TV wall typically cost about $80–$250.
Shape the Wall Around the TV
These ideas shape the wall itself — its width, the TV's position, and cable and light handling.
5. A Full-Width Panel Wall, Floor to Ceiling

Running panels across the whole wall, floor to ceiling, makes the TV look like part of the architecture rather than an add-on. It works best on the main sofa-facing wall, and it suits larger screens because the panelled area never looks too small for the TV. As of 2026, a full-width panel wall typically costs about $200–$600 in materials, depending on the panel type.
6. A Framed Panel Niche for the TV

A shallow framed niche — panels set inside a slim border, with the TV mounted in the middle — gives a built-in look without building a full false wall. The frame can be made from the same panel material or from simple painted trim, and it visually contains the screen. As of 2026, a framed panel niche typically costs about $150–$400 in materials.
7. A Floating Shelf Ledge Under the Screen

A slim floating shelf under the TV gives you a place for a soundbar, a streaming box, or a couple of books, and it hides the bottom edge of the panelled area neatly. Keep the shelf the same width as the panelled section or slightly wider than the TV, and mount it into studs if it will hold anything heavier than a remote control. As of 2026, a floating shelf for a media wall typically costs about $40–$120.
8. Backlit Panels for a Soft Evening Glow

A strip of warm-white LED lighting behind the top or sides of a panelled TV wall adds a soft glow that makes evening viewing easier on the eyes and makes the wall look finished after dark. Stick-on LED strips usually fit behind a slat or a raised panel edge, and many run off a small plug-in transformer, so there is no hardwiring involved. As of 2026, plug-in LED strip lighting for a media wall typically costs about $20–$60.
Add Warmth, Texture, and Storage
Panels alone can feel flat. These ideas add storage, colour, or a second material.
9. Panelled Wall With Built-In Side Shelving
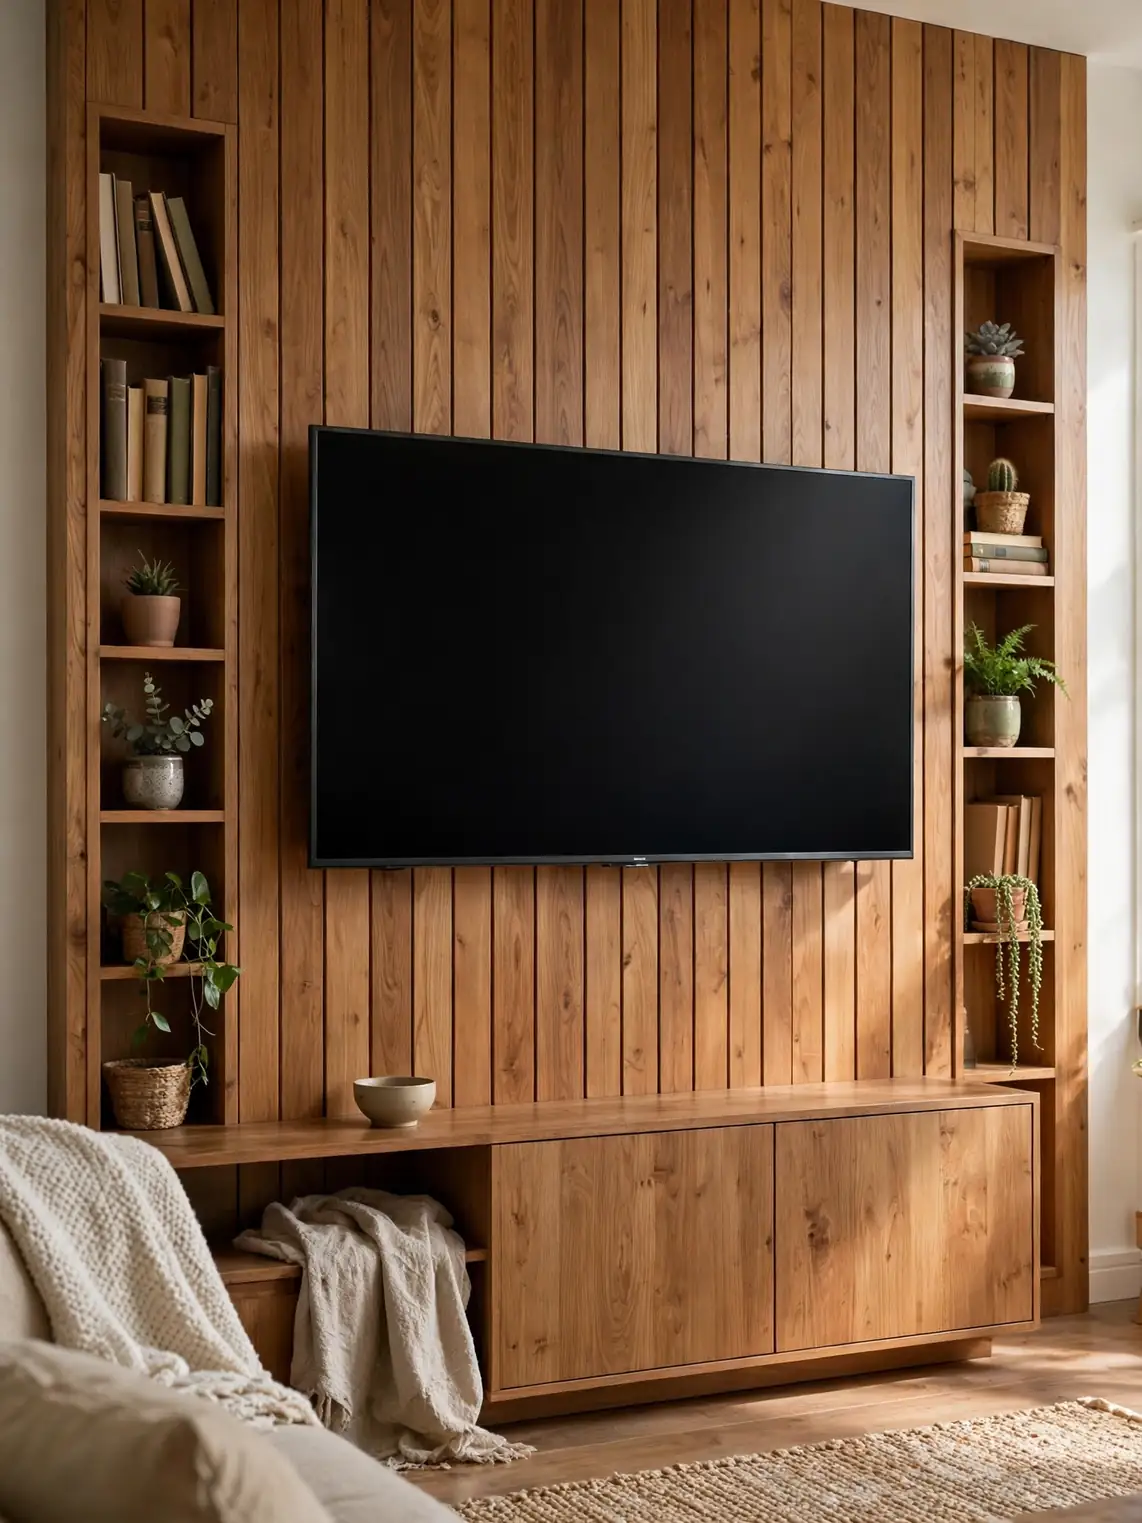
Flanking the TV with narrow open shelves turns a panel wall into storage as well as decor, giving books, plants, and a few favourite objects a home while balancing a wide screen. Keep the shelves shallow — about 8 to 10 inches deep is usually enough — and leave some empty space on each shelf so the display reads as styled, not crowded. As of 2026, side shelving for a media wall typically costs about $100–$400.
10. Panels Paired With a Stone-Look Feature Strip
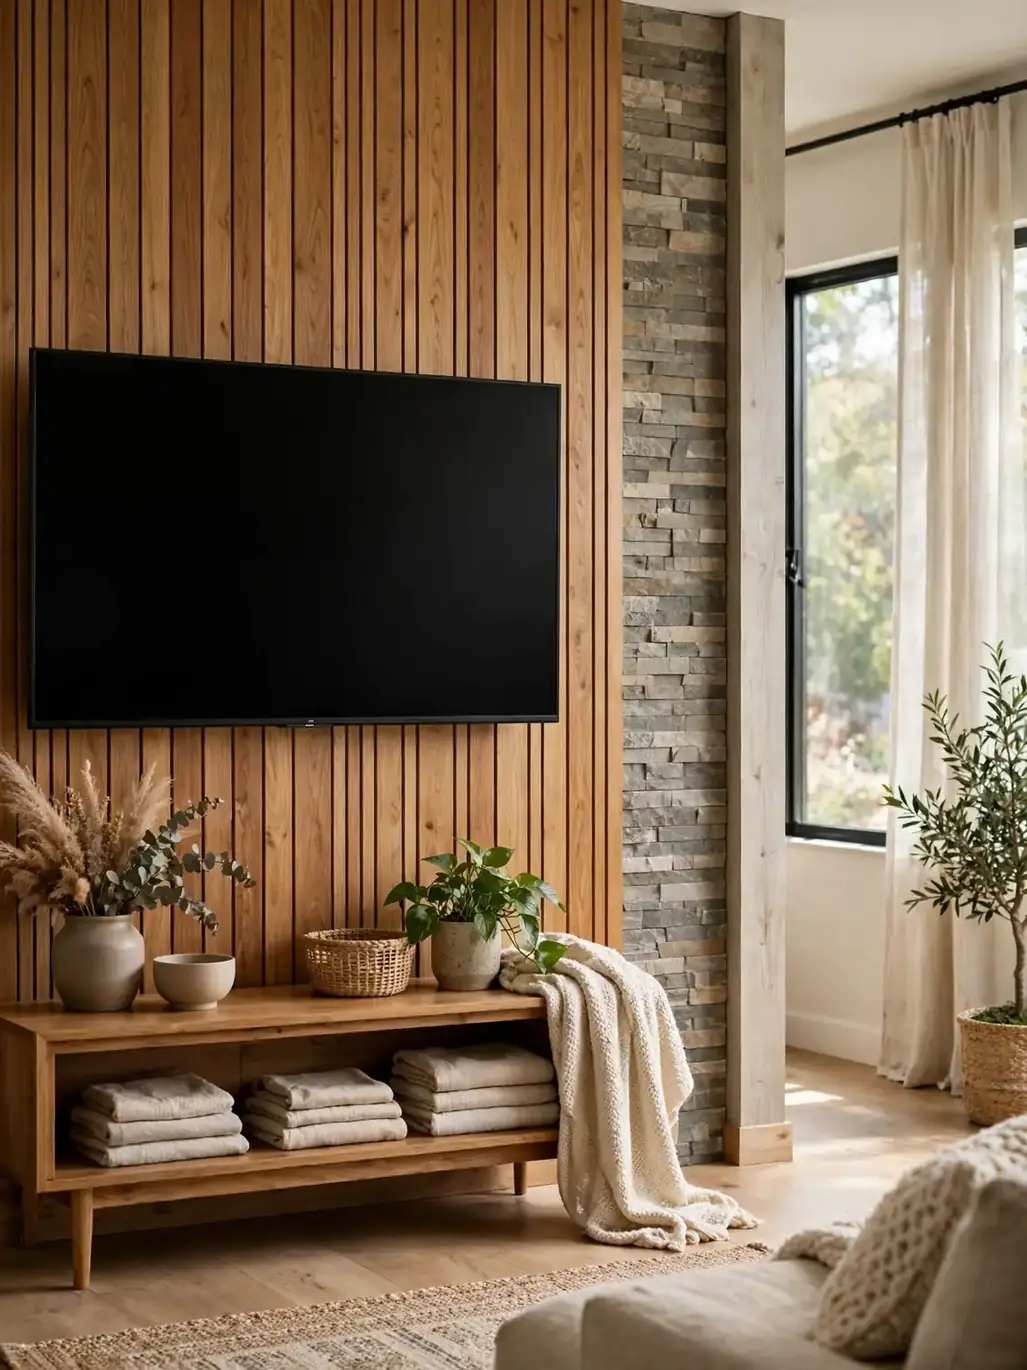
A narrow strip of stone-look tile or brick-look panelling next to wood panels adds contrast and a natural texture that suits a fireplace-free living room. Use it as a single vertical column beside the TV, or as a low band under the screen, rather than covering the whole wall — a little goes a long way. As of 2026, a stone-look feature strip typically costs about $100–$300.
11. Painted Panels in a Bold Accent Colour

Painting your panels a bold colour — deep green, navy, or charcoal — is the cheapest way to make a media wall feel designed rather than assembled. The colour frames the black screen so it blends in instead of standing out, and it can tie the wall to the sofa, rug, or curtains. As of 2026, paint and supplies for a panelled TV wall typically cost about $30–$80.
12. Panel Wall With a Decor Ledge for Seasonal Swaps
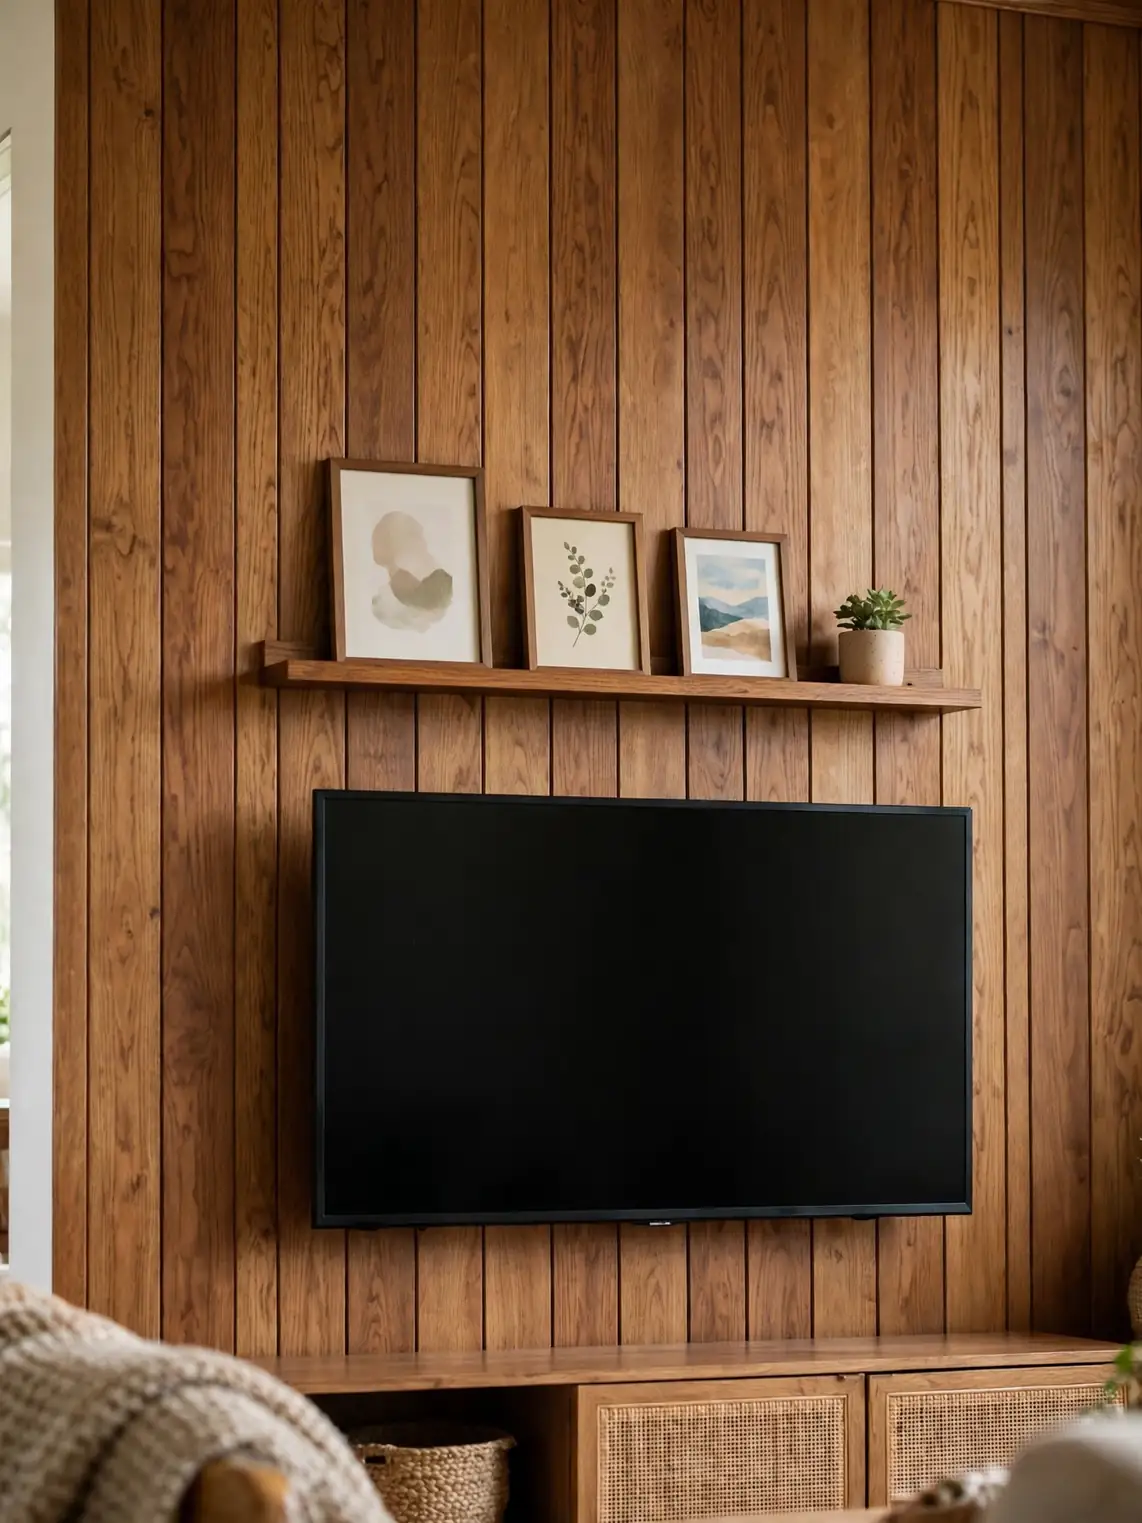
A narrow picture ledge fixed across the panelled wall, above or beside the TV, gives you a spot to rotate framed prints, small plants, and seasonal decor without rehanging anything. Keep the ledge clear of the screen's sightlines — above the TV or off to one side works best — and choose lightweight frames so the ledge stays safe. As of 2026, a decor ledge for a media wall typically costs about $25–$70.
Renter-Friendly and Low-Commitment Media Walls
These three ideas give you the panelled media-wall look with little or no wall damage.
13. Peel-and-Stick Panels You Can Remove Later
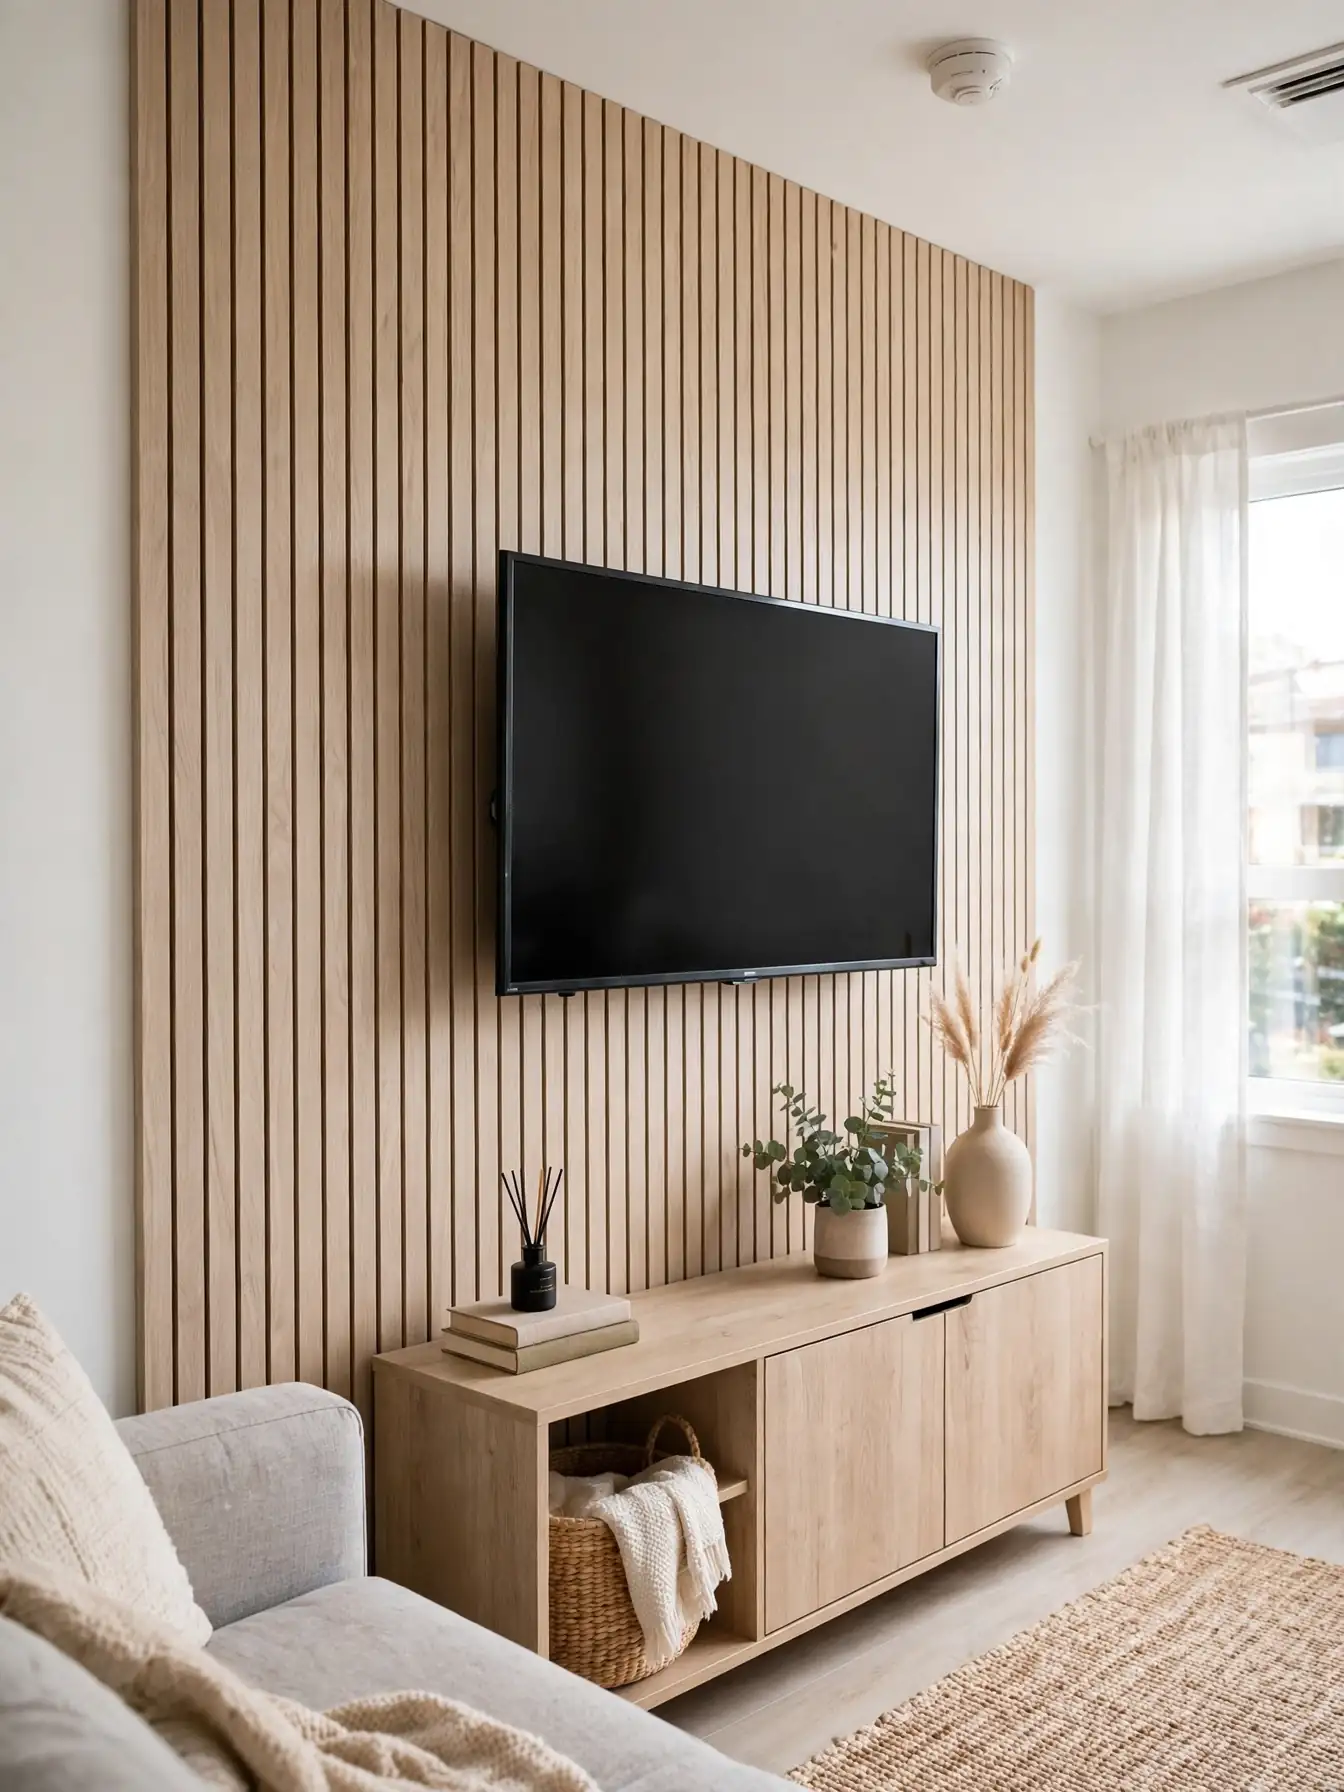
Peel-and-stick wall panels are the simplest renter-friendly route to a media wall: they press onto the wall, come in wood-look, slat, and 3D styles, and many are designed to peel off without stripping paint. They work best on smooth, clean walls, so test one panel in a hidden spot first and wait a day before doing the whole wall. For more on this approach, see our guide to peel-and-stick wall panels for renters. As of 2026, peel-and-stick panels for a TV wall typically cost about $80–$250.
14. A Freestanding Panel Screen Behind the TV

A freestanding panel — a tall, self-supporting screen or a large framed panel on feet — stands behind the TV and needs no wall fixing at all. It works well in rentals and in rooms where the TV sits on a console rather than on the wall, and you can move it when you rearrange the room. As of 2026, a freestanding panel screen typically costs about $100–$300.
15. Large Lean-Against Panels as a Faux Feature Wall

Two or three wide panels leaned against the wall behind the TV create a feature-wall effect with zero fixings. Choose panels tall enough to rise above the screen and wide enough to frame it, and secure the tops discreetly if the household includes small children or pets. For the broader panel basics, see our DIY wall panel ideas. As of 2026, lean-against panels for a TV wall typically cost about $60–$200.
FAQ
Do wall panels damage the wall behind the TV?
It depends on the fixing. Screwed or glued panels can leave holes or pull paint when removed. Peel-and-stick panels, freestanding screens, and lean-against panels usually leave no damage — but test one panel first and check your lease.
How big should a panelled TV wall be?
A good starting point is a panelled area about 6 to 12 inches wider than the TV on each side, running from the console to the ceiling or floor to ceiling.
Can I mount a TV directly onto wall panels?
Usually, yes — but the mount itself must be fixed into wall studs or solid masonry behind the panels, not just into the panels. If you are unsure where the studs are, ask a professional.
How do I hide TV cables on a panelled wall?
Plan cable routing before the panels go up. The usual options are a cable channel hidden behind a slat or panel edge, a hollow section behind the panels, or cables dropped behind a floating shelf or console.
Are TV wall panels renter-friendly?
Some are. Peel-and-stick panels, freestanding screens, and lean-against panels are the safest choices for renters, since they need no drilling or glue. Screwed, nailed, or glued panels can risk a deposit, so check your lease first.
What panel colour works best behind a TV?
Dark or mid-tone colours usually work best, because they help a black screen blend into the wall instead of standing out. Warm wood tones, charcoal, deep green, and navy are popular choices.
Conclusion

A panelled TV wall works when the TV and the panels are planned as one piece: the right size for the screen, cables hidden before the panels go up, and a style that fits the room you actually live in. Wood slats and fluted panels suit most living rooms, painted panels are the budget-friendly route, and peel-and-stick or freestanding options keep the look open to renters.
Start with one idea from this list, measure twice, and test your fixings before committing to the whole wall. The result is a living room where the TV feels like it belongs — a focal wall that looks built-in and hides the clutter.

Thiago Alexander is the Chief Editor at Nested Charm. With a deep passion for interior design and cozy living spaces, he leads the editorial team in crafting stories that make every house feel like a home.