
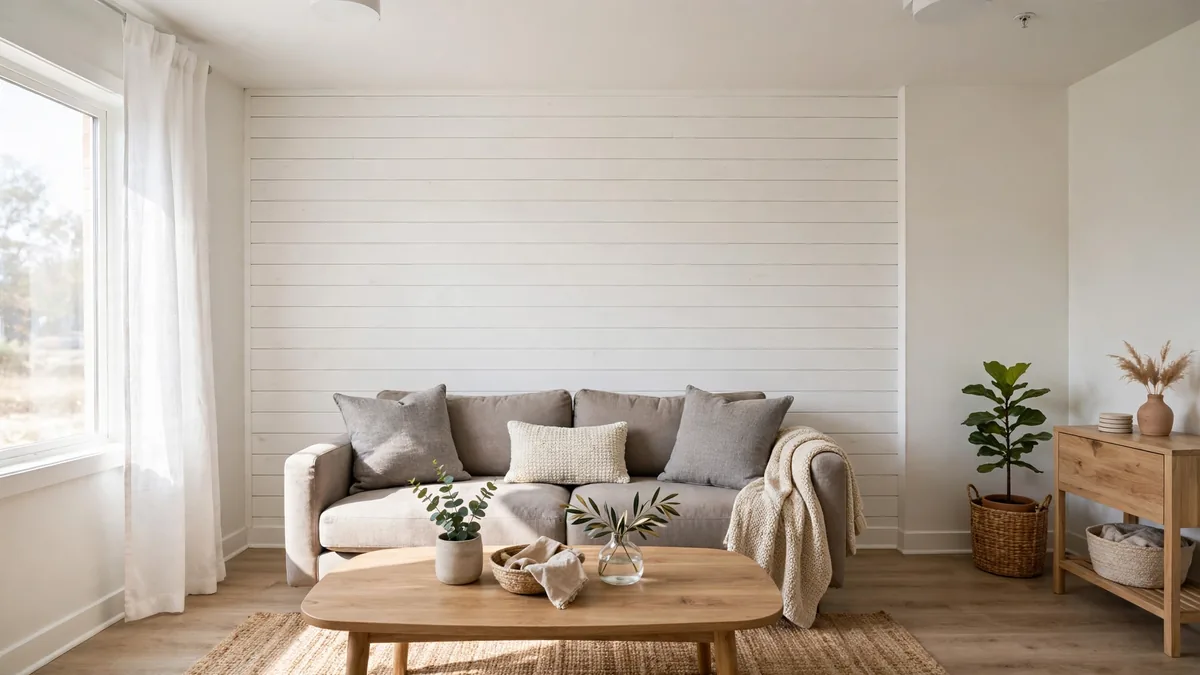
15 Peel-and-Stick Wall Panels for Renters That Come Off Clean
Executive Summary
Peel-and-stick wall panels are one of the easiest ways for renters to get the look of shiplap, brick, or wood slats without nails, glue, or a landlord’s renovation approval. The panels stick on with a removable adhesive backing, so a plain rental wall can become an accent wall or a backsplash in a single afternoon — and come back off when you move out.
The trick is choosing panels made to be removed, not just panels that stick well. This list focuses only on removable, renter-friendly options, with a deposit-safety note wherever a step could go wrong: testing the adhesive first, skipping damaged or freshly painted walls, and peeling panels off slowly with gentle heat. If your lease is strict, the last section covers options that use no wall adhesive at all.
In short: pick lightweight peel-and-stick panels, test them in a hidden spot first, install on clean, smooth, fully cured paint, and remove them slowly with gentle heat — and you can enjoy a finished-looking wall without risking your deposit.
Bedrooms and Living Rooms First
These walls give the biggest payoff for the least effort. Start with one accent wall rather than a whole room: it costs less and is far easier to remove at move-out.
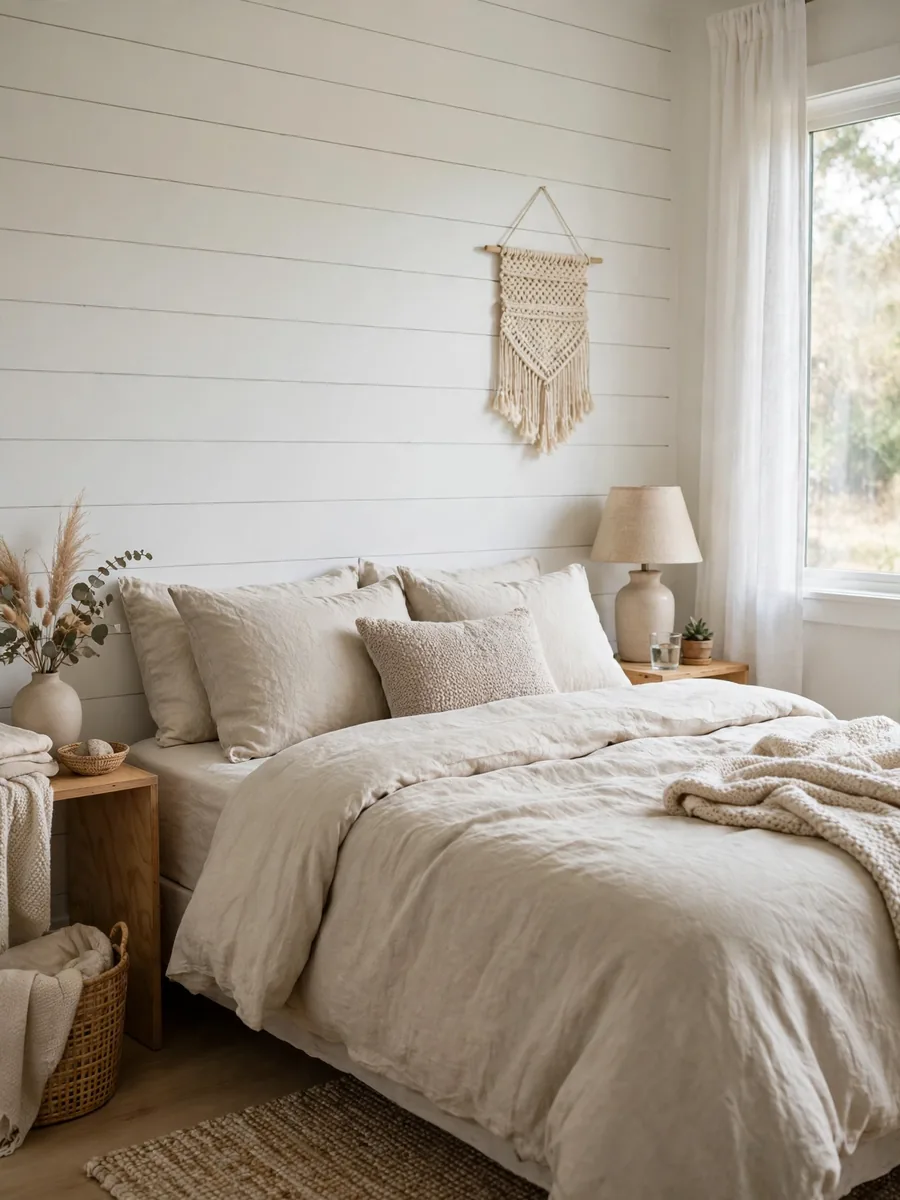
1. Shiplap-Look Accent Wall Behind the Bed
Light, horizontal shiplap-look panels turn a blank bedroom wall into a finished headboard backdrop. Measure the wall, mark a level starting line, and work from the bottom up, trimming the last panel in each row with a utility knife. A single accent wall usually runs about $60–$120 as of 2026, depending on wall size. Before you commit, test one panel behind furniture for a few days to confirm it peels off cleanly.
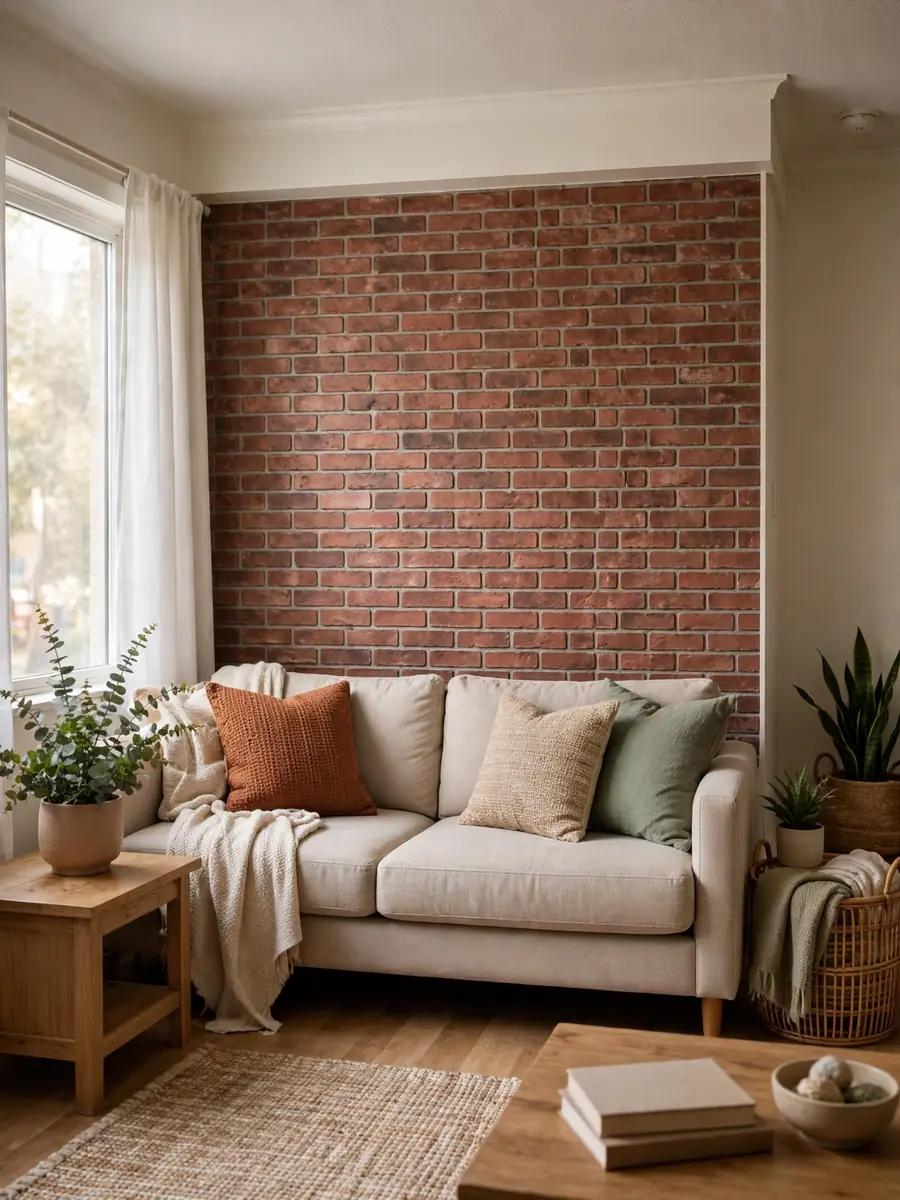
2. Faux-Brick Feature Wall in the Living Room
Faux-brick panels add warmth to a living room without the weight or permanence of real brick. Choose lightweight foam or vinyl-style panels, stagger the seams like real brickwork, and keep them away from fireplaces, radiators, and other heat sources, where adhesive can fail or panels can warp. Expect roughly $80–$150 as of 2026 for one feature wall. See also our no-drill wall decor ideas for renters to finish the room without a single hole.
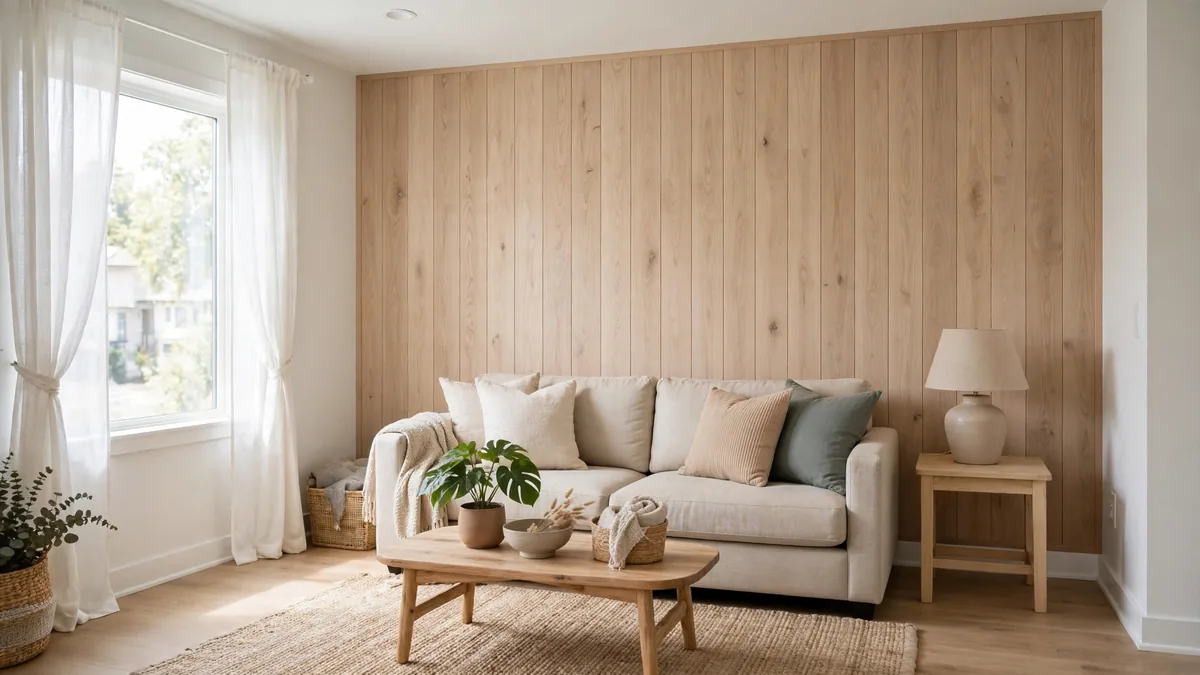
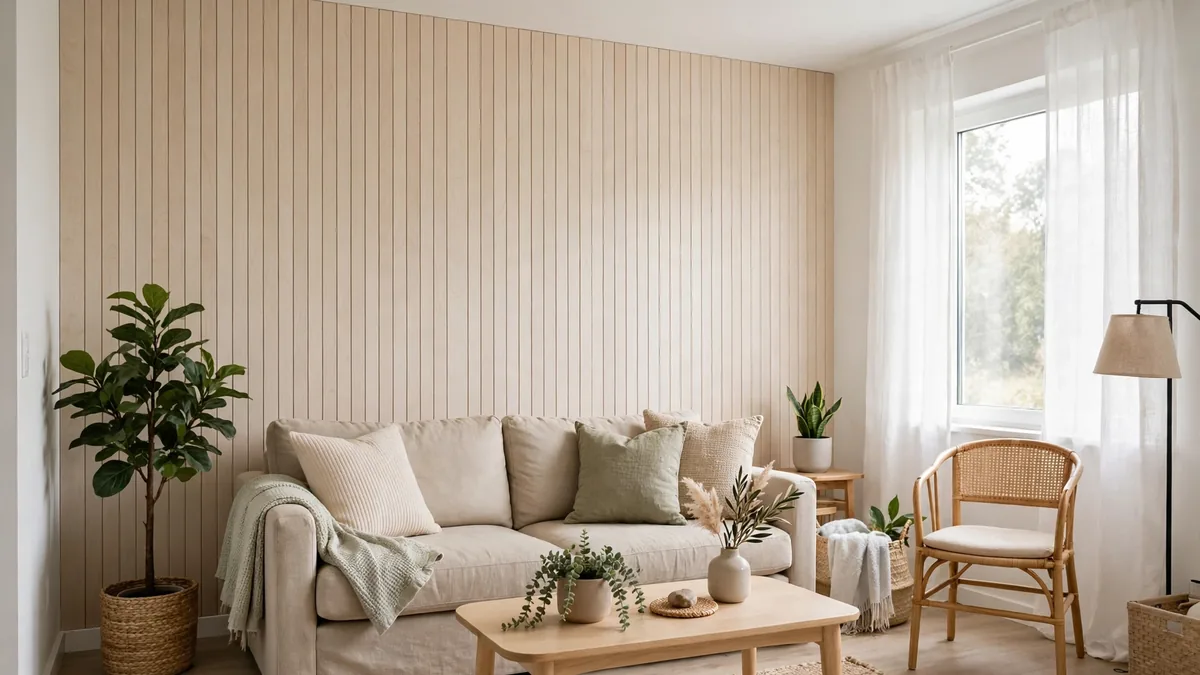
3. Vertical Slat Panels for a Narrow Entryway
Vertical slat panels draw the eye upward, which makes a narrow entryway feel taller and more intentional. Entry walls get bumped by bags and shoes, so press the edges down well. A small entry wall typically costs about $40–$80 as of 2026. On heavily textured walls, skip adhesive panels — they grip poorly and can pull paint on removal — and use a framed option from the last section instead.

4. Soft Geometric Panels for a Reading Nook
Low-profile geometric panels give a reading corner texture without shouting for attention. Pick a tone close to your wall color and cover just the nook wall, so the pattern reads as a deliberate backdrop. A small nook usually needs about $30–$60 as of 2026 in panels. A small wall also means a small removal job if you change your mind.

Kitchens, Bathrooms, and Other Tricky Walls
Wet and greasy rooms need extra care: only the right panel type in the right spot, and some walls are better left alone.
5. Marble-Look Panels as a Kitchen Backsplash
Marble-look panels give a rental kitchen a finished backsplash without tile, grout, or landlord approval for a remodel. Clean the wall thoroughly first, since cooking grease stops adhesive bonding, and keep panels away from stove heat and open flames. A standard backsplash run usually costs about $40–$90 as of 2026. Wipe splashes promptly, and avoid soaking the panel edges, which can loosen over time.

6. Beadboard-Look Panels for a Bathroom Refresh
Beadboard-look panels suit a bathroom’s lower wall or a single vanity wall, where they add a cottage feel for little money. Choose panels rated for damp rooms, keep them out of direct shower spray, and run the bathroom fan during showers. Budget roughly $40–$80 as of 2026. If your bathroom walls already have peeling paint or soft spots, flag it to your landlord and use a freestanding option instead. For a matching floor update, see our renter-friendly checkerboard peel-and-stick bathroom floor ideas.

7. Wood-Tone Planks for a Home-Office Video-Call Backdrop
A wood-tone plank wall behind your desk looks polished on video calls and hides a plain rental wall without a full-room project. Cover only the width your camera sees, and never cover vents, outlets, or electrical panels. A camera-width backdrop usually costs about $30–$70 as of 2026. A small wall is also quick to remove at move-out.

8. Stone-Look Panels for a Hallway That Needs Depth
Stone-look panels add depth to a flat, featureless hallway, especially in a light tone that keeps the space bright. Use them on one wall only, and avoid surfaces that get regular knocks from furniture. One hallway wall typically runs about $50–$100 as of 2026. Skip it on crumbling plaster or flaking paint.

Small Spaces, Big Impact
Small rooms reward restraint: a partial wall or a single surface often beats a floor-to-ceiling installation, and every smaller job is a smaller move-out job.
9. Half-Wall Panels for a Dining Nook
Running panels up to chair-rail height in a dining nook gives the feel of wainscoting for a fraction of the cost and work. Mark a level line around the nook and keep the upper wall painted so the room still feels open. A small nook usually costs about $40–$80 as of 2026. Partial coverage also means less adhesive on the wall overall.

10. Panelled Backdrop Behind the TV
Panels behind a wall-mounted or console TV turn a tangle of cables and a blank wall into a deliberate media wall. Keep panels clear of TV vents and heat sources, leave access to outlets, and run cables in a cord cover. A TV-width backdrop usually costs about $30–$70 as of 2026. Check your lease before moving any TV mounts or brackets.

11. Peel-and-Stick Panels Inside a Bookcase Back
Sticking panels to the back of a bookcase, rather than to the wall, gives you the panelled look with zero wall adhesive. Remove the shelves, line the back panel, and trim neatly. It usually takes one or two packs, about $20–$40 as of 2026, and it moves with you. This is the safest first try for nervous renters: the worst case is a bookcase back you can replace, not a wall to repair.

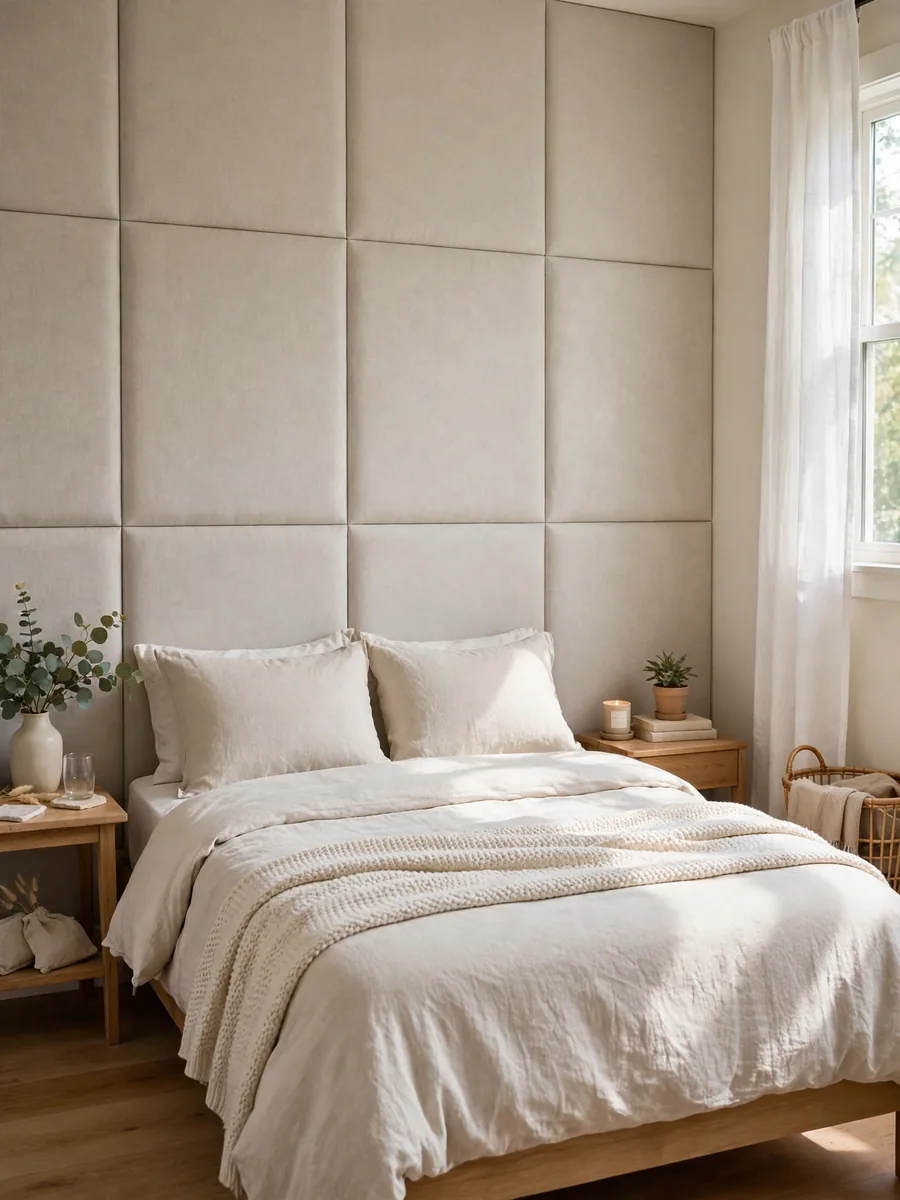
12. Fabric-Look Panels for a Guest Room Wall
Fabric-look panels soften a guest room and add a textile feel without hanging heavy fabric. Use them behind the bed or on one side wall, and keep them away from cribs, heaters, and damp corners. One wall typically costs about $40–$80 as of 2026. Keep panels well out of reach of small hands that could peel them off.
Zero-Commitment Options for Strict Leases
If your lease bans adhesive outright, or your walls are too delicate for it, these ideas give you the panel look with nothing sticky on the wall.
13. Framed Panel Art for Strict Landlords
Mount panels onto a large foam board or thin plywood sheet, frame the edges, and hang the finished piece with removable picture strips. You get a bold panelled statement piece, and the only thing touching your wall is a strip designed to come off. A large framed piece usually costs about $30–$60 as of 2026, including the board. When you move, the art moves with you and the wall is untouched.

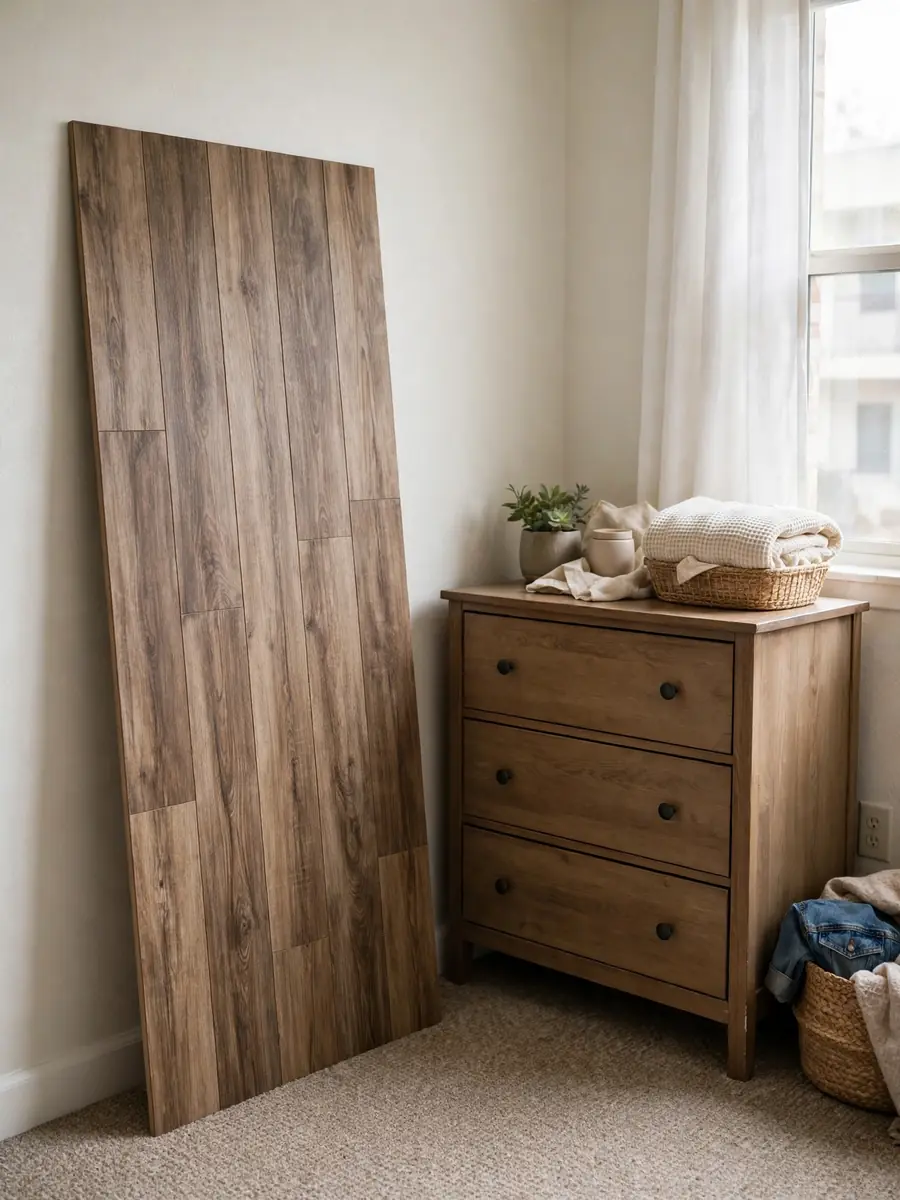
14. Leaning Panel Boards for a No-Adhesive Look
Cover a tall board with panels and lean it against the wall like oversized art. This works well beside a bed or a console, but safety comes first: the board must be stable, kept away from walkways where it could be knocked over, and secured at the top if children or pets could pull on it. A leaning board usually costs about $30–$60 as of 2026. If you cannot make it stable, choose the framed hanging option instead.
15. Temporary Panels on a Freestanding Room Divider
Panel a folding room divider to create a feature wall that also divides a studio apartment. Cover both sides for a finished look from every angle, keep the divider stable on a flat floor, and fold it away when you move. A divider project usually costs about $40–$80 as of 2026, plus the divider itself if you do not already own one. For studio renters, this is often the easiest win: no wall contact, no removal job.

Frequently Asked Questions
Will peel-and-stick wall panels damage rental walls?
Usually not, if you use panels sold as removable, apply them to clean, smooth, fully cured paint, and remove them slowly. The biggest risks are fresh, damaged, or flaking paint and heavily textured walls. Always test one panel in a hidden spot first.
How do I remove peel-and-stick panels without losing my deposit?
Peel slowly from one corner, warming the panel gently with a hair dryer on low, and stop if paint starts to lift. Wipe residue with a damp cloth and mild soap, let the wall dry, and photograph it afterward. If paint lifts, tell your landlord early.
Can I use peel-and-stick panels on textured walls?
Typically, no — at least not well. Adhesive needs a smooth surface, so panels on heavy texture peel at the edges and can pull loose paint. On light texture, test one panel first; on heavy texture, use a framed board or divider instead.
Do peel-and-stick panels work in bathrooms and kitchens?
They can, with the right placement: panels suited to damp rooms, kept out of direct shower spray and away from stove heat, in a ventilated room. Avoid damaged paint and areas that stay wet.
How long do peel-and-stick panels last in a rental?
Many people find they last a typical lease — a year or more — on a clean, smooth wall away from heat and constant moisture. Edges in steamy bathrooms may loosen sooner; pressing them down or replacing one panel is usually enough.
What should I check in my lease before installing panels?
Look for clauses about adhesives, wall coverings, and alterations, and ask your landlord in writing if anything is unclear. Written permission protects you at move-out, and before-and-after photos give you a clear record.
Conclusion
Peel-and-stick wall panels work best for renters when the project stays small, removable, and honest about the wall underneath. Pick one accent wall, test the adhesive in a hidden spot, keep panels away from heat, steam, and damaged paint, and plan your removal before you install. Do that, and you get a home that looks finished while you live in it — and a wall that looks untouched when you hand back the keys.

Thiago Alexander is the Chief Editor at Nested Charm. With a deep passion for interior design and cozy living spaces, he leads the editorial team in crafting stories that make every house feel like a home.



6 Comments