15 Outdoor Cat House for Winter DIY Ideas That Keep a Stray Cat Warm on a Budget
Executive Summary
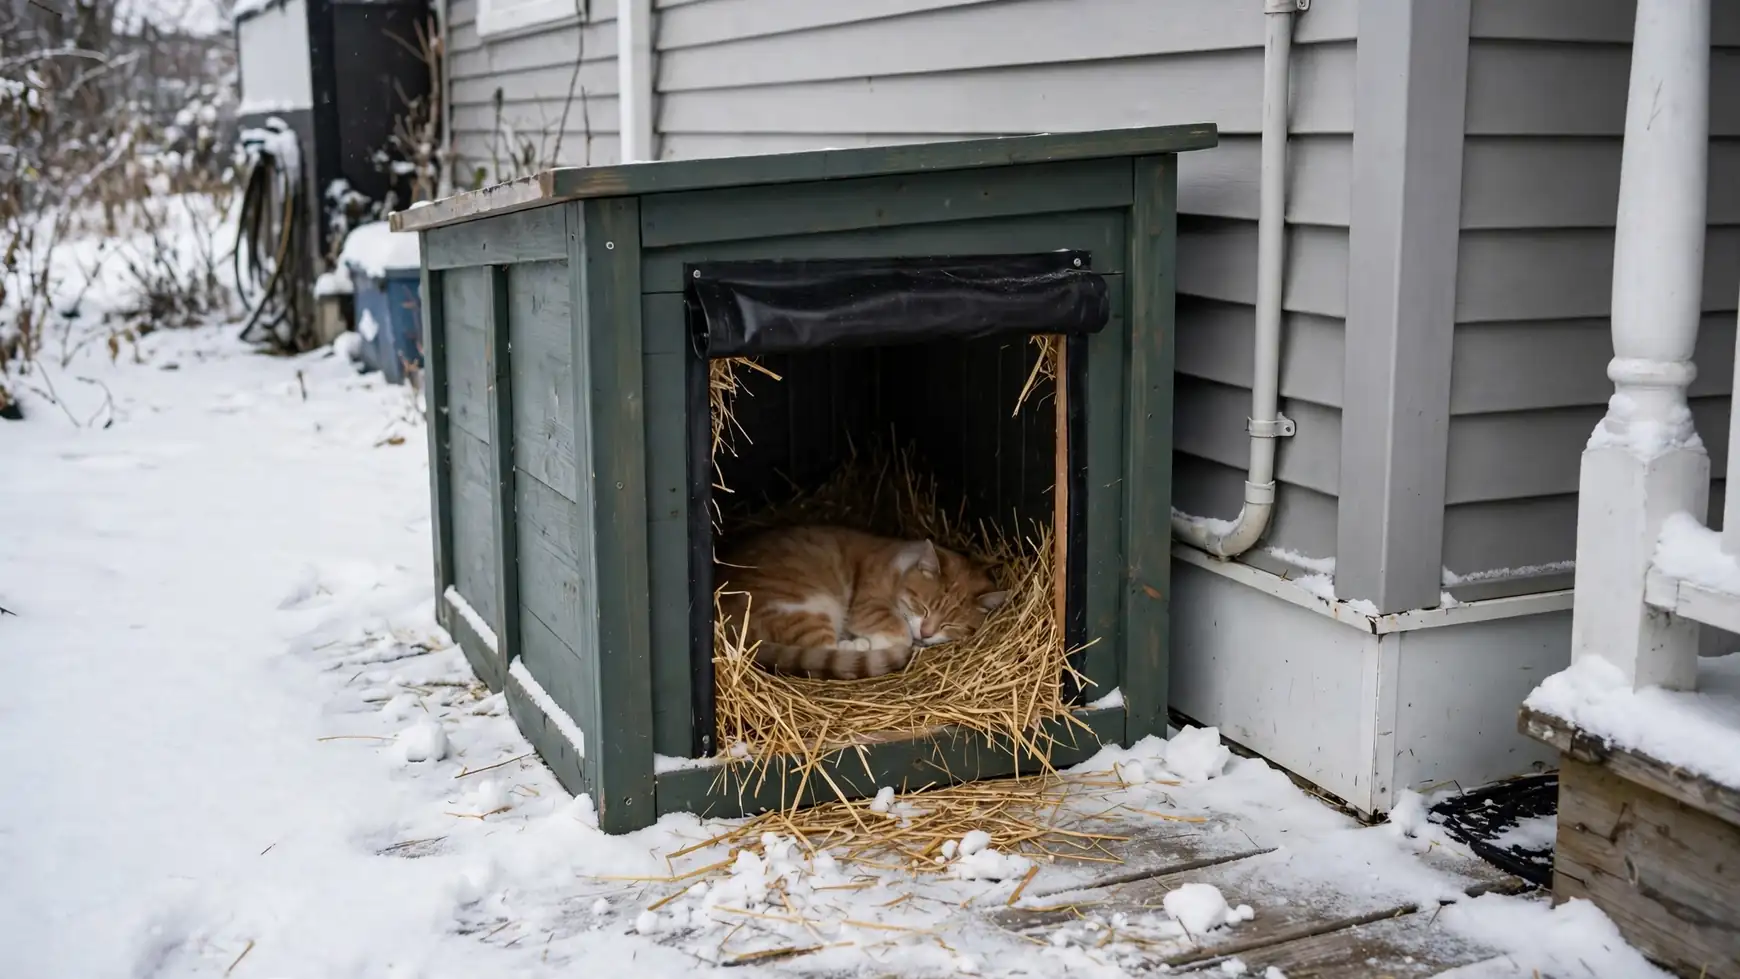
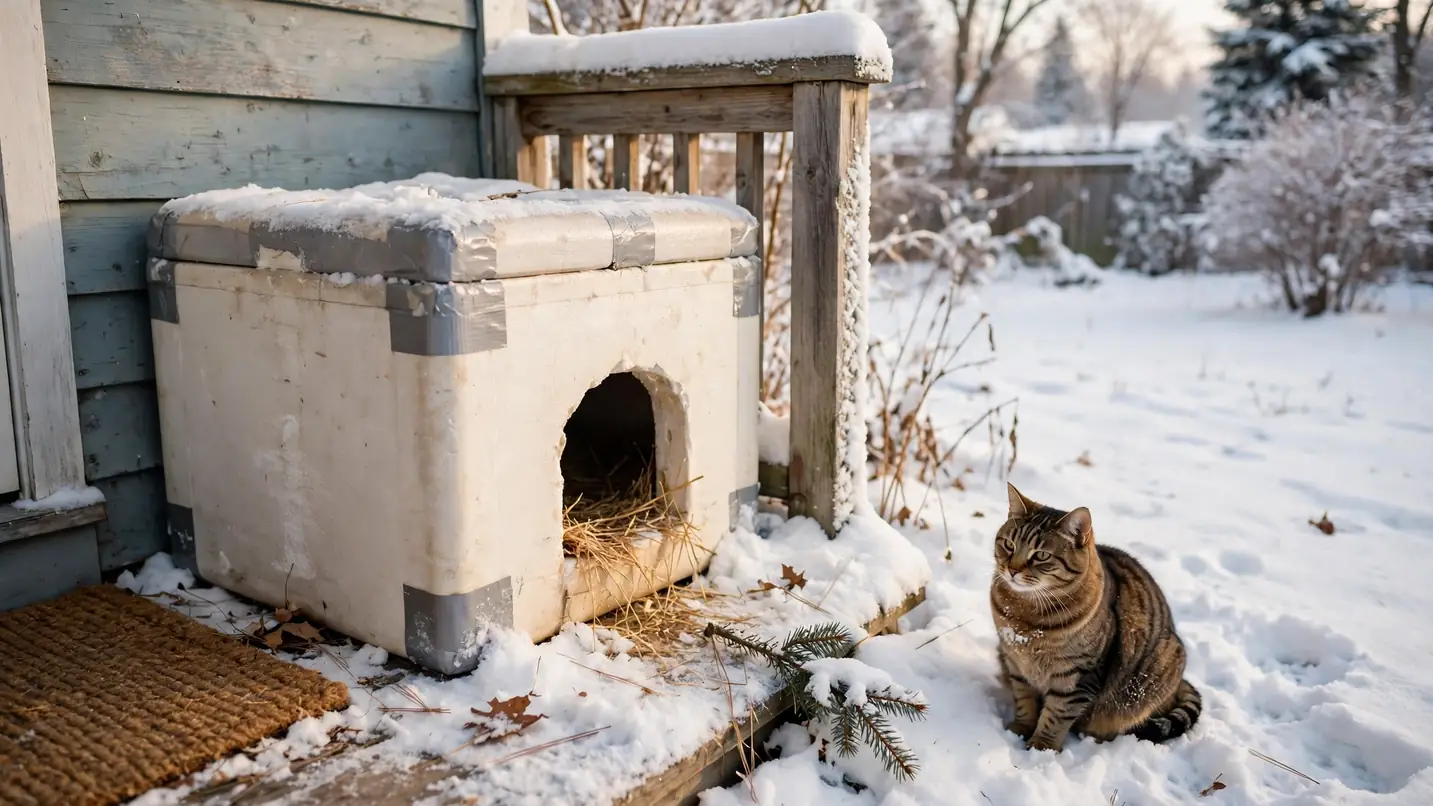
When cold weather arrives, an outdoor cat does not need a fancy shelter. It needs a small, dry, windproof box that holds its own body heat, stays off the cold ground, and keeps rain and snow out. The builds below use foam coolers, plastic bins, scrap plywood, and pallets, and every one works without any electric heat outdoors.
Think small and dry rather than big and fancy. A shelter just large enough for a cat to curl up in warms up faster than a roomy doghouse, and straw bedding stays dry and insulating in a way blankets never do. Start with the simplest build you can finish today.
In short: Build a small, raised, waterproof shelter with a cat-sized entrance, fill it loosely with straw (never blankets or hay), place it out of the wind, and check it weekly. The 15 ideas below start with a foam-cooler shelter you can make in an afternoon and end with the simple winter routine that keeps any shelter working.
Start With the Cheapest Warm Shelter
These first builds cost little, need few tools, and can be finished in an afternoon.
1. The Classic Foam-Cooler Shelter

Cut one round entrance, about 5 to 6 inches across, in one short side of a thick foam cooler, and cut a smaller escape hole in another side if the cooler is large enough. Fill the bottom loosely with straw, put the lid back on, and weigh the cooler down with a brick or paving stone so wind cannot flip it. Approximate cost: free if you already have a cooler, or about $5–$15 for a secondhand one as of 2026.
2. The Two-Bin Insulated Shelter

Take two plastic storage bins, one a little smaller than the other, and cut matching entrances in both. Set the smaller bin inside the larger one and pack the gap between them with foam board, packing foam, or extra straw. Add a loose layer of straw inside, snap or tape the lids on, and seal the entrance edges with weatherproof tape. The double wall traps air and stays much warmer than a single bin. Approximate cost: about $15–$30 as of 2026.
3. The Emergency Cardboard-in-a-Bin Shelter
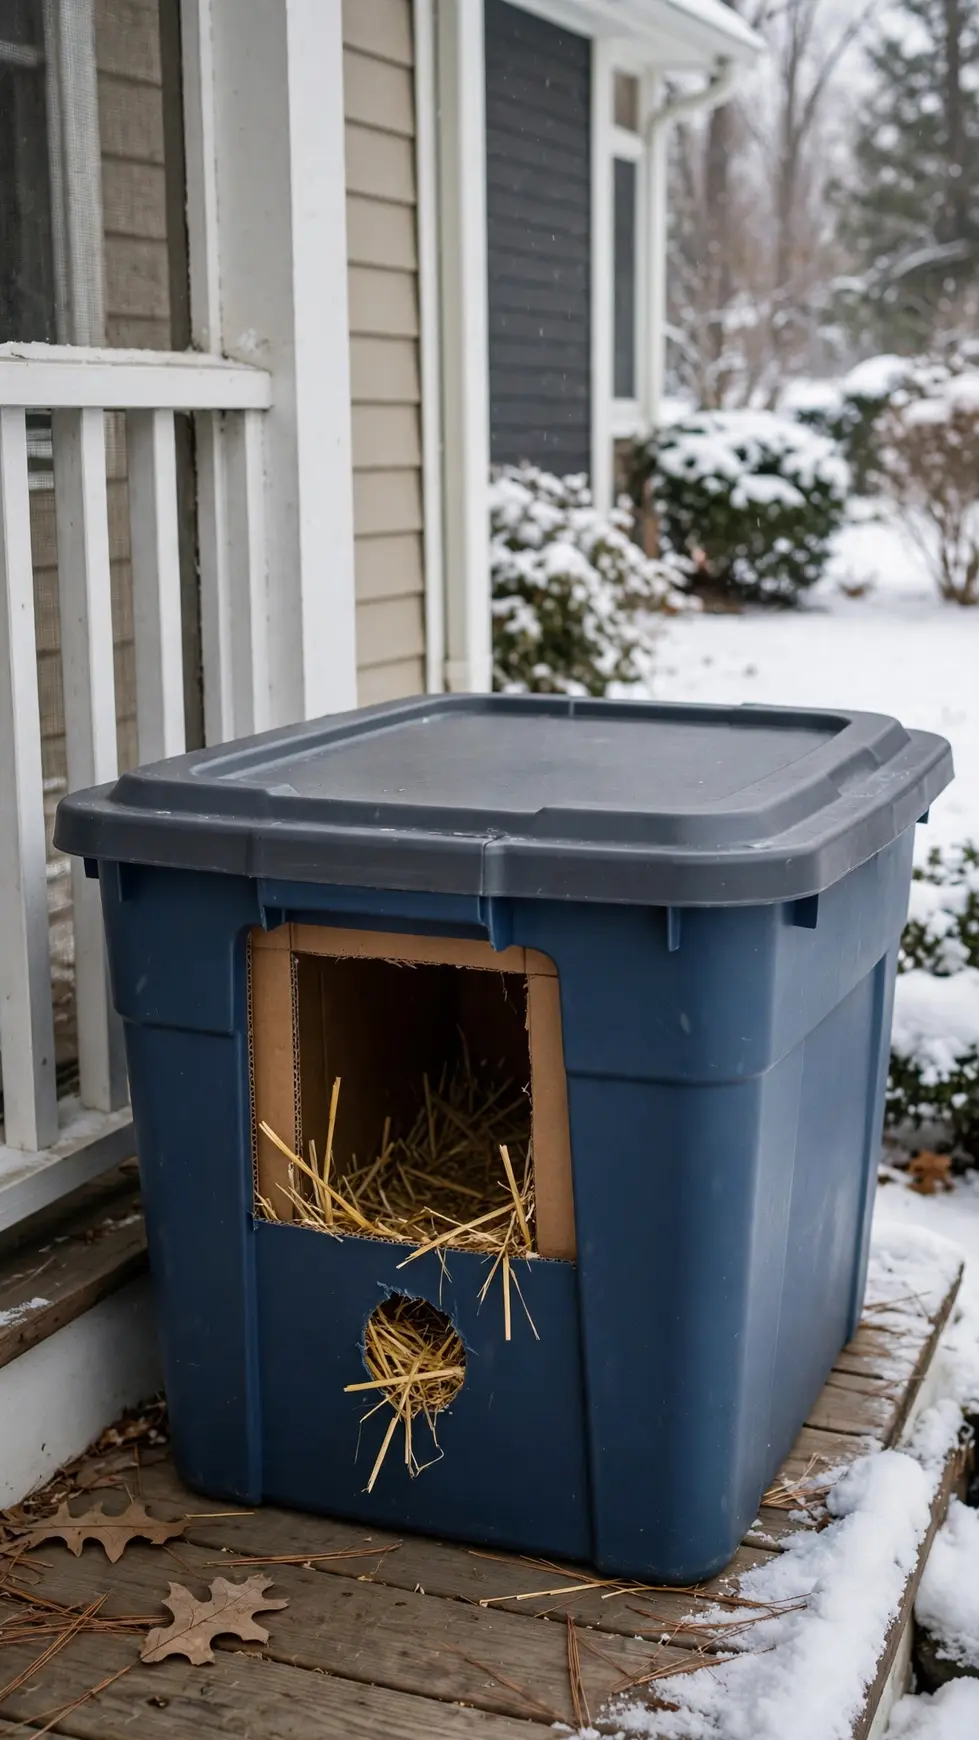
If a cold snap is coming tonight and you have no foam, line a sturdy plastic bin with a cardboard box, cut matching entrances, and fill it with straw. The cardboard adds a layer of insulation and the bin keeps rain off it. Treat this as a short-term fix, and upgrade to foam or plywood when you can. Approximate cost: about $5–$10 as of 2026, or free from boxes you already have.
4. The Simple Plywood Box House
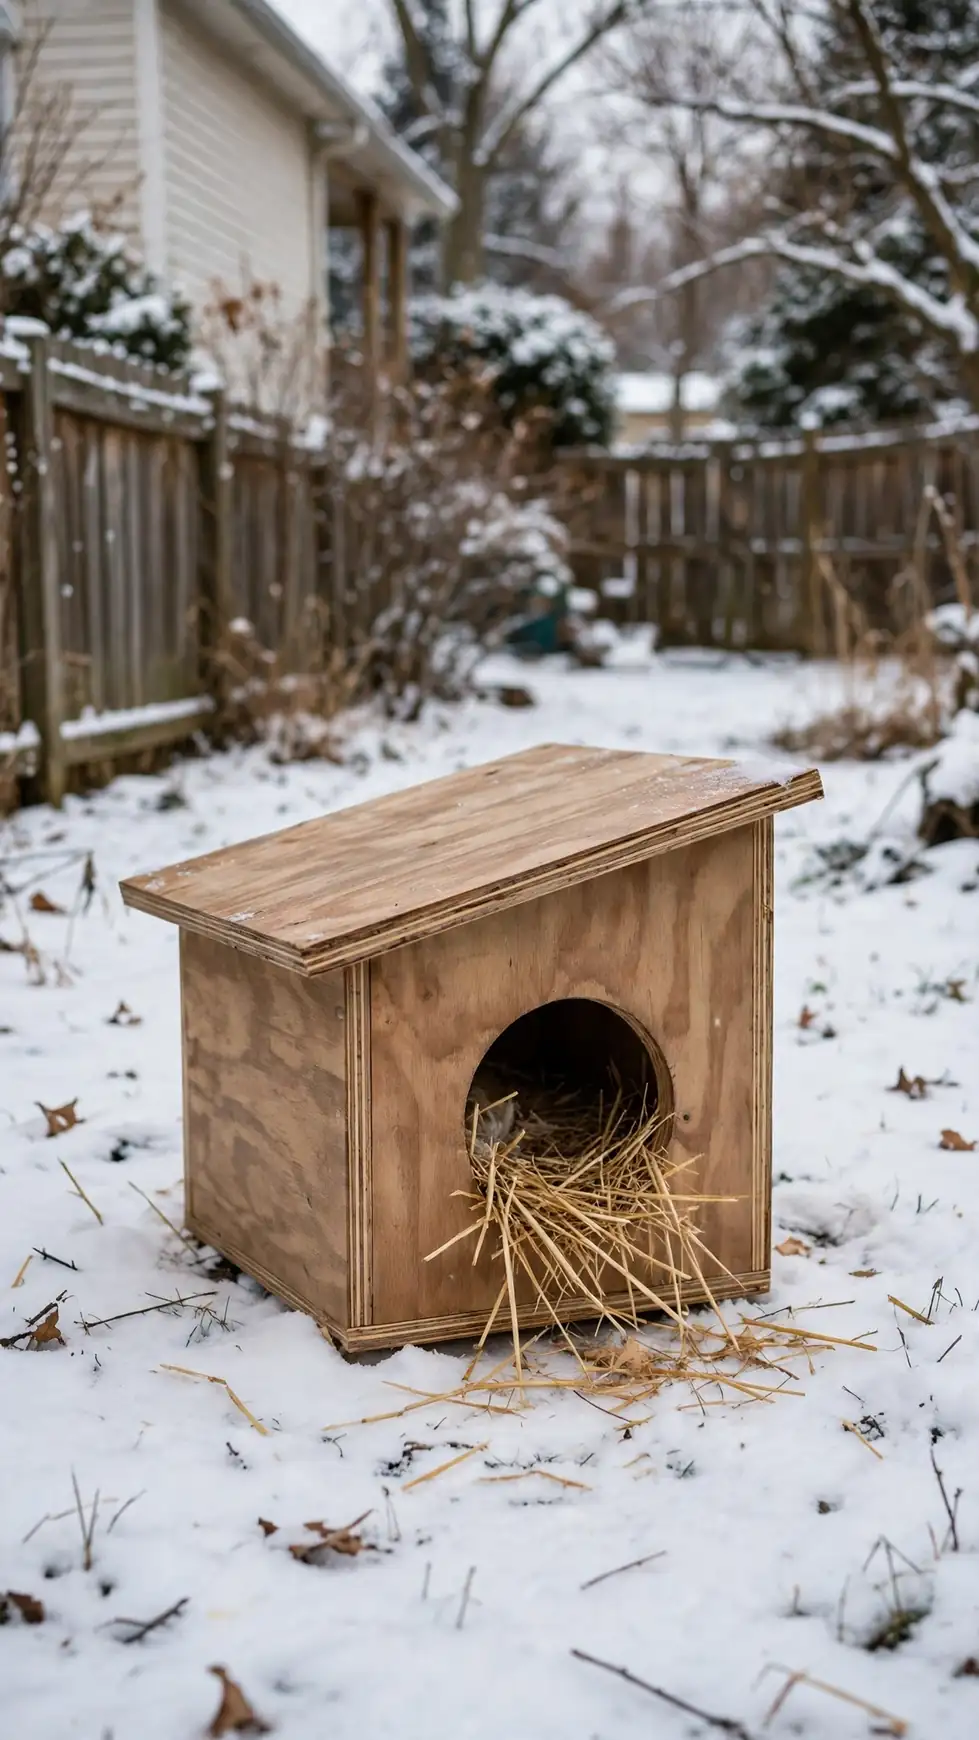
Build a plain box from plywood offcuts, roughly 18 inches wide, 18 inches deep, and 16 inches tall inside, with a sloped roof made from a second piece of plywood that overhangs the walls. Cut a single entrance about 5 to 6 inches across, sand the cut edges smooth, and fill the floor with straw. A box this size holds one cat’s body heat well and is easy to repair. Approximate cost: about $20–$40 as of 2026 using offcuts or one sheet of plywood.
Build a Sturdier Shelter That Lasts the Season
If the cat is a regular visitor, a wooden shelter is worth the extra hour, standing up to wind and snow better than foam or bins.
5. The Pallet-and-Plywood Lean-To

Stand two pallets on edge to form the sides, or break one pallet down for slats, then screw plywood panels over the frame and add a sloped roof. Line the inside walls with foam board before adding straw, and raise the whole shelter on bricks or spare pallets so the floor stays dry. Use only clean, dry pallets, checking first for broken boards, nails, and chemical stains. Approximate cost: about $10–$25 as of 2026.
6. The Winterized Secondhand Doghouse

A secondhand doghouse can work well if you shrink the space inside it. Add a foam-board inner box or a thick foam insert so the sleeping area is cat-sized rather than dog-sized, cut the entrance down to about 5 to 6 inches with a plywood panel if it is much larger, and fill the sleeping area with straw. A roomy, empty doghouse stays cold, but a snug inner chamber warms up quickly. Approximate cost: about $10–$30 secondhand as of 2026, plus a few dollars of foam board.
Insulate, Waterproof, and Place It Right
Winter shelters usually fail for three reasons: wet, wind, or a floor touching cold, damp ground. These ideas fix all three.
7. Straw Bedding, Done Right
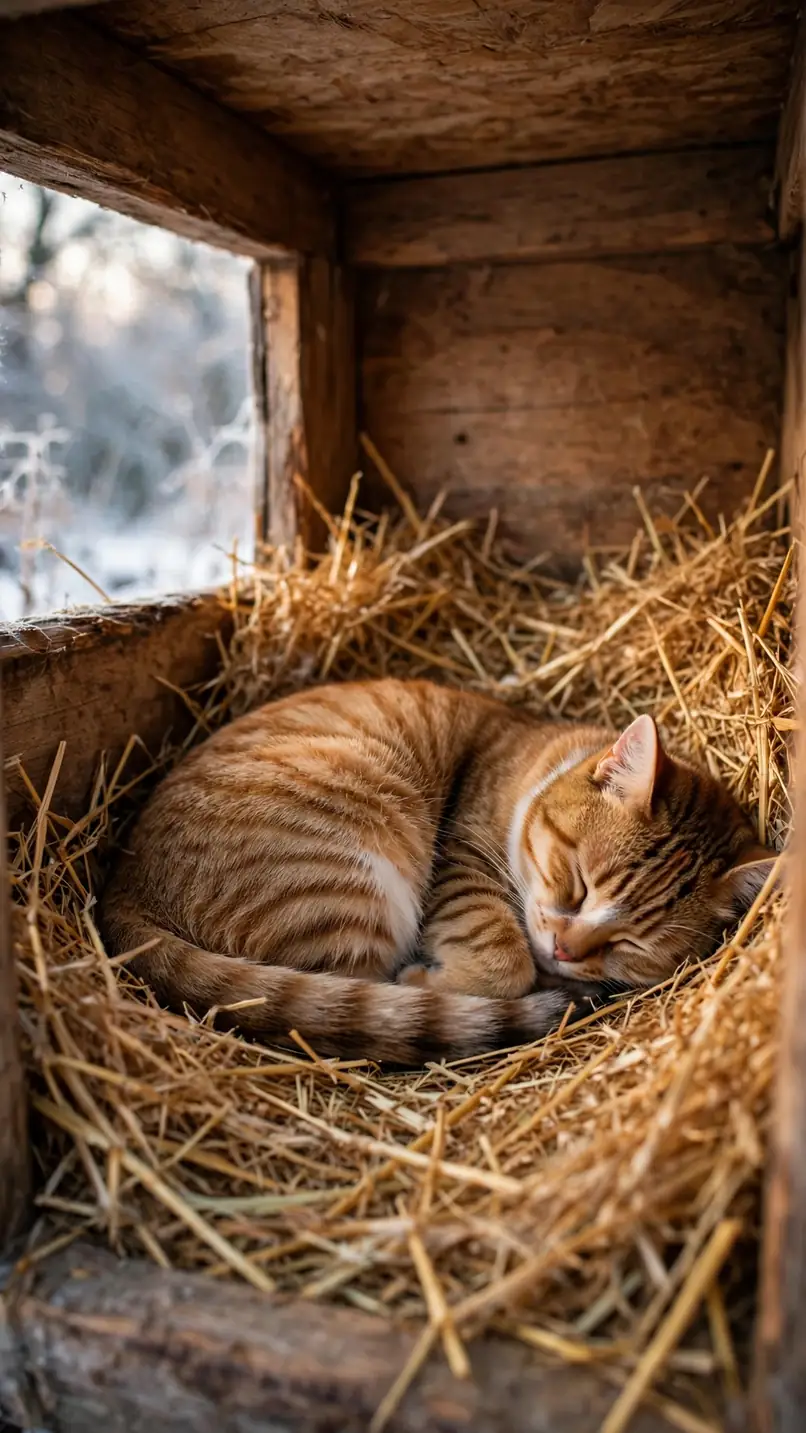
Use plain straw, not hay and never blankets or towels. Straw is hollow, so it drains and insulates even when it is cold, while blankets absorb moisture, freeze solid, and can chill a cat. Fill the shelter loosely — a cat will burrow in and shape its own nest — and top it up when it flattens. A small bale usually lasts all winter for one shelter. Approximate cost: about $5–$10 as of 2026.
8. A Raised, Insulated Floor

Set the shelter on bricks, a wooden pallet, or a low platform so its floor never sits in puddles, snowmelt, or frozen mud. Inside, lay a piece of foam board under the straw for extra insulation from below. This one change makes a bigger difference than a thicker roof, because cold ground steals heat all night long. Approximate cost: free with bricks or scrap wood you already have, or about $5–$10 as of 2026.
9. A Waterproof Roof and Sealed Seams

Give the roof a slope so rain and snow slide off instead of pooling, and let it overhang the walls by a couple of inches on every side. Seal gaps and lid joints with weatherproof tape or exterior caulk, and cover a foam shelter with a plastic bin lid or a sheet of plastic if it will sit in open rain. Check the roof after heavy snow and brush it clear so it does not sag. Approximate cost: about $5–$15 as of 2026.
10. A Windbreak and a Door Flap
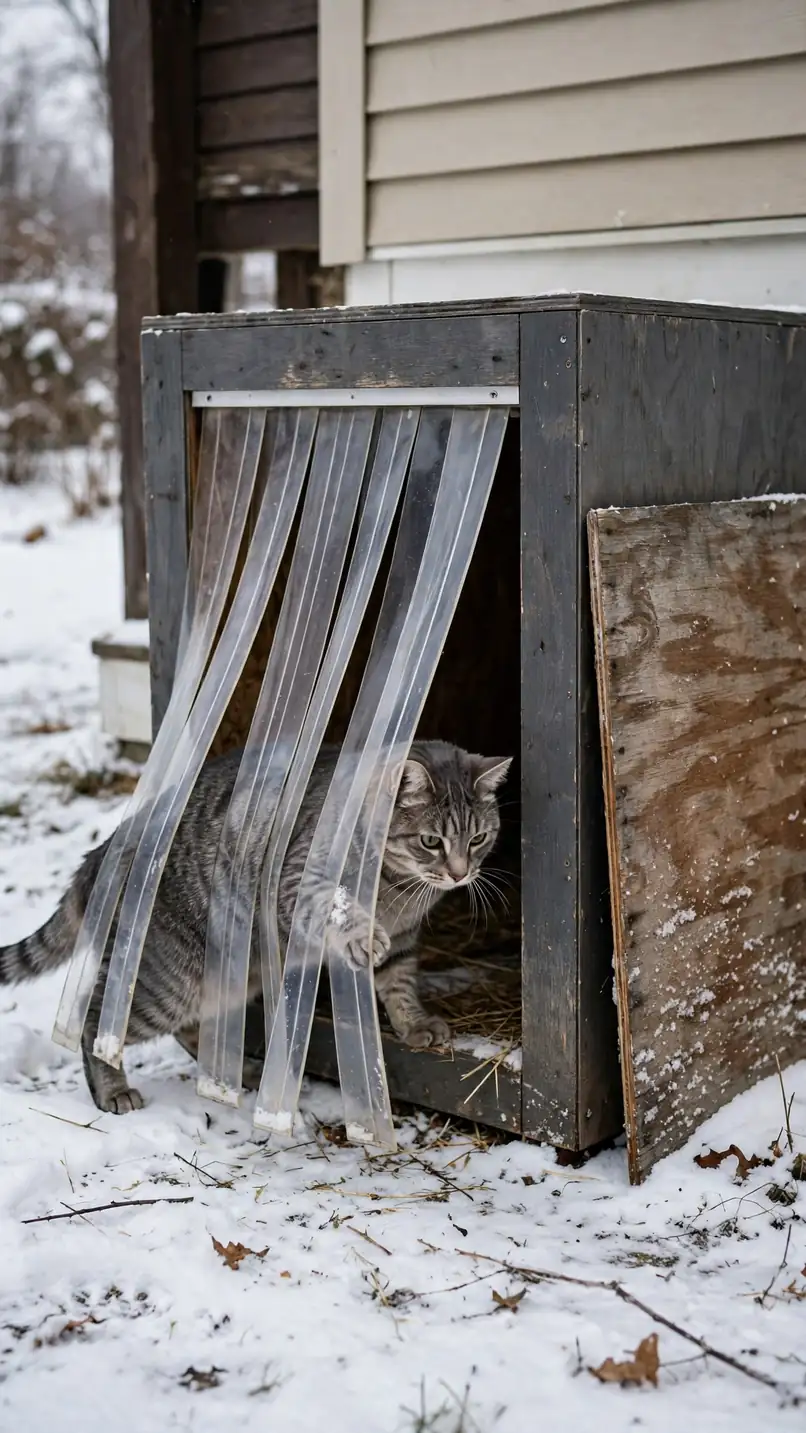
Face the entrance away from the prevailing wind and put a windbreak beside it — a fence panel, a stack of straw bales, or a plywood board set a short distance out from the opening so the cat can walk around it. Hang a flap of heavy clear plastic over the entrance, cut into strips at the bottom so a cat can push through easily. The flap cuts drafts without trapping the cat inside. Approximate cost: about $5–$10 as of 2026.
11. A Cat-Sized Entrance — and an Escape Exit
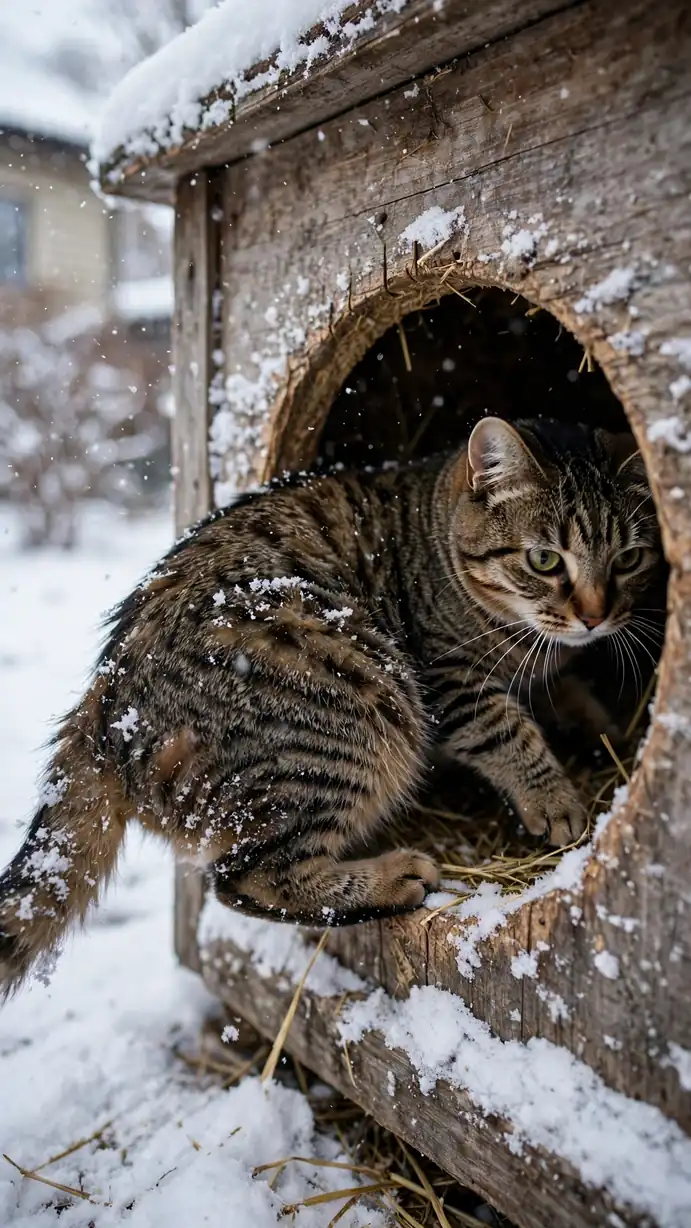
Keep the main entrance about 5 to 6 inches across: large enough for a cat to slip through comfortably, but too small for most raccoons and dogs. Where the shelter is large enough, add a second, smaller exit hole on another side so a cat never feels cornered if another animal approaches. Smooth every cut edge so fur does not snag. Approximate cost: free if you are already cutting the shelter, or a few dollars for a replacement blade or sandpaper as of 2026.
12. Sheltered Placement by the House or Garage

Place the shelter against a house wall, garage wall, or under a porch overhang, where it gets natural wind protection and stays drier. The same thinking behind many outdoor Christmas decor ideas applies here: tuck things close to the house, out of the open wind. Keep the shelter away from busy driveways and off paths where snow gets piled. Approximate cost: free.
Keep It Dry, Clean, and Cat-Friendly All Winter
The best shelter still needs a little attention through the season.
13. Passive Warmth Without Electric Heat

Do not use unattended heat lamps or mains heating pads outdoors — they are a fire and shock risk in rain, snow, and bedding, and a chewed cord can injure a cat. Passive insulation does the job instead: foam walls, a snug cat-sized chamber, a raised floor, and plenty of loose straw let the cat’s own body heat warm the space. On the coldest nights, a second shelter or a thicker straw layer helps more than any plug-in device. Approximate cost: free once the shelter is built.
14. A Feeding and Water Spot Beside — Not Inside — the Shelter
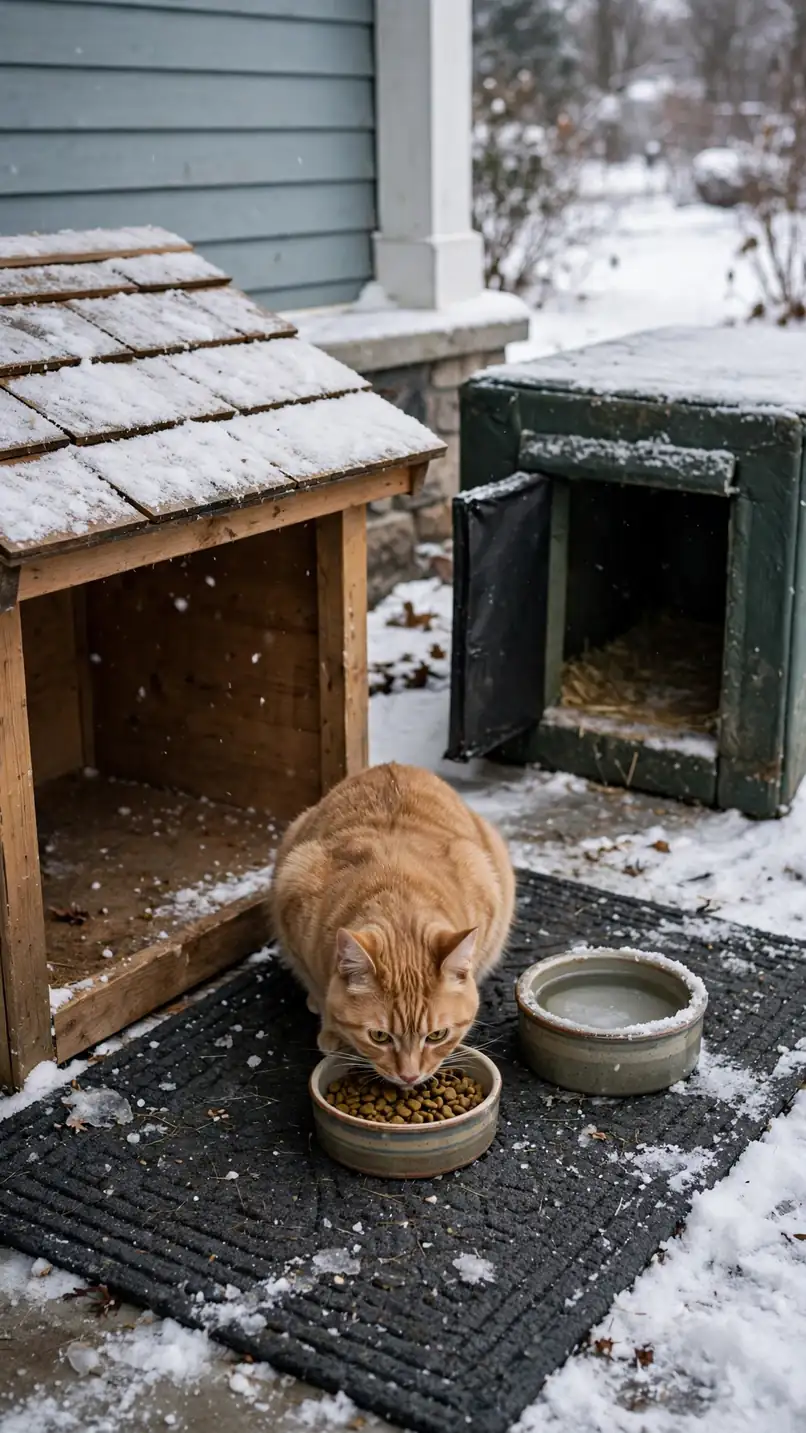
Keep food and water just outside the shelter, under a small cover if you can, so spills and smells do not dampen the bedding or attract other animals into the sleeping space. Refresh water at least twice a day in freezing weather, since a shallow bowl freezes fast, and use a dark-coloured bowl in a sunny spot to slow freezing a little. The same sheltered-spot logic in these front porch Christmas decor ideas works for a feeding corner too: close to the house, out of the wind, easy to reach daily. Approximate cost: about $5–$10 as of 2026 for bowls.
15. The Weekly Winter Check
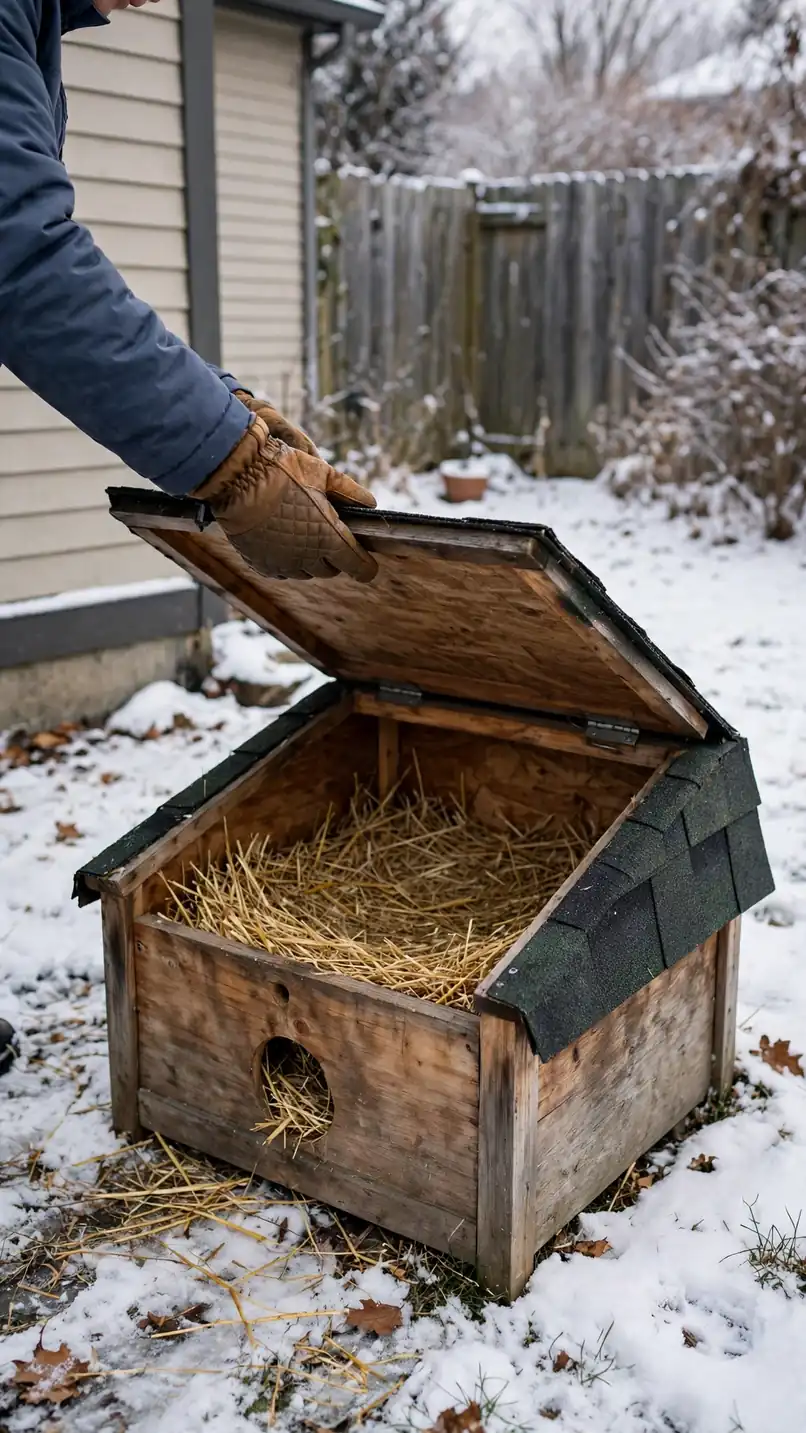
Once a week, lift the lid, check that the straw is dry, and replace any damp or flattened bedding. Clear snow from the roof and entrance, check that the door flap still swings freely, and look for signs of other animals using the shelter. A five-minute check catches a wet shelter before it becomes a cold one. Approximate cost: free.
FAQ
How cold is too cold for an outdoor cat?
Cats handle cold better in a small, dry, windproof shelter than out in the open, but prolonged freezing weather, wet fur, and wind are the real risks. A cat that is limping, lethargic, or not eating should be seen by a veterinarian. This post is general shelter guidance, not veterinary advice.
Is straw really better than blankets?
Yes. Straw drains moisture and keeps insulating when it is cold, while blankets and towels absorb damp, freeze, and draw heat away from a cat. Hay looks similar but breaks down and holds moisture, so it is not a good substitute. Use plain straw, loosely packed, and replace it when it gets damp or flat.
How big should the entrance be?
About 5 to 6 inches across works for most cats while keeping larger animals out. If the cat using the shelter is notably large, size the hole to that cat rather than to a standard figure, and smooth the edges. A second exit hole on another side helps a cat feel safe enough to use the shelter regularly.
Can I use a heating pad in an outdoor cat house?
No — not an unattended mains heating pad or a heat lamp outdoors. Rain, snow, bedding, and chewing make them a fire and shock risk. Passive insulation, a cat-sized chamber, a raised floor, and dry straw are the safer way to keep a shelter warm.
Where is the best place to put an outdoor cat house?
Against a house or garage wall, under a porch overhang, or behind a windbreak, with the entrance facing away from the prevailing wind. Avoid low spots where water pools, busy driveways, and places where ploughed or shovelled snow gets piled against the entrance.
How often should I change the straw?
Check it weekly and replace it whenever it is damp, flattened, or dirty. A small bale usually lasts a whole winter for one shelter if you top it up regularly, and fresh straw each time keeps the shelter dry and inviting.
Conclusion

A winter cat shelter does not need to be expensive, pretty, or powered. It needs to be small enough to warm up, dry enough to stay insulating, and placed where wind and water cannot reach it. Start with the foam-cooler or two-bin build if you need something today, add straw, a raised floor, and a windbreak, and check it once a week through the coldest months.
That simple combination — a snug box, dry straw, and a sheltered spot — is what turns a cold yard into a place where an outdoor cat can ride out winter safely.

Thiago Alexander is the Chief Editor at Nested Charm. With a deep passion for interior design and cozy living spaces, he leads the editorial team in crafting stories that make every house feel like a home.