

15 Ways to Paint Interior Doors Without Removing Them (Hinges On, No Mess)
Executive Summary
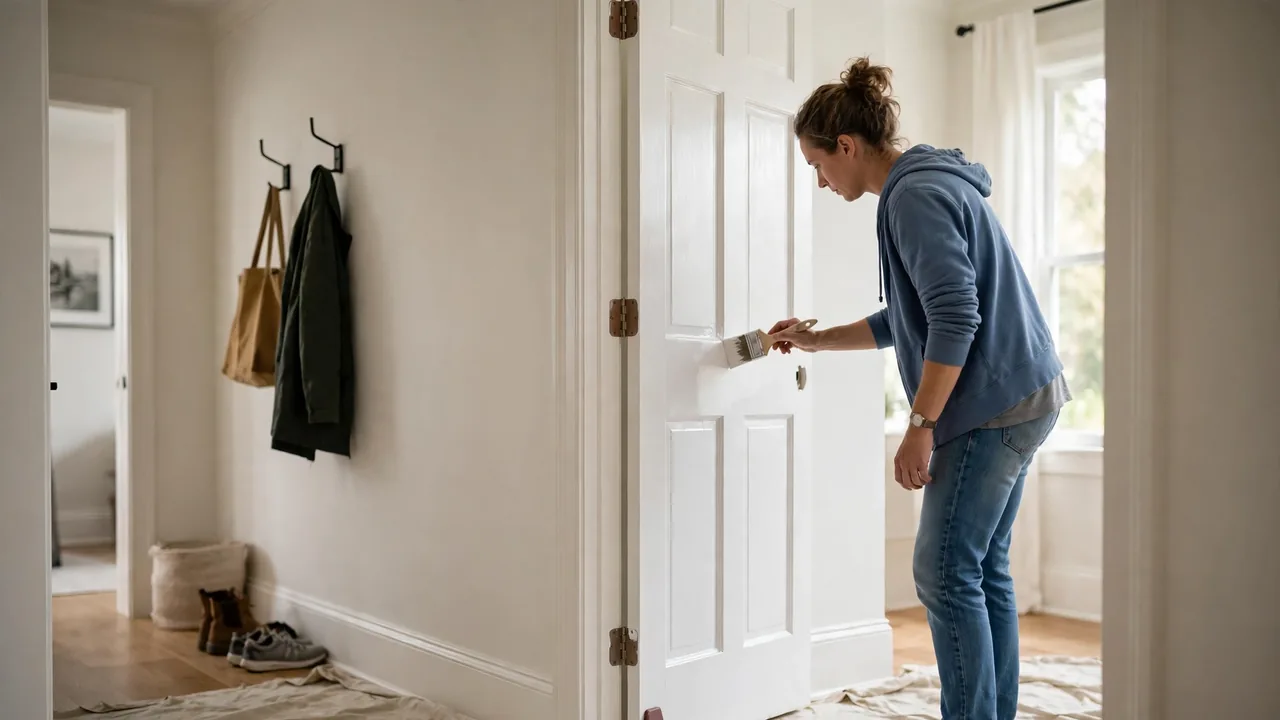
Painting an interior door sounds simple until you picture the usual advice: take the door off its hinges, carry it outside, and lay it across sawhorses. For many people, that is exactly the step that stops the project before it starts. The good news is that you can skip it entirely. With the door left hanging, a little masking, and thin coats applied in the right order, you can paint interior doors without removing them and still get a smooth, professional-looking finish.
This guide covers the whole no-removal method, from cleaning and scuff-sanding a door in place to taping hinges, choosing between a brush and a mini roller, and letting the door dry without it sticking to the frame. Every idea below works with the door on its hinges, in a normal lived-in home, with no sawhorses and no heavy lifting.
In short: Yes — you can paint interior doors without removing them. Clean and lightly sand the door where it hangs, tape off the hinges, handle, and trim, then apply two thin coats with a brush and mini roller, working top to bottom. Keep the door wedged ajar while it dries so it never sticks to the frame.
Prep the Door While It Still Hangs
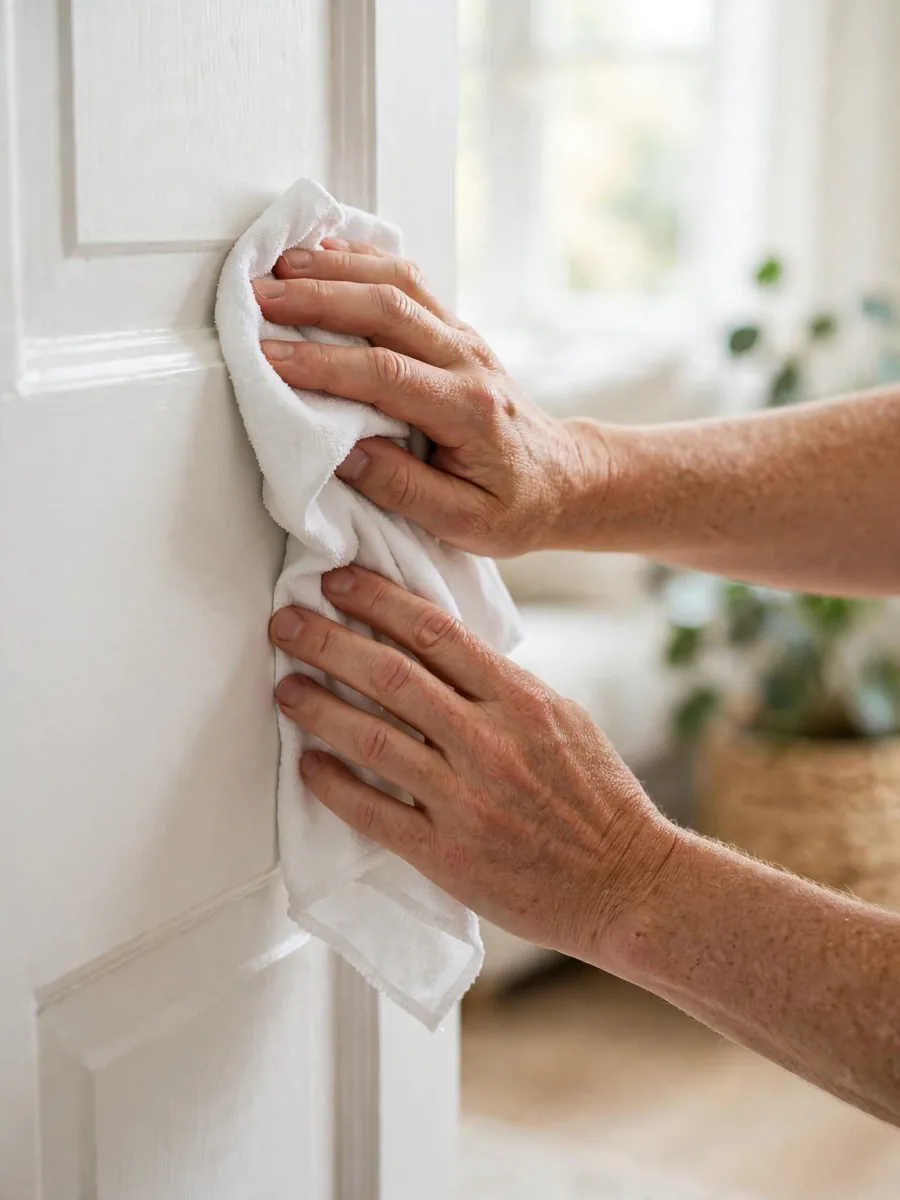
1. Clean the Door in Place Before You Touch a Brush
A hanging door collects dust on its top edge and greasy fingerprints around the handle, and paint will not stick well to either. Wipe the whole door with a damp cloth and a little mild dish soap, then rinse with a clean damp cloth so no soap film is left behind. Pay special attention to the area around the knob, the bottom rail where shoes scuff, and the top edge, which most people never clean. Let the door dry fully before moving on — usually 20 to 30 minutes. A clean surface is the cheapest insurance against peeling paint. If you rent, check with your landlord before painting any door, and get permission in writing so there is no dispute over your deposit later.
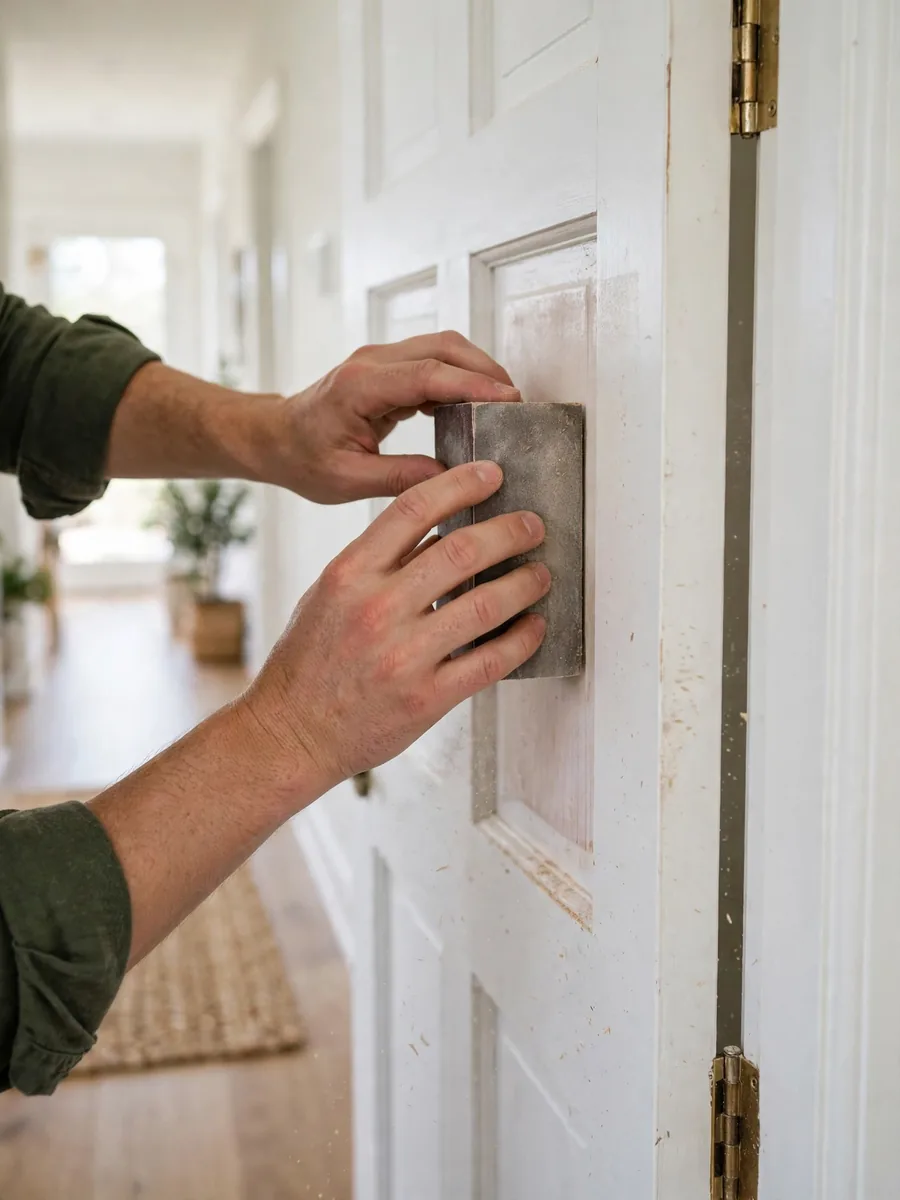
2. Scuff-Sand the Door Without Taking It Down
You do not need to strip a door to bare wood to repaint it. A light scuff-sand gives the new paint something to grip, and it is easy to do while the door hangs. Use fine sandpaper (around 180 to 220 grit) and work in the direction of the grain on flat areas, using light, even pressure. On a paneled door, fold the paper and sand inside the panel edges gently. Wipe away the dust with a tack cloth or a slightly damp cloth afterward — dust left on the surface shows up as bumps under the paint. A pack of sandpaper and a tack cloth typically costs around $5 to $10 as of 2026. Wear a dust mask if the old paint is flaking, and stop if you suspect lead-based paint in a pre-1978 home; that is a job for a professional.
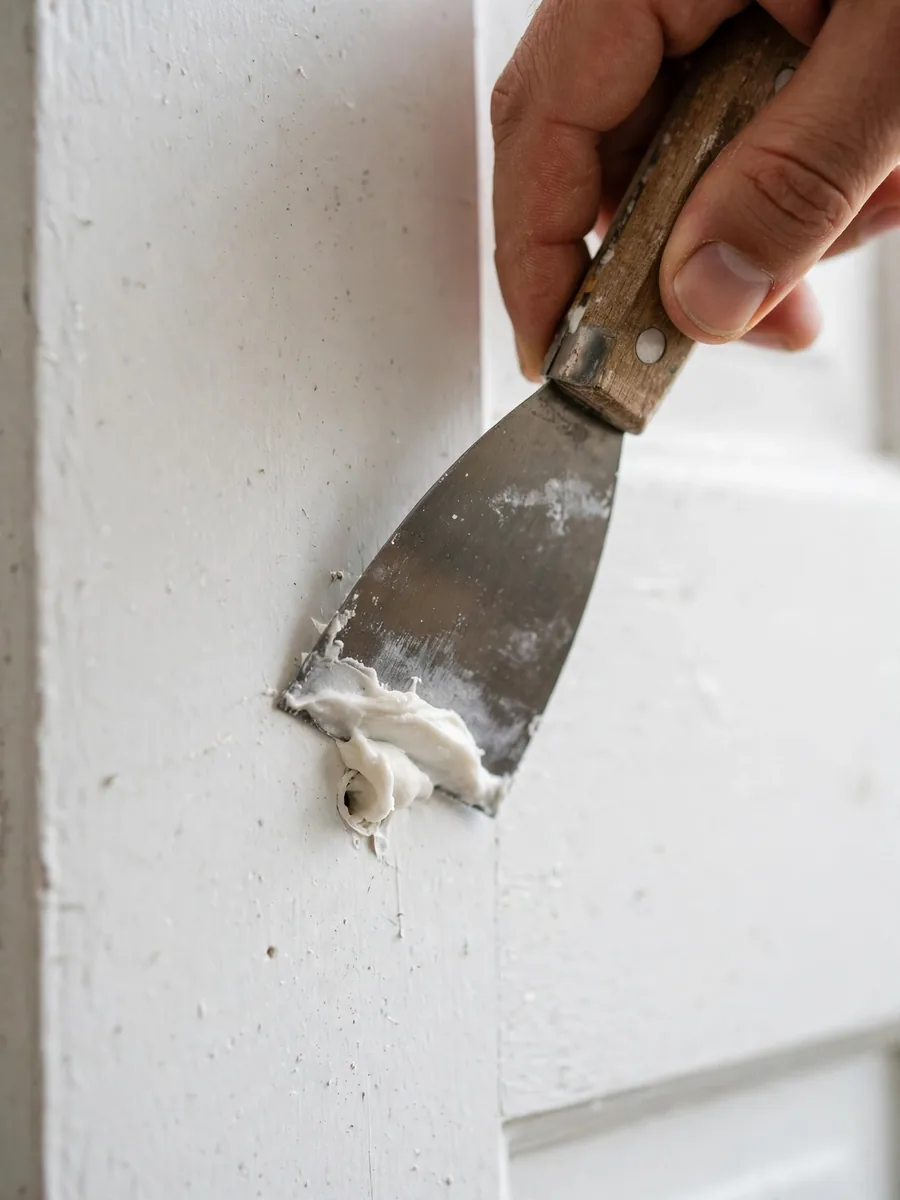
3. Fill Dings and Nail Holes While the Door Hangs
Small dents, nail holes, and chips look worse once fresh paint goes on, so fix them before you paint. Press a little wood filler into each hole with a putty knife, scrape off the excess, and let it dry according to the label — usually an hour or two. Once dry, sand the patches smooth with fine sandpaper and wipe away the dust. Because the door is vertical, use small amounts of filler at a time so it does not sag out of the hole. A small tub of wood filler typically costs around $5 to $8 as of 2026.
Mask Hinges, Trim, and Floors Like a Pro
4. Tape the Hinges So Paint Never Touches Them
Painted hinges look messy and can stiffen the way a door swings, so protect them. Press painter’s tape carefully around each hinge leaf, trimming the tape close to the hinge edge with a craft knife or the edge of a putty knife. For extra protection, press a small square of aluminum foil over the hinge barrel and tape the foil in place — the foil molds around the shape and peels off cleanly. Take your time here: hinge masking is fiddly, but it is far quicker than trying to scrape dried paint off metal later. A roll of painter’s tape typically costs around $6 to $10 as of 2026, and one roll covers several doors.

5. Mask the Frame, Trim, and Nearby Wall
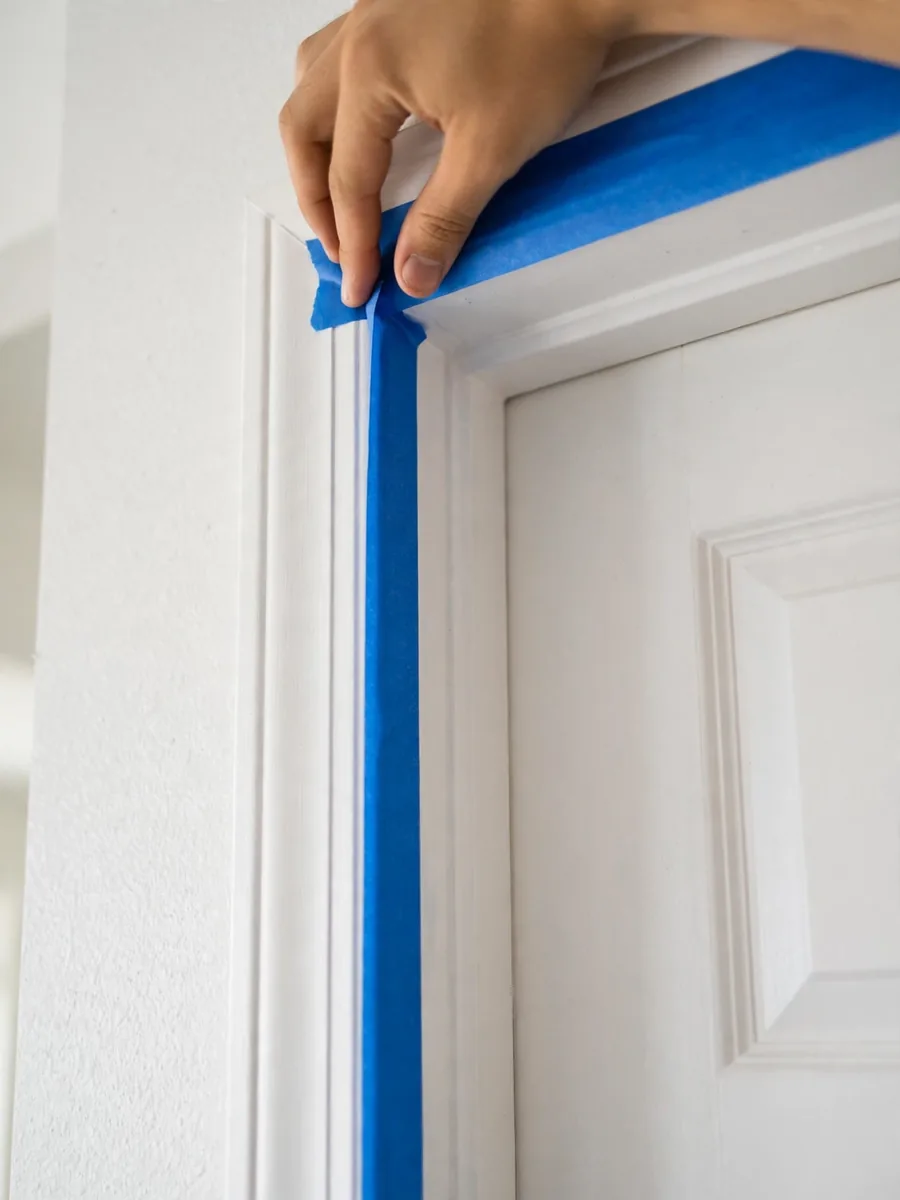
The door frame, the trim, and the wall beside the door are all within a brush-stroke of a mistake, so mask them before you open the paint. Run painter’s tape along the edge of the frame where it meets the door, and along the trim on the wall side. If you are painting only the door and not the frame, press the tape firmly into the corner so paint cannot creep underneath. Good masking takes about ten minutes per door and saves far longer in cleanup, so do not rush it.
6. Protect the Floor and Wedge the Door Open
Drips fall straight down on a vertical door, so the floor needs protection even if you are careful. Lay a canvas drop cloth or a plastic sheet under the door and a little way out on both sides, and tape its edge to the baseboard so it cannot slide. Then wedge the door open at a comfortable working angle — about 45 to 90 degrees — using a rubber doorstop or a folded towel under the bottom edge. Working with the door partly open lets you reach both faces and the edges without the door swinging into your brush. A reusable canvas drop cloth typically costs around $10 to $15 as of 2026.

Brush and Roller Techniques for a Door in Place
7. Pick the Right Brush and Mini Roller for Vertical Work
The right tools make painting a hanging door far easier. A good 2 to 2.5-inch angled brush is ideal for edges, panel details, and cutting in around hinges and hardware. For the flat areas, a small foam or short-nap mini roller (around 4 inches wide) lays down a smooth coat with fewer brush marks than a brush alone. Avoid large rollers — they are hard to control on a narrow vertical surface and they fling paint. A quality angled brush typically costs around $10 to $15 as of 2026, and a mini roller kit around $8 to $12.

8. Paint in the Right Order: Top to Bottom, Panels First
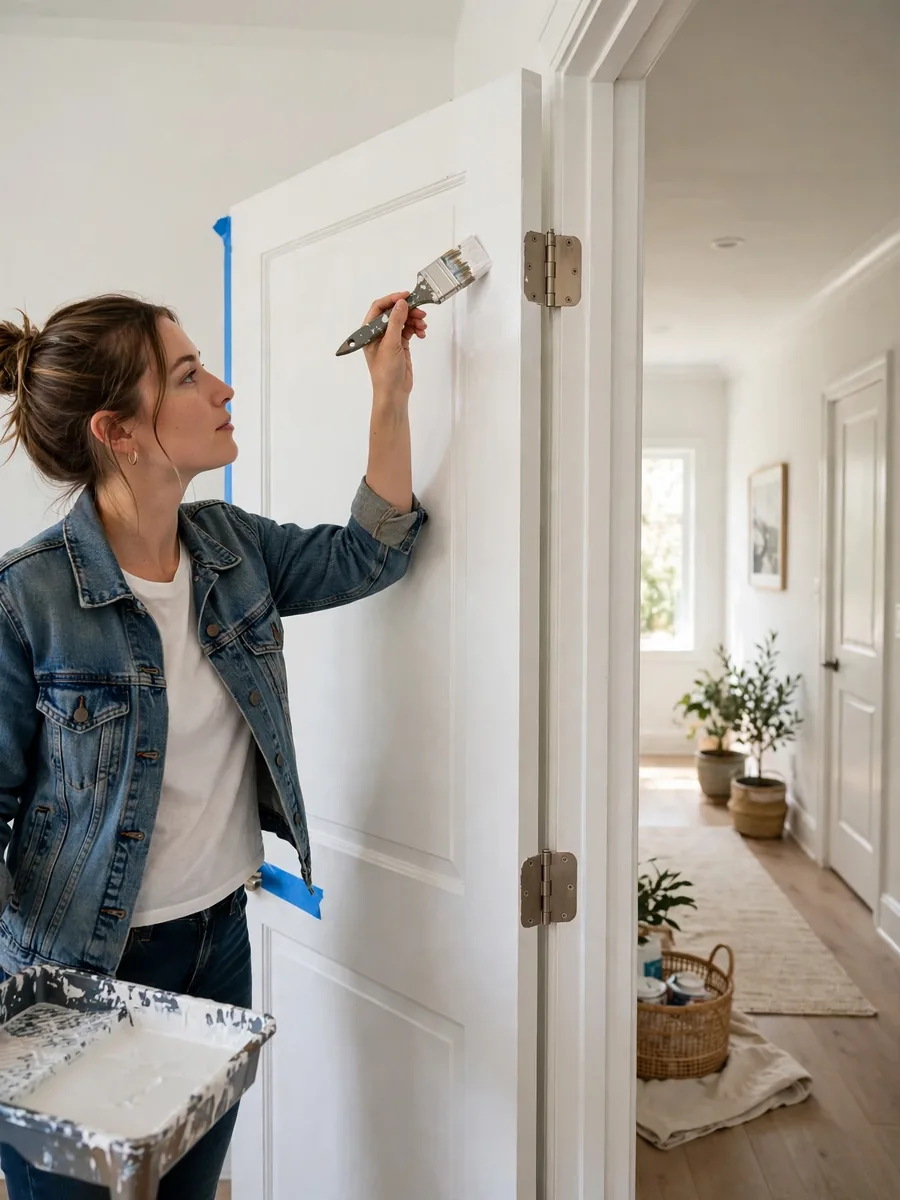
Order matters on a hanging door because gravity pulls every drip downward. Start at the top and work down so any drips land on paint you have not finished yet, where you can smooth them out. On a paneled door, paint the recessed panels first, then the vertical stiles, then the horizontal rails. On a flat door, work in vertical sections from top to bottom. Paint one face, then the edges, then swing the door gently to reach the other face.
9. Use Thin Coats and Load Your Brush Lightly
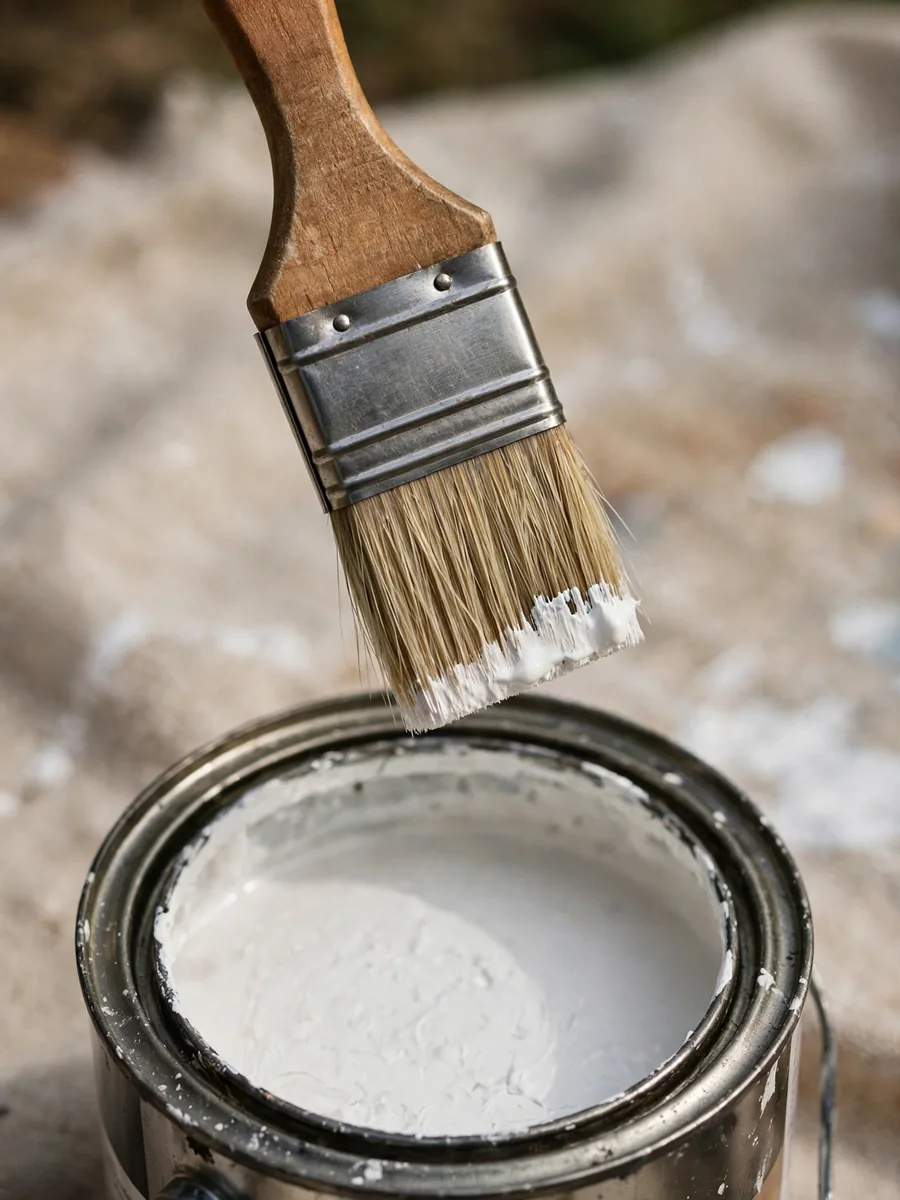
Thick paint on a vertical door runs, sags, and dries with visible ridges. Two thin coats will always look better than one heavy one. Dip only the tip of the brush — about a third of the bristle length — and wipe off the excess on the side of the can. With the roller, roll off the extra paint on the tray so the roller feels damp, not dripping. Apply the paint in smooth, even strokes and resist the urge to go back over an area that is starting to set; that is how brush marks happen. A quart of interior door paint typically costs around $20 to $35 as of 2026 and usually covers two or three doors with two coats.
Paint the Panels, Edges, and Details
10. Paint Recessed Panels Without Pooling
Recessed panels are the trickiest part of a door painted in place, because paint loves to pool in the corners and along the bottom edge of each recess. Use your angled brush to paint the inside edges of each panel first, then brush the flat center with light strokes. Check each panel after a minute or two and catch any paint that has gathered in the corners, smoothing it out before it sets. Work one panel at a time — on a standard six-panel door, this careful pace takes about fifteen extra minutes and is worth every one of them.

11. Paint the Door Edges and Stop Them Sticking
The edges of a door — top, bottom, and the latch side — are easy to forget and hard to fix later, because a painted edge that sticks to the frame can peel the first time the door closes. Paint the edges with the same thin coats as the faces, using the tip of your brush. The top and bottom edges are often left unpainted in older homes, so check yours: painting them seals the wood against moisture. The key step comes after painting, and it is covered in idea 15 — the door must stay ajar until the paint is fully dry, or the edges can bond to the frame and tear.

Handle the Hardware Without Taking It Off
12. Paint Around the Knob and Latch Without Removing Them
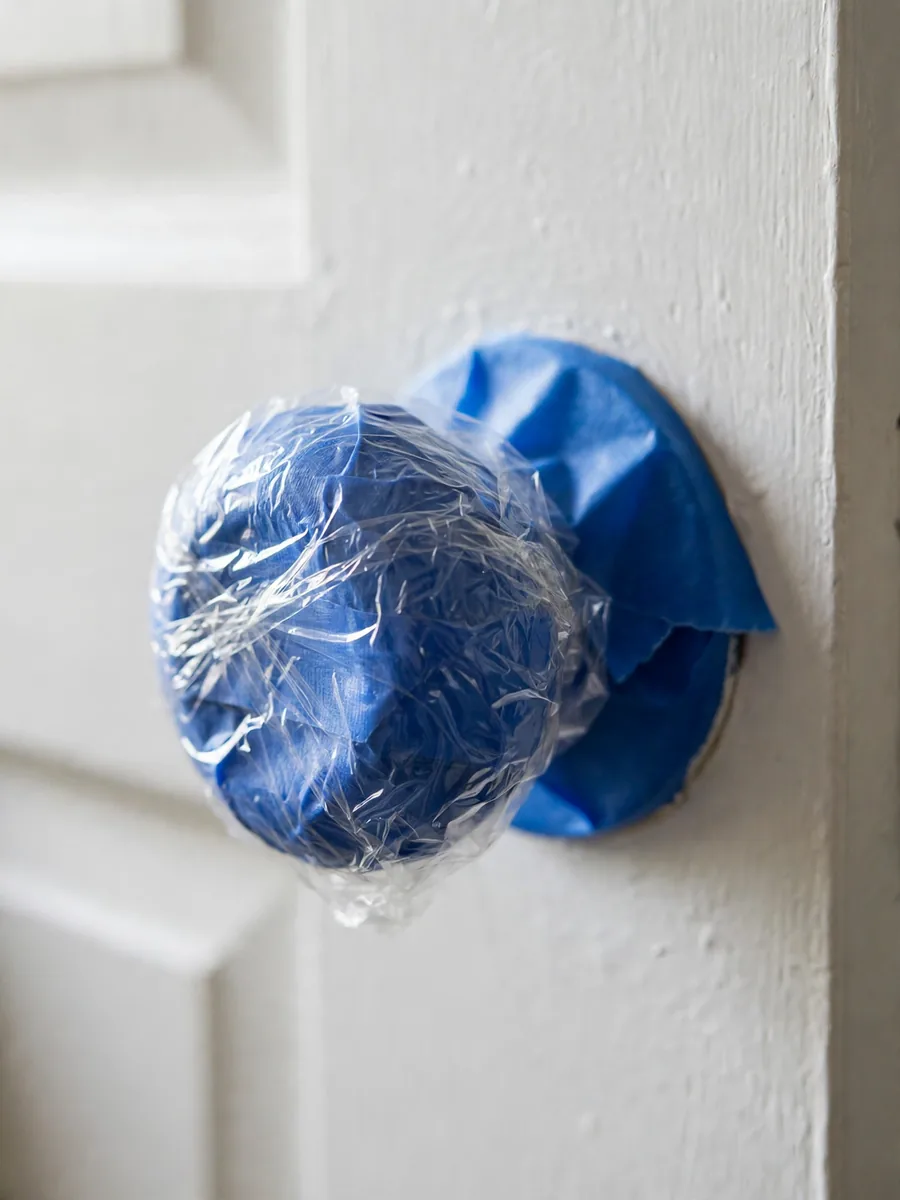
Removing a doorknob is simple, but leaving it on is even simpler — and perfectly fine if you mask it well. Wrap the knob and the latch plate tightly with painter’s tape, pressing the tape into the seam where the metal meets the wood. For round knobs, a small piece of plastic wrap held with tape works well. Paint carefully up to the tape edge with your angled brush, and peel the tape off while the final coat is still slightly tacky so the paint edge stays clean.
13. Tape the Strike Plate and Screws — or Leave Them Be
The strike plate on the door frame and the small screws on the hinges are easy to splatter, so give them the same treatment as the hinges. A small square of tape over the strike plate takes seconds and keeps it looking clean. If the hinge screws are already painted from a previous job, tape over them too so the new coat does not build up and make them hard to turn later. Hardware is what the eye notices first on a freshly painted door — clean metal against fresh paint reads as a job done properly.

Control Drips and Dry the Door Safely
14. Catch Drips Early and Fix Runs While the Paint Is Wet
On a vertical surface, drips are a matter of when, not if — so check your work constantly. After finishing each section, step back and look along the door from the side, where runs and drips show up in the light. If you spot a drip, brush it out immediately with a light stroke while the paint is still wet. If you only notice a run after it has dried, let it dry fully, sand it smooth with fine sandpaper, wipe away the dust, and touch it up with a thin coat.

15. Let the Door Dry Ajar — and Know When It Is Safe to Close
Drying is the step that makes or breaks a no-removal paint job. Leave the door wedged ajar while each coat dries — usually 2 to 4 hours between coats for most water-based interior paints, and at least 24 hours before closing the door fully. Good airflow helps: open a nearby window or run a fan in the room, but do not point the fan directly at the wet door. Before the first close, press a fingertip lightly on an inconspicuous spot near the bottom; if it feels tacky at all, wait longer.

What to Know Before You Start
Choosing the right finish matters almost as much as the technique, and it is worth a quick read of our guide to semi-gloss vs. satin for interior doors before you buy paint — satin hides small flaws better, while semi-gloss stands up to more cleaning. If brush marks are your biggest worry, our tips for painting doors without streaks cover the brushwork in more detail.
FAQ
Can you really paint an interior door without removing it?
Yes. Painting a door in place is a standard approach for many homeowners and renters. The keys are good masking on the hinges and frame, thin coats so paint does not run, and letting the door dry ajar so it does not stick to the frame.
Should you paint a door open or closed?
Paint it open, wedged at a comfortable angle. Painting with the door open lets you reach both faces and the edges, and it keeps the wet paint away from the frame. Leave it ajar while it dries for the same reason.
How do you keep paint off the hinges?
Press painter’s tape tightly around each hinge leaf, and add a small square of aluminum foil over the hinge barrel if you want extra protection. Tape is far easier than scraping dried paint off metal later.
What is the best brush for painting a door in place?
A 2 to 2.5-inch angled brush works best for edges, panels, and cutting in around hardware. Pair it with a 4-inch foam or short-nap mini roller for the flat areas — the roller gives a smoother finish with fewer brush marks.
How many coats does an interior door need?
Most doors need two thin coats, plus a primer coat if you are painting over a dark color, a glossy finish, or bare filler. Let the first coat dry fully — usually 2 to 4 hours for water-based paint — before applying the second.
Can renters paint interior doors without removing them?
Only with the landlord’s permission. Painting is a change to the property, so get written approval first and agree on the color and finish. The no-removal method is renter-friendly in one way: nothing is taken apart, so there is less risk of losing hinge pins or damaging the frame.
Conclusion
Painting interior doors without removing them is one of those projects that sounds like a shortcut but turns out to be the sensible way to do it. Leaving the door on its hinges saves the heavy lifting, the lost pins, and the awkward sawhorse setup — and with careful masking, thin coats, and a door left ajar to dry, the finish can look just as smooth as a door painted flat. Start with one door, take your time on the prep and the masking, and let each coat dry properly before the next.

Thiago Alexander is the Chief Editor at Nested Charm. With a deep passion for interior design and cozy living spaces, he leads the editorial team in crafting stories that make every house feel like a home.



3 Comments