19 No-Carve Painted Pumpkin Ideas (Kid-Safe Techniques That Actually Last)
Executive Summary
Carving is messy; painting skips all of that. When you paint pumpkins with a little real technique — a washed surface, a base coat, the right paint, and a sealer at the end — no-carve pumpkins look sharp for weeks instead of sagging like carved ones typically do within days.
Below: 19 no-carve pumpkin painting ideas organized by technique, each with how-to steps, an approximate cost (as of 2026), and a kid-safe or adult-level difficulty rating.
In short: to paint pumpkins that last, wash and fully dry the pumpkin, brush on a base coat, use acrylic or craft paint, and seal the finished design. No-carve pumpkin painting ideas are safer for kids than carving and usually outlast carved pumpkins by weeks.
Prep First: Base Coats That Make Paint Stick
Pumpkin skin is waxy: ten minutes of prep decides whether a design survives October rain. Do these three once and everything below works better.
- 1. Wash, scrub, and fully dry your pumpkins. Wipe each pumpkin with a damp cloth and a little dish soap to remove dirt and the waxy film, then rinse and dry completely — ideally overnight. Painting on damp skin traps moisture under the paint, the most common reason painted pumpkins peel. Cost: essentially free. Difficulty: Kid-safe — kids can do the washing with supervision.
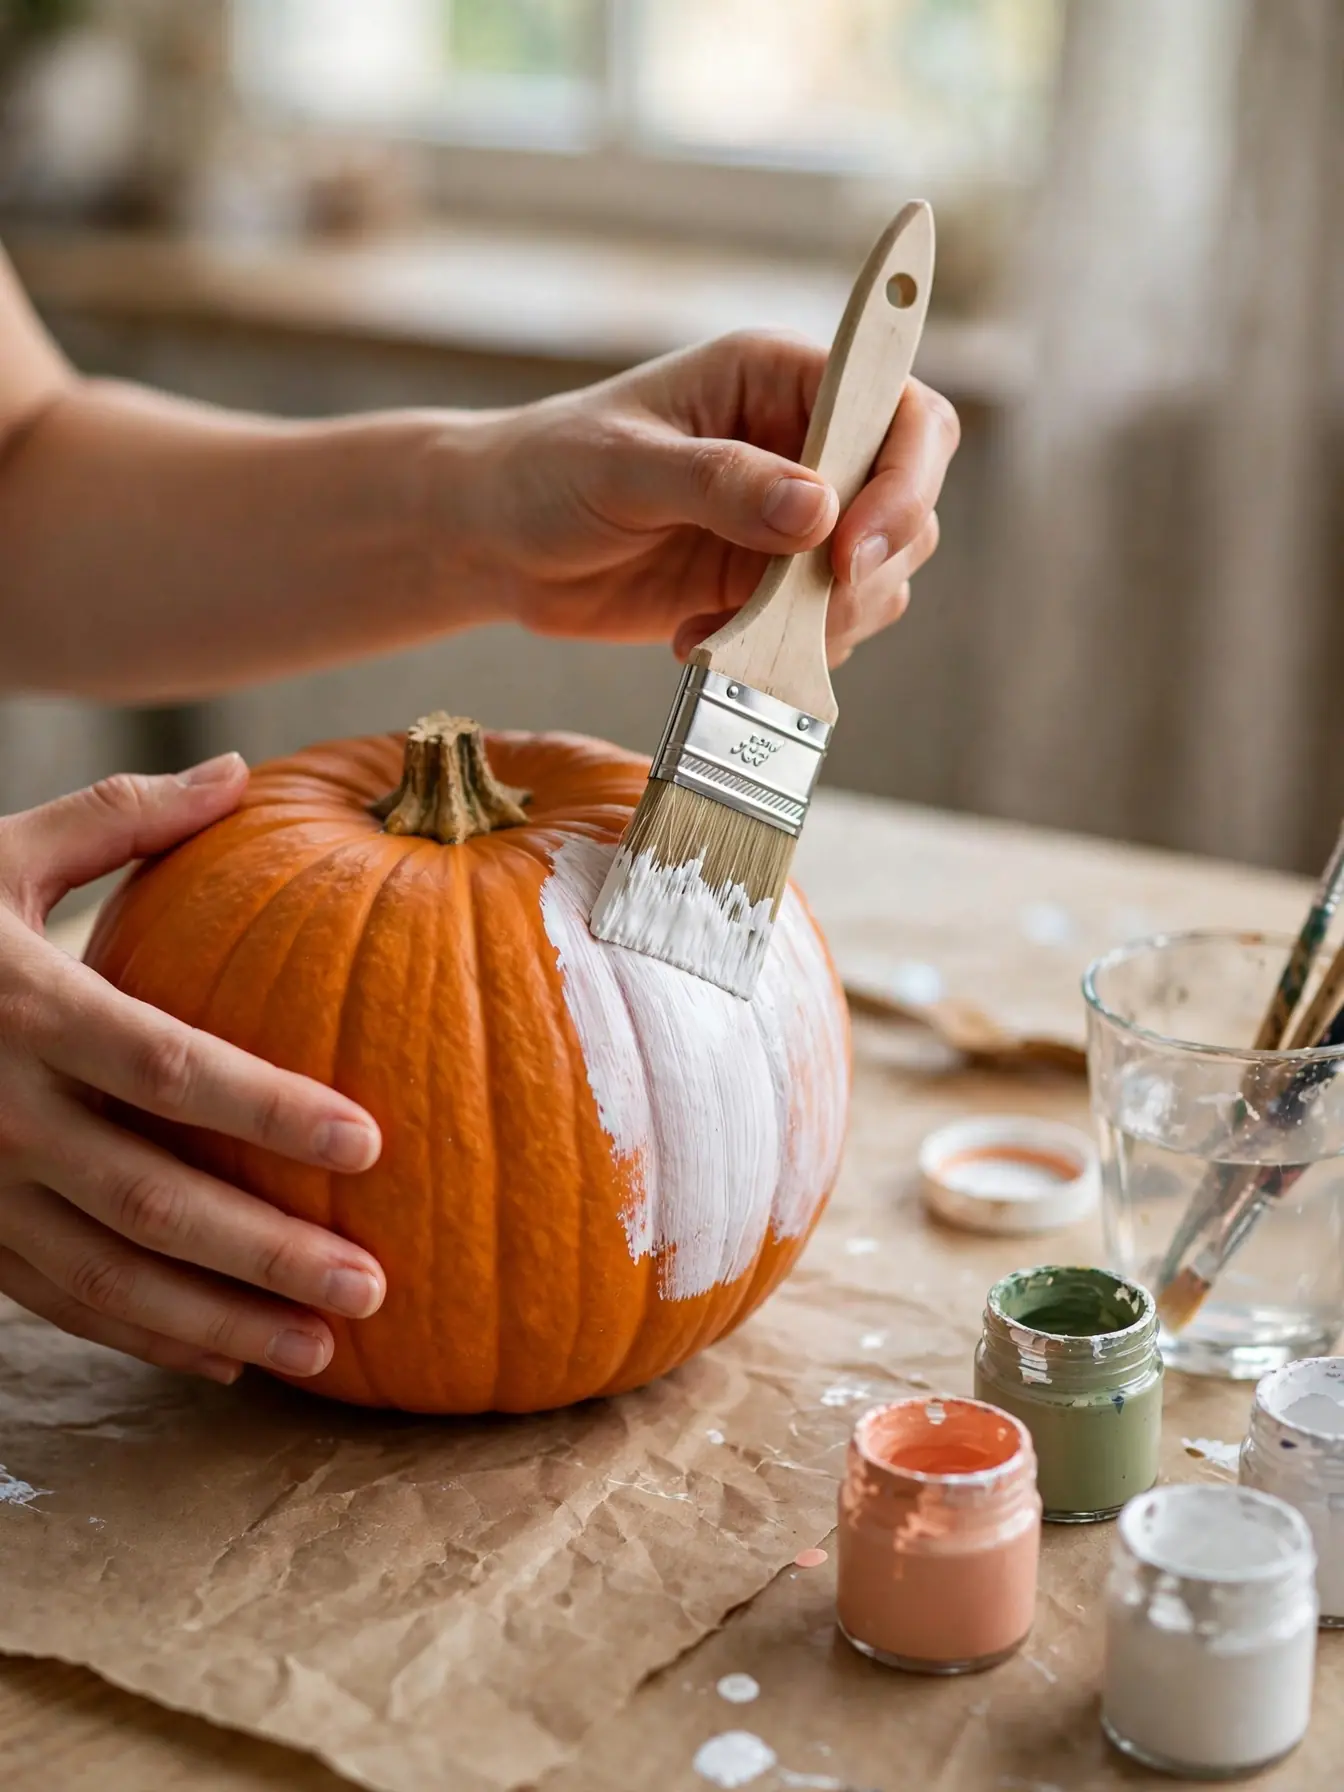
- 2. Brush on a base coat. One base coat of craft paint (white, cream, or black, depending on the design) gives top layers something to grip and makes colors brighter. Brush it on thin and let it dry fully before decorating. A bottle of acrylic craft paint typically costs a few dollars as of 2026 and usually covers several pumpkins. Difficulty: All ages.
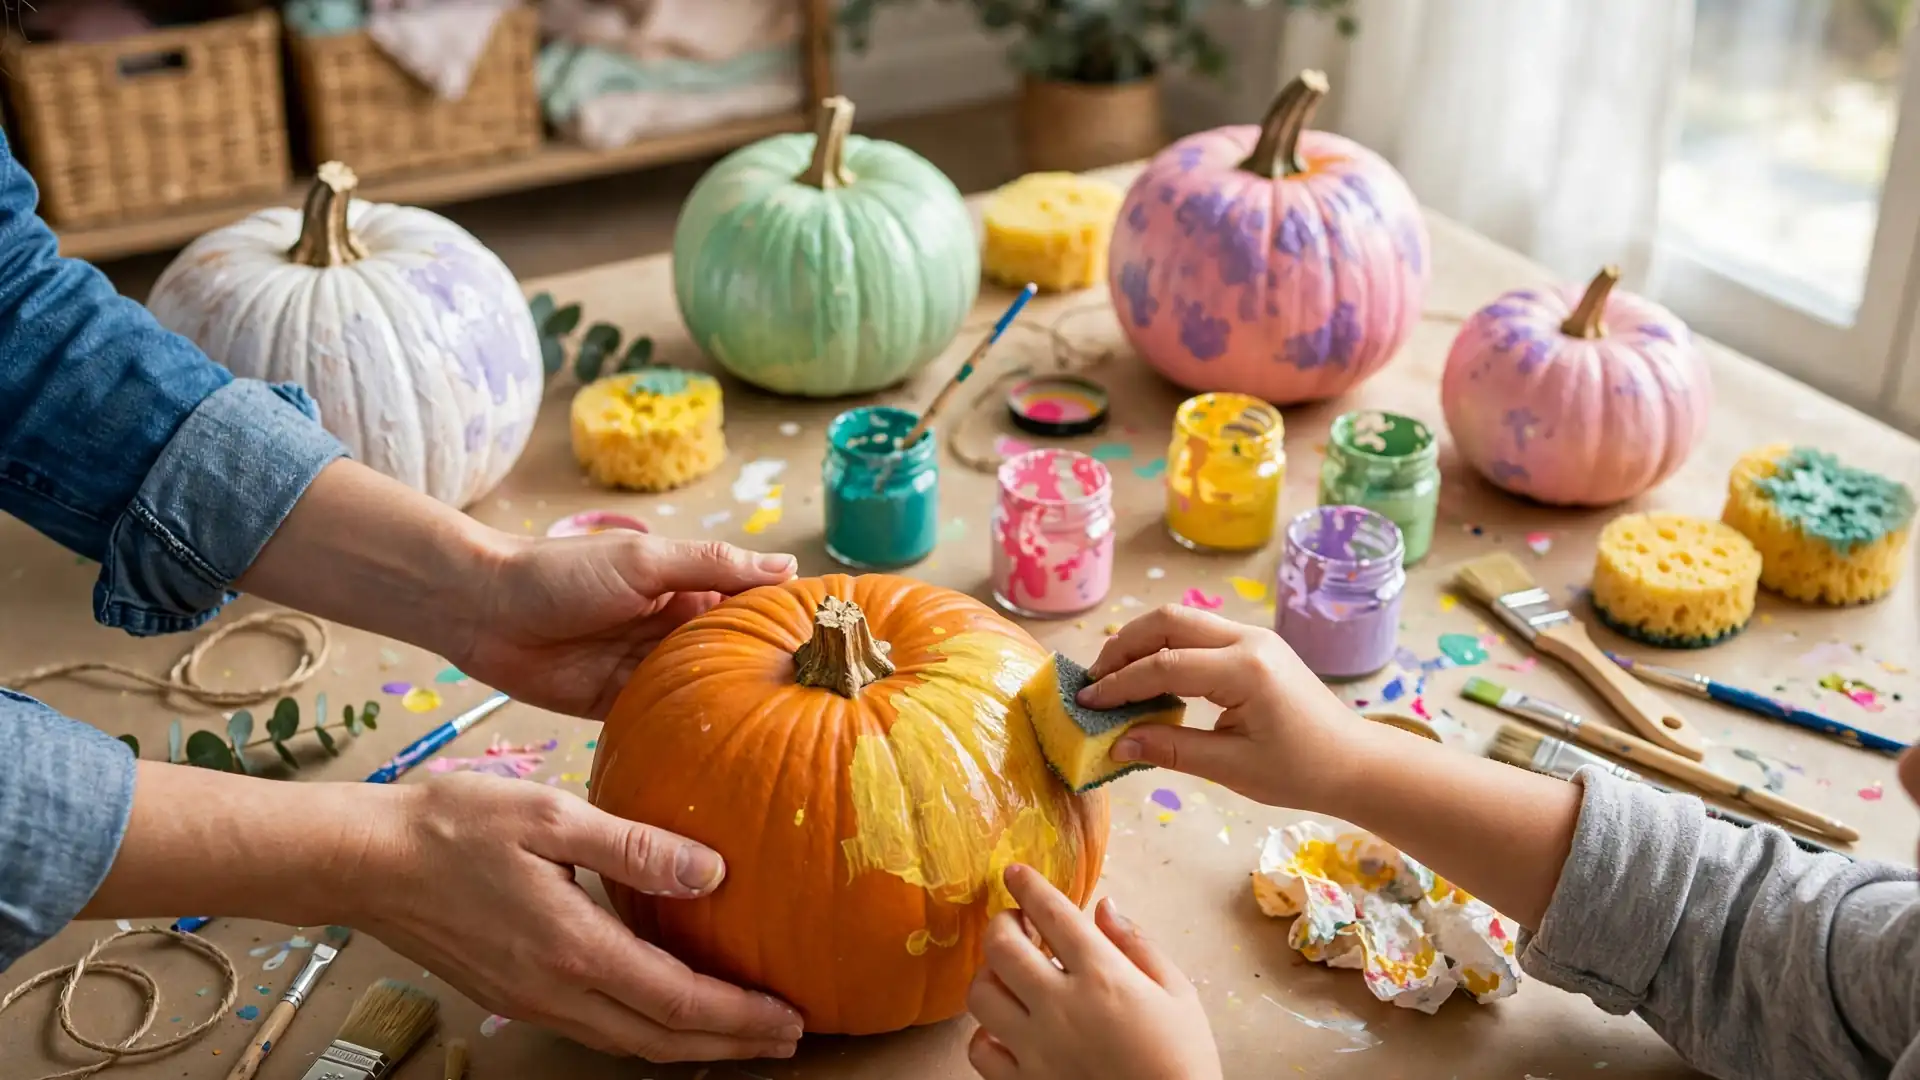
- 3. Set up a kid-proof painting station. Cover the table with kraft paper or cut-open trash bags, give each painter a paper plate palette and a water cup, and have smocks ready. Craft paint usually does not wash out of wood or fabric, so this five-minute setup is what keeps a fun project from becoming a staining disaster. Supplies cost under $10 if bought new. For more ways to stock a starter craft corner cheaply, see budget DIY projects for first-time homeowners. Difficulty: Kid-safe — a great job for the youngest helpers.
Brush-Painted Pumpkin Ideas
The brush is the most forgiving pumpkin tool — no special skill, water cleanup — and kids can paint faces while adults handle details. Use acrylic craft paint, letting each color dry before layering the next.
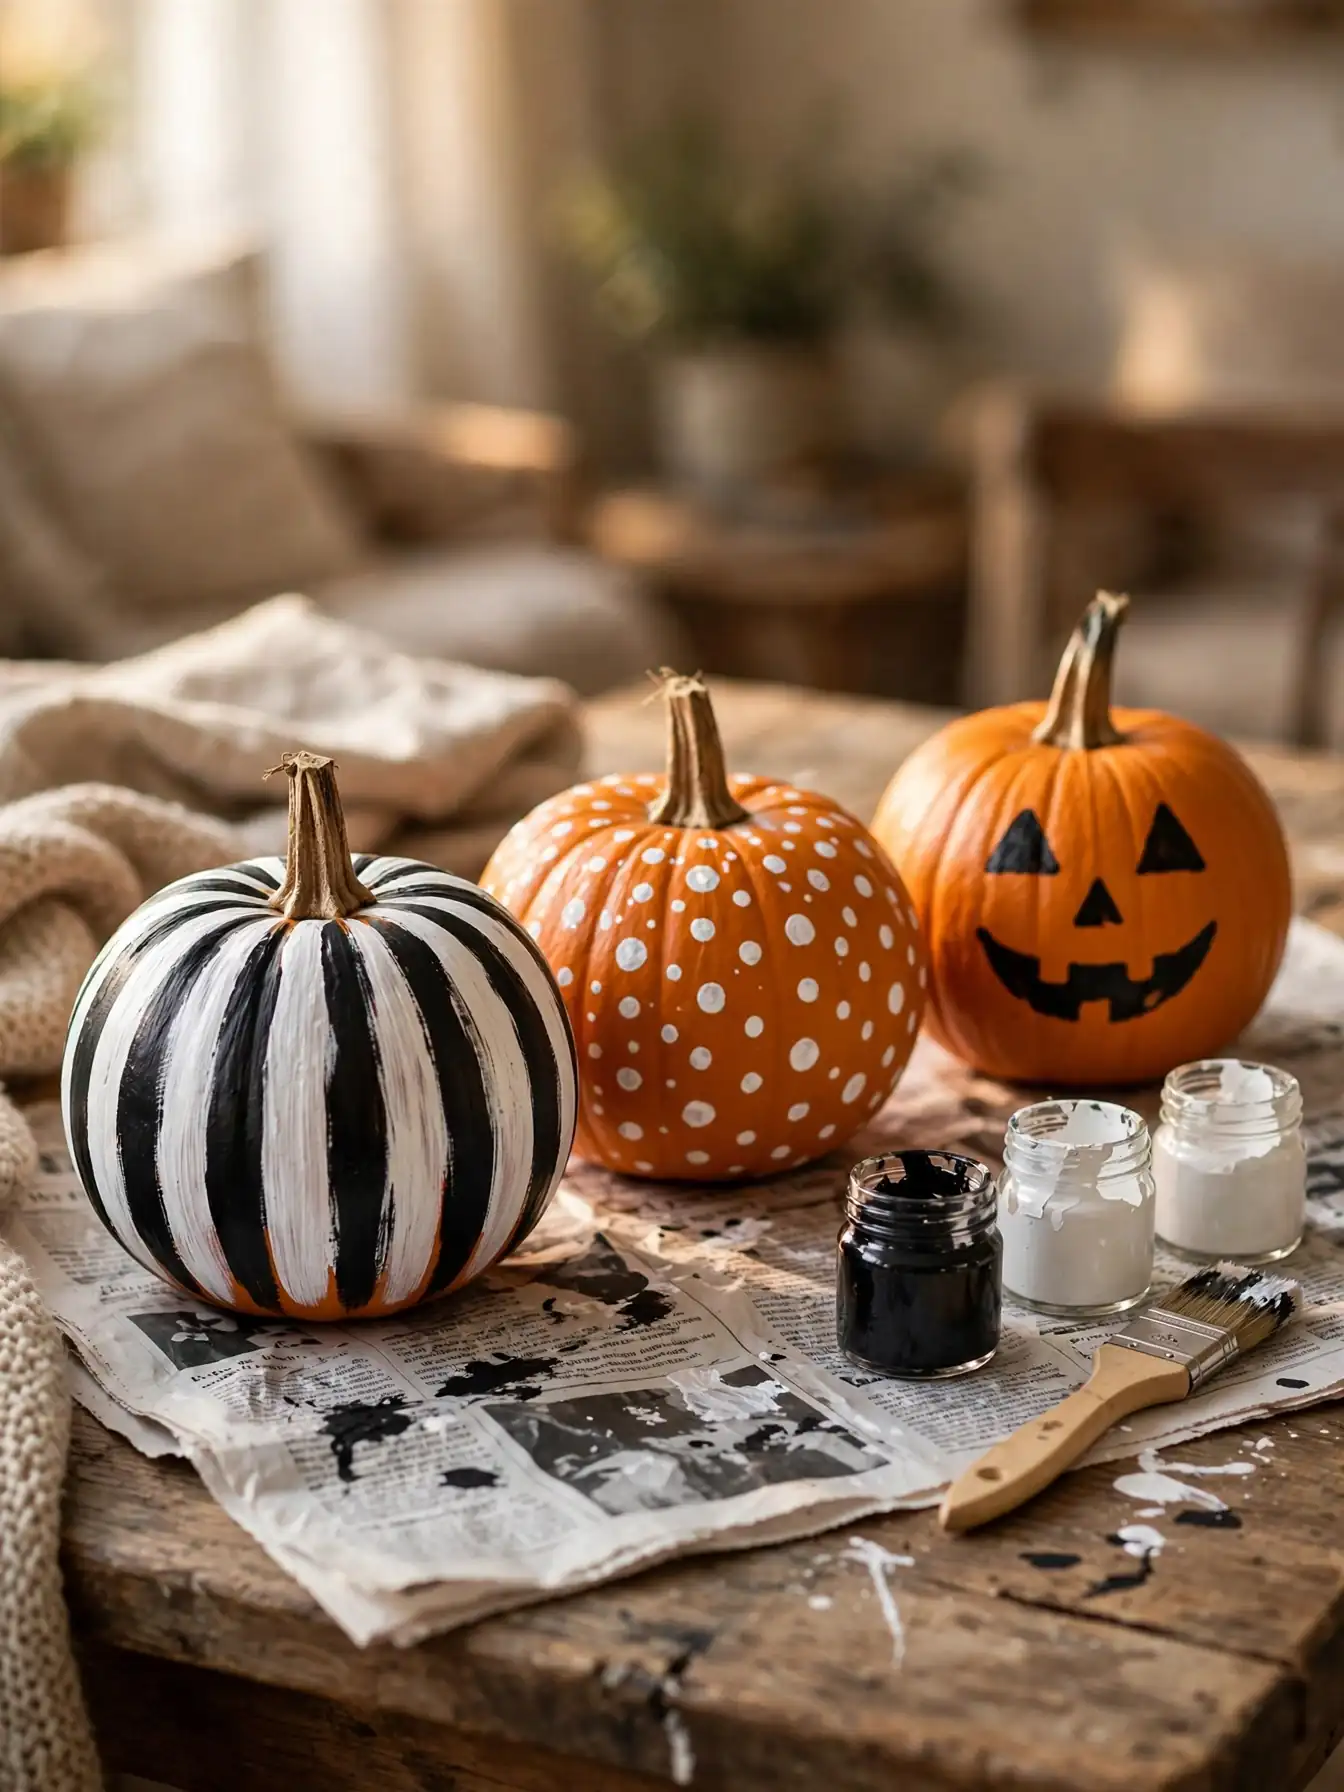
- 4. Classic painted faces. Sketch the face lightly in pencil on a base-coated pumpkin, then fill in eyes, nose, and grin with a medium flat brush, painting black outlines last for sharp edges. No knives, no scooping — toddlers fill in big shapes while an adult paints the lines. Cost: paint you already own. Difficulty: Kid-safe.
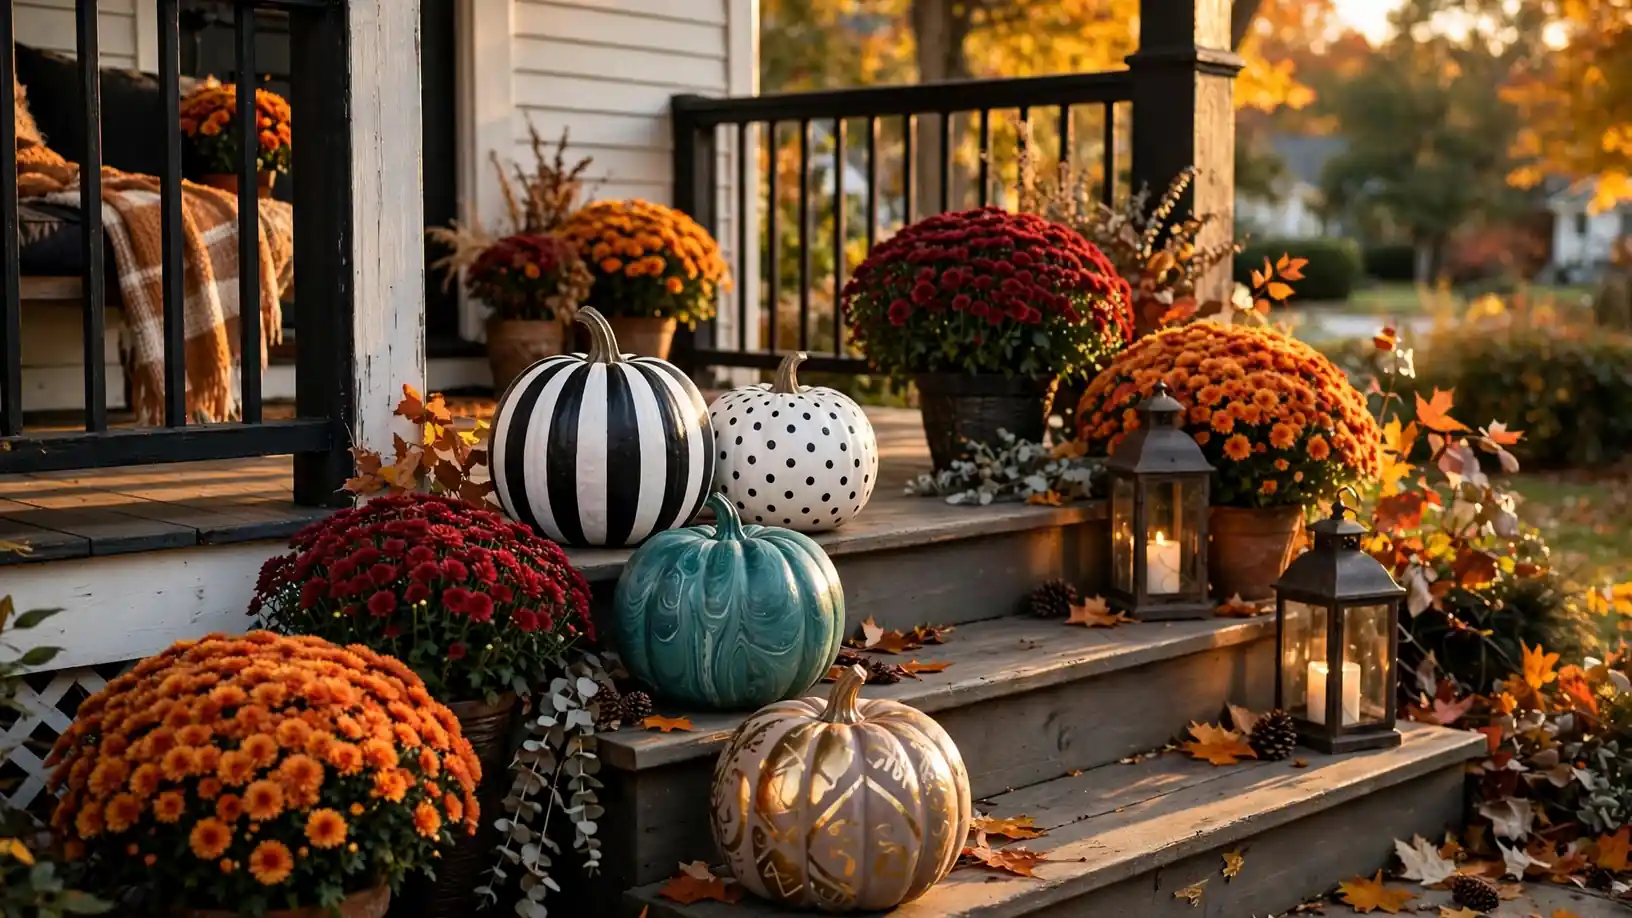
- 5. Crisp stripes and polka dots. Paint the pumpkin a solid color, let it dry, then add stripes with a flat brush or dots with a pencil-eraser end dipped in paint. Freehand lines usually look charmingly handmade. A striped black-and-white pumpkin reads elegant; polka dots in harvest colors read playful. Cost: essentially free with paint on hand. Difficulty: Kid-safe.
- 6. Faux wood-grain pumpkins. Paint a warm tan base, then drag a nearly dry brush with slightly darker brown paint in long strokes around the pumpkin to suggest grain. Many people find a light touch works best. The result looks high-end on a mantel for the cost of two paint colors. Difficulty: Adult-level — dry-brush control takes a practiced hand.
- 7. Plaid and gingham checks. Paint a solid base, then brush on intersecting horizontal and vertical stripes in one or two accent colors; the overlaps create the plaid. Each stripe set must dry before the crossing stripes go on, so plan a couple of drying breaks. Cost: two to three paint colors, typically a few dollars each as of 2026. Difficulty: Adult-level (kids can help with the first stripe set).
Sponge, Dab & Pour Techniques
Sponges and poured paint do the blending for you: fast, forgiving, and great for full-coverage finishes. Work over a protected surface — pours drip.
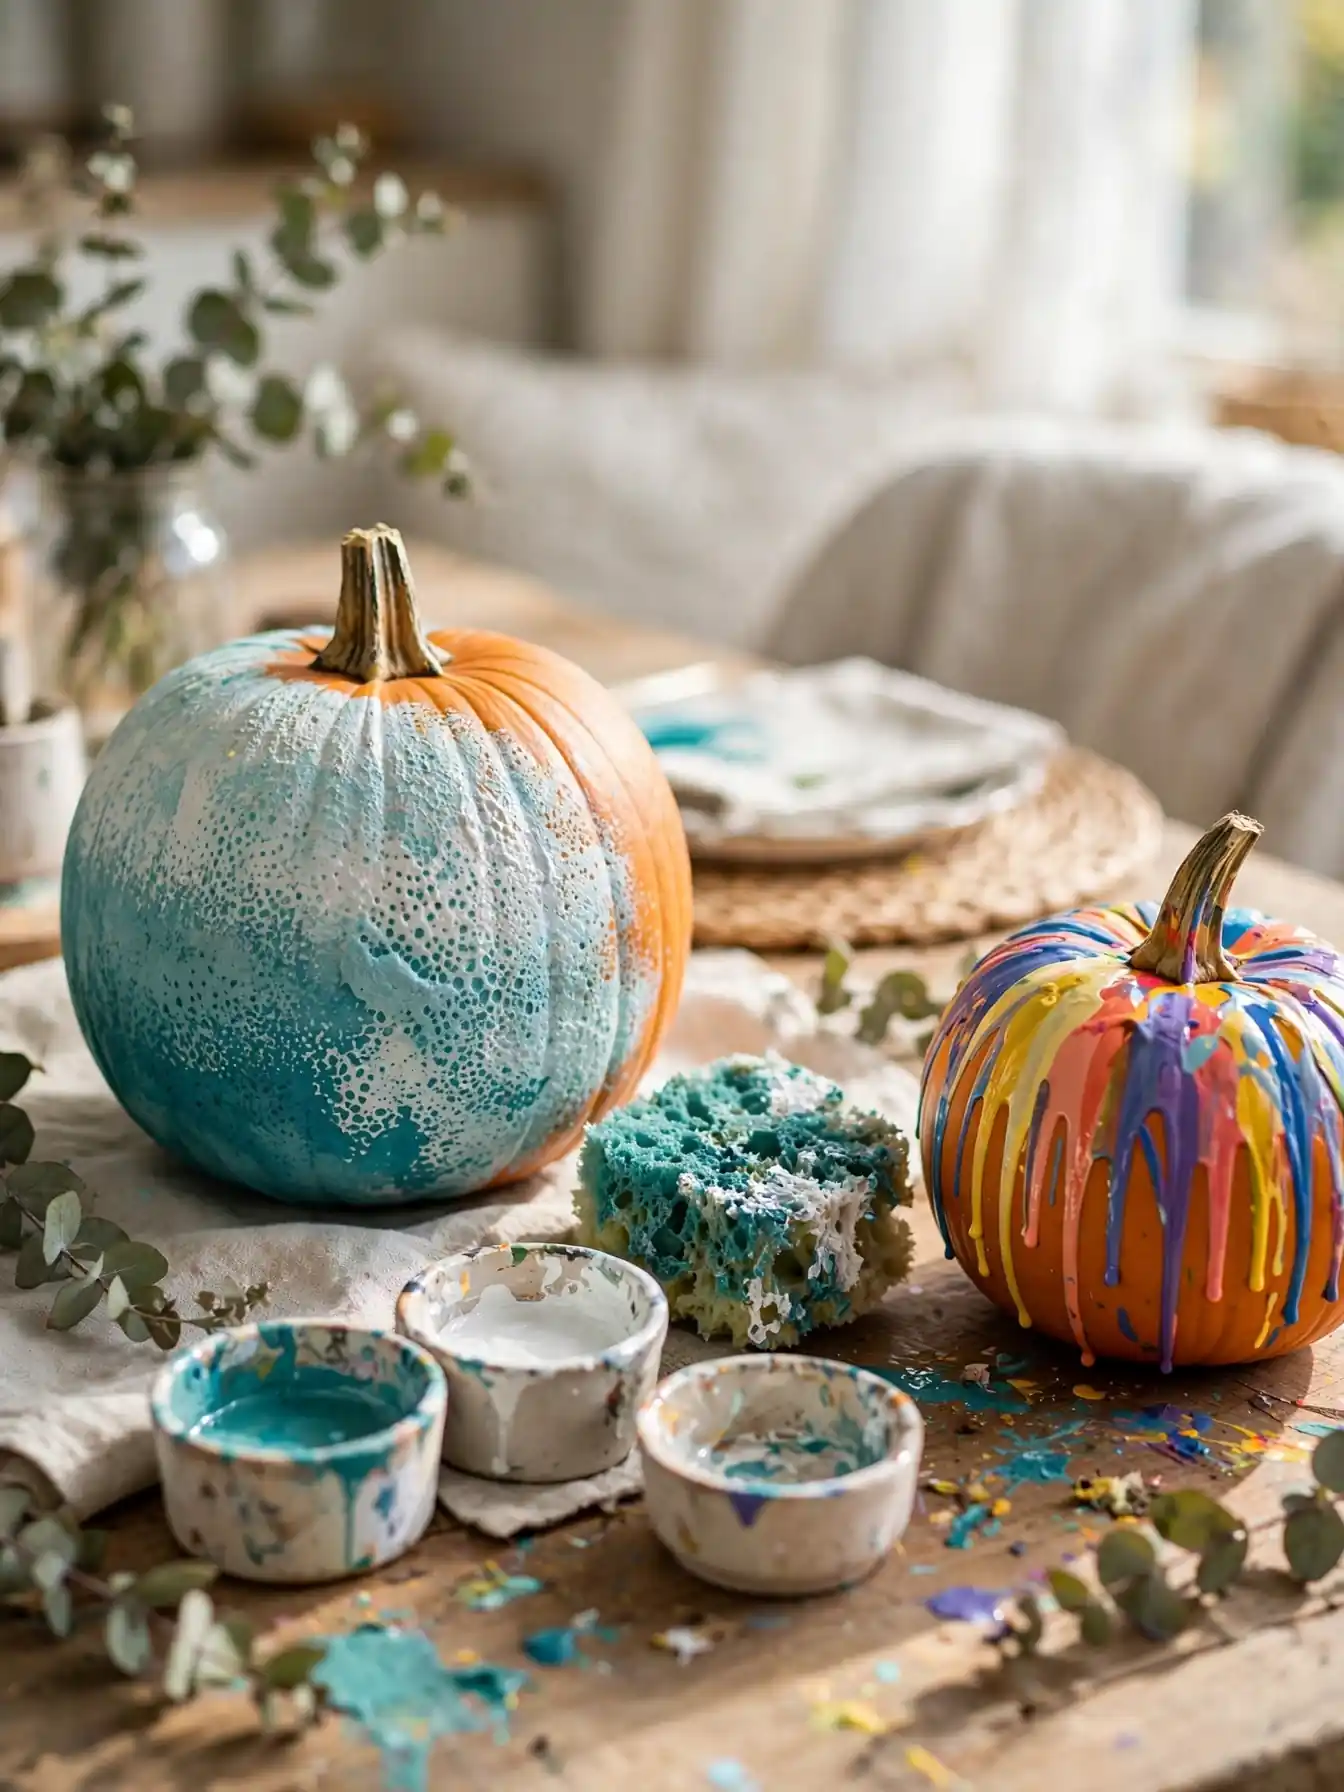
- 8. Sponge-blended ombre. Dab a natural sponge in the darker color and bounce it onto the pumpkin from the stem down, switching to the lighter color as you move lower. The stippled edge blends the colors for you — teal fading to white is a classic fall look. A pack of craft sponges usually costs a couple of dollars as of 2026. Difficulty: Kid-safe.
- 9. Marbleized sponge dab. Crumple paper or a rag, dip lightly in two or three colors, and roll it across a base-coated pumpkin without overworking it. Each pass leaves broken, marble-like veining. Stop early — dabbing too long turns the colors muddy. Cost: paint you already own. Difficulty: Kid-safe.
- 10. Controlled drip pour. Set the pumpkin on a raised surface (a cup works) inside a tray, pour craft paint over the top, and tilt slowly so paint drips down the sides. A base coat first makes the drips read cleanly. This stains — protect table, floor, and clothes, and have an adult handle the pouring or supervise closely. Cost: roughly $10–15 in paint as of 2026. Difficulty: Adult-level (kids pick the colors).
- 11. Poured marble over a base color. Layer two or three paint colors in a cup, pour slowly over the top, and let them swirl as they flow; one drag of a wooden skewer through the wet paint makes the marble veins. Cure a full day somewhere dust-free. Like idea 10, keep it over a tray and away from anything you care about. Cost: roughly $10–15 in paint as of 2026. Difficulty: Adult-level.
Details, Stencils & Finishing Touches
Details make a painted pumpkin look finished rather than just colored. These layer onto any technique above.
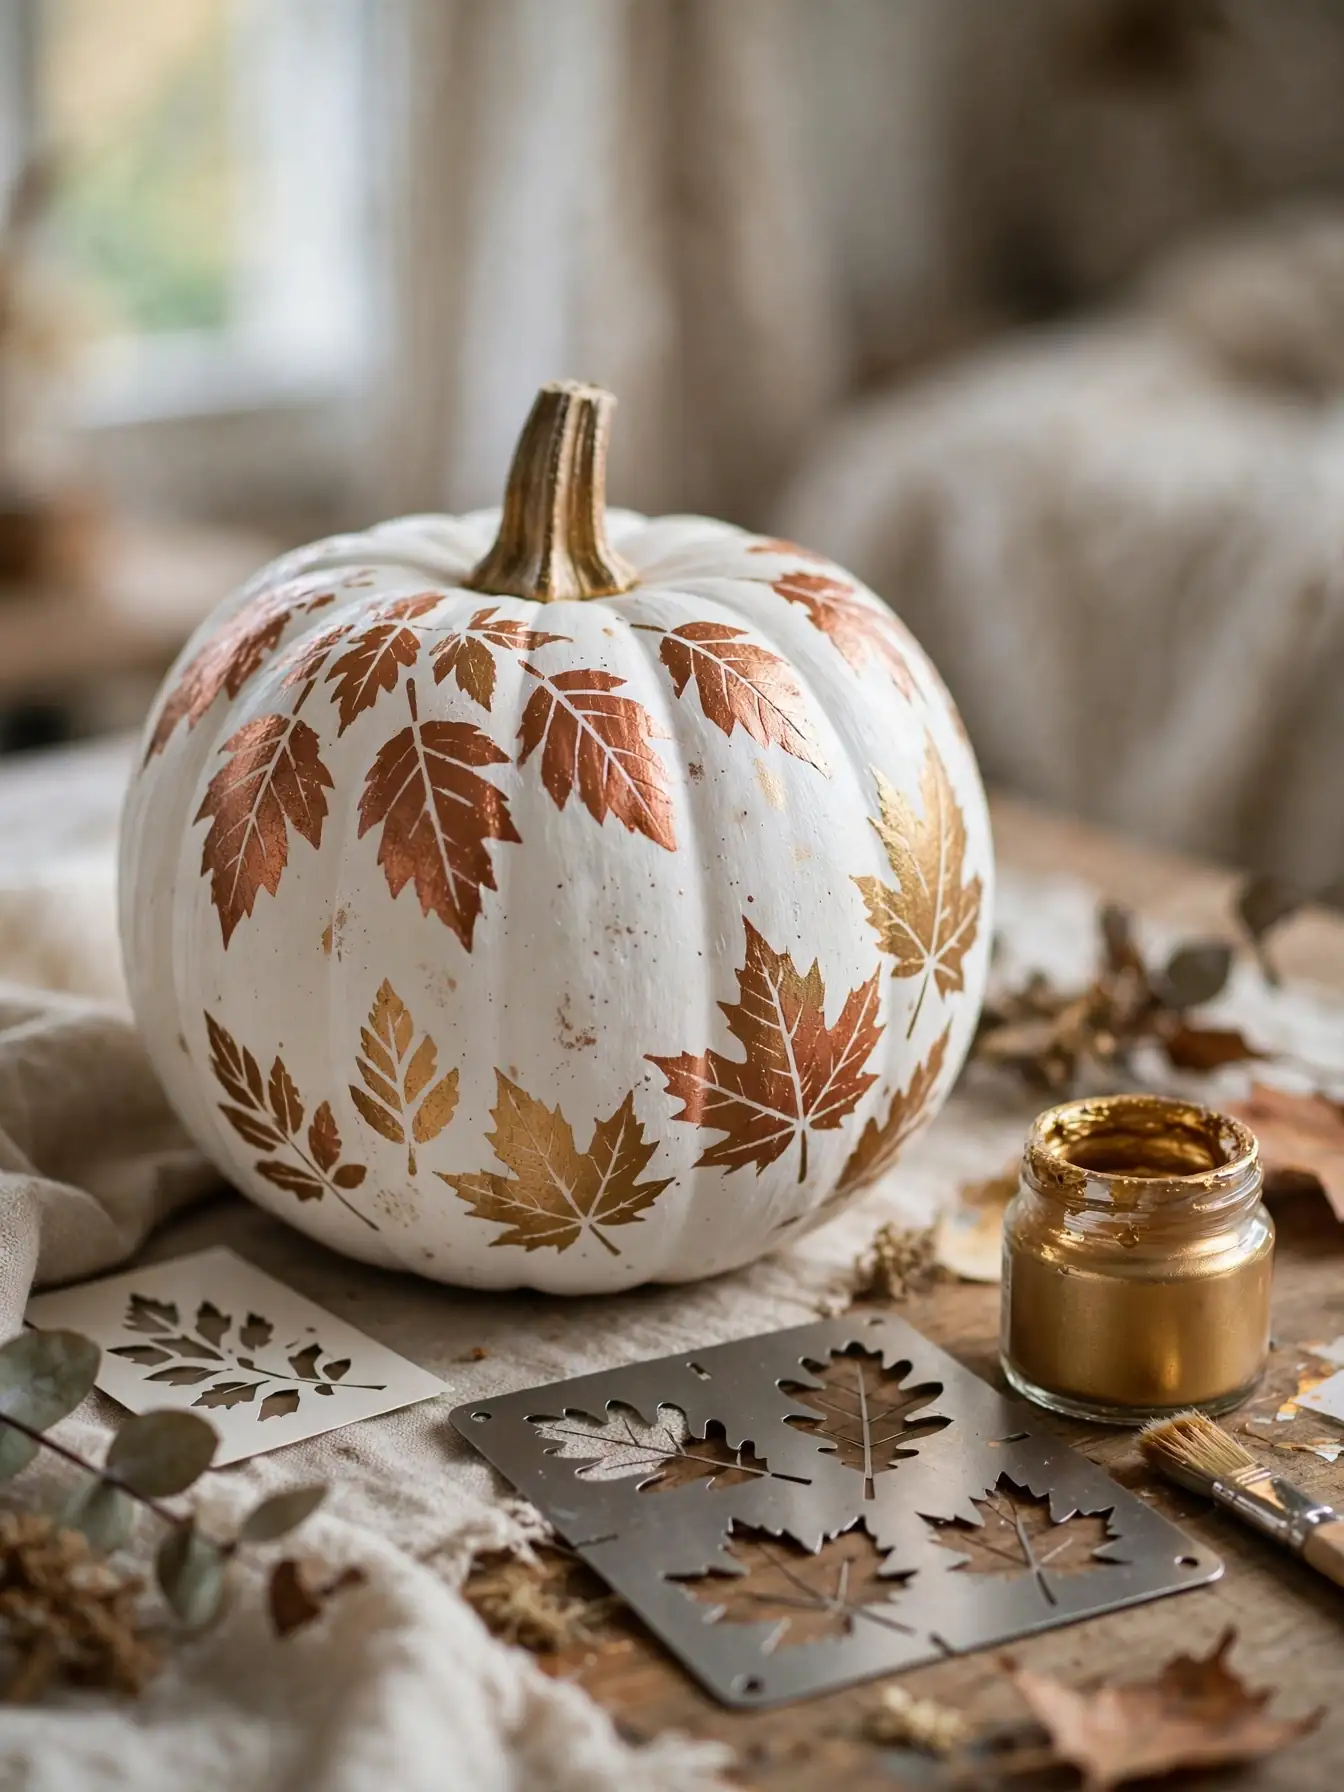
- 12. Stencil motifs (leaves, bats, initials). Hold a stencil flat against the pumpkin and dab paint straight down through it with a sponge — the straight-down dab keeps paint from bleeding under the edges. Adhesive stencils grip curves best, but painter’s tape over a paper stencil usually works. Stencil sets typically cost a few dollars as of 2026. Difficulty: Kid-safe with an adult holding the stencil.
- 13. Metallic gold and copper accents. Metallic craft paints catch porch light beautifully at dusk: gold stems, copper leaf veins, a thin metallic rim at the stem. Use them sparingly — too much metallic reads as trophy rather than pumpkin. Cost: one bottle of metallic paint, typically a few dollars as of 2026. Difficulty: All ages.
- 14. Glue-on 3D details. Felt eyes, twig antlers, yarn hair, and raffia bows add dimension paint alone can’t. Safety note: hot glue guns cause real burns, so this is an adult’s job — or use tacky craft glue for kid-made versions, which just needs longer drying. Cost: typically under $10 for felt, twigs, and glue. Difficulty: Adult-level for hot glue; Kid-safe with tacky glue.
- 15. Chalk-painted pumpkins you can re-decorate. Coat the pumpkin with chalkboard-style paint, let it cure, then draw on it with chalk or chalk markers. When the design feels stale, wipe it off and start over — one pumpkin can carry a new message every week of the season. Cost: a small can of chalkboard paint, typically under $10 as of 2026. Difficulty: Kid-safe (the drawing part is pure chalk).
Sealing & Outdoor Durability
A sealer separates pumpkins that photograph well from ones that survive a month on the porch. It protects paint from rain, dew, and sun fading — unsealed outdoor pumpkins usually look tired within a week or two.
- 16. Brush-on clear coat. A water-based clear topcoat brushed thinly over the finished, fully dry design is the simplest sealer. Brush in one direction and don’t overwork it, which can smear the paint underneath. Low-odor options exist for anyone sensitive to fumes — these low-odor paint ideas for limited-mobility spaces share the same thinking. Cost: a small can typically under $15 as of 2026. Difficulty: Adult-level (or supervised teens).
- 17. Spray sealant for outdoor pumpkins. Clear spray sealers are fast, even, and reach crevices a brush can’t. But aerosols mean fumes: apply outdoors or in a ventilated garage, wear a mask, and keep kids and pets away during application and drying. Strictly adults-only — kids can admire the result once it’s dry and odor-free. Cost: a can typically under $10 as of 2026. Difficulty: Adult-level only.
- 18. Place pumpkins where they last. Even sealed, a painted pumpkin lives longest under a covered porch or overhang, out of direct rain and harsh afternoon sun. Set it on a dry surface, not wet soil or damp mulch, which speeds rotting from the bottom. Free, and probably does more for longevity than any product. Difficulty: Kid-safe.
- 19. Mid-season touch-ups. Keep leftover paints in a labeled bag with a brush. A two-minute dab over a chip keeps the display fresh through Thanksgiving — many people find sealed pumpkins need just one touch-up per season. Cost: free, it’s paint you already bought. Difficulty: Kid-safe.

FAQ
How long do painted pumpkins last?
Uncarved painted pumpkins typically last several weeks, often the whole season, when sealed and kept under cover. Carved ones usually sag within about a week.
What kind of paint works best on pumpkins?
Acrylic craft paint: it sticks well, dries fast, and cleans up with water. Avoid oil-based paints; choose non-toxic washable options for young kids.
Can I paint fake craft pumpkins instead of real ones?
Yes — foam or plastic pumpkins take paint well, sometimes better since the surface is uniform. Best for multi-year decorations; they just cost more up front, typically a few dollars each as of 2026.
Do I have to seal a painted pumpkin?
Indoors, no. Outdoors, seal it — rain and sun fade and lift unsealed paint fairly quickly.
Is painting pumpkins safe for toddlers?
It’s one of the safest fall crafts for little kids: no knives, no sharp tools. Use non-toxic washable paints, keep small items out of mouths, and let adults handle spray sealers or hot glue. Always supervise.
Can I compost a pumpkin after painting it?
Not into home compost or food-waste bins — the paint layer rules that out. Check local yard-waste or municipal compost rules; many accept painted pumpkins, but rules vary.
Conclusion
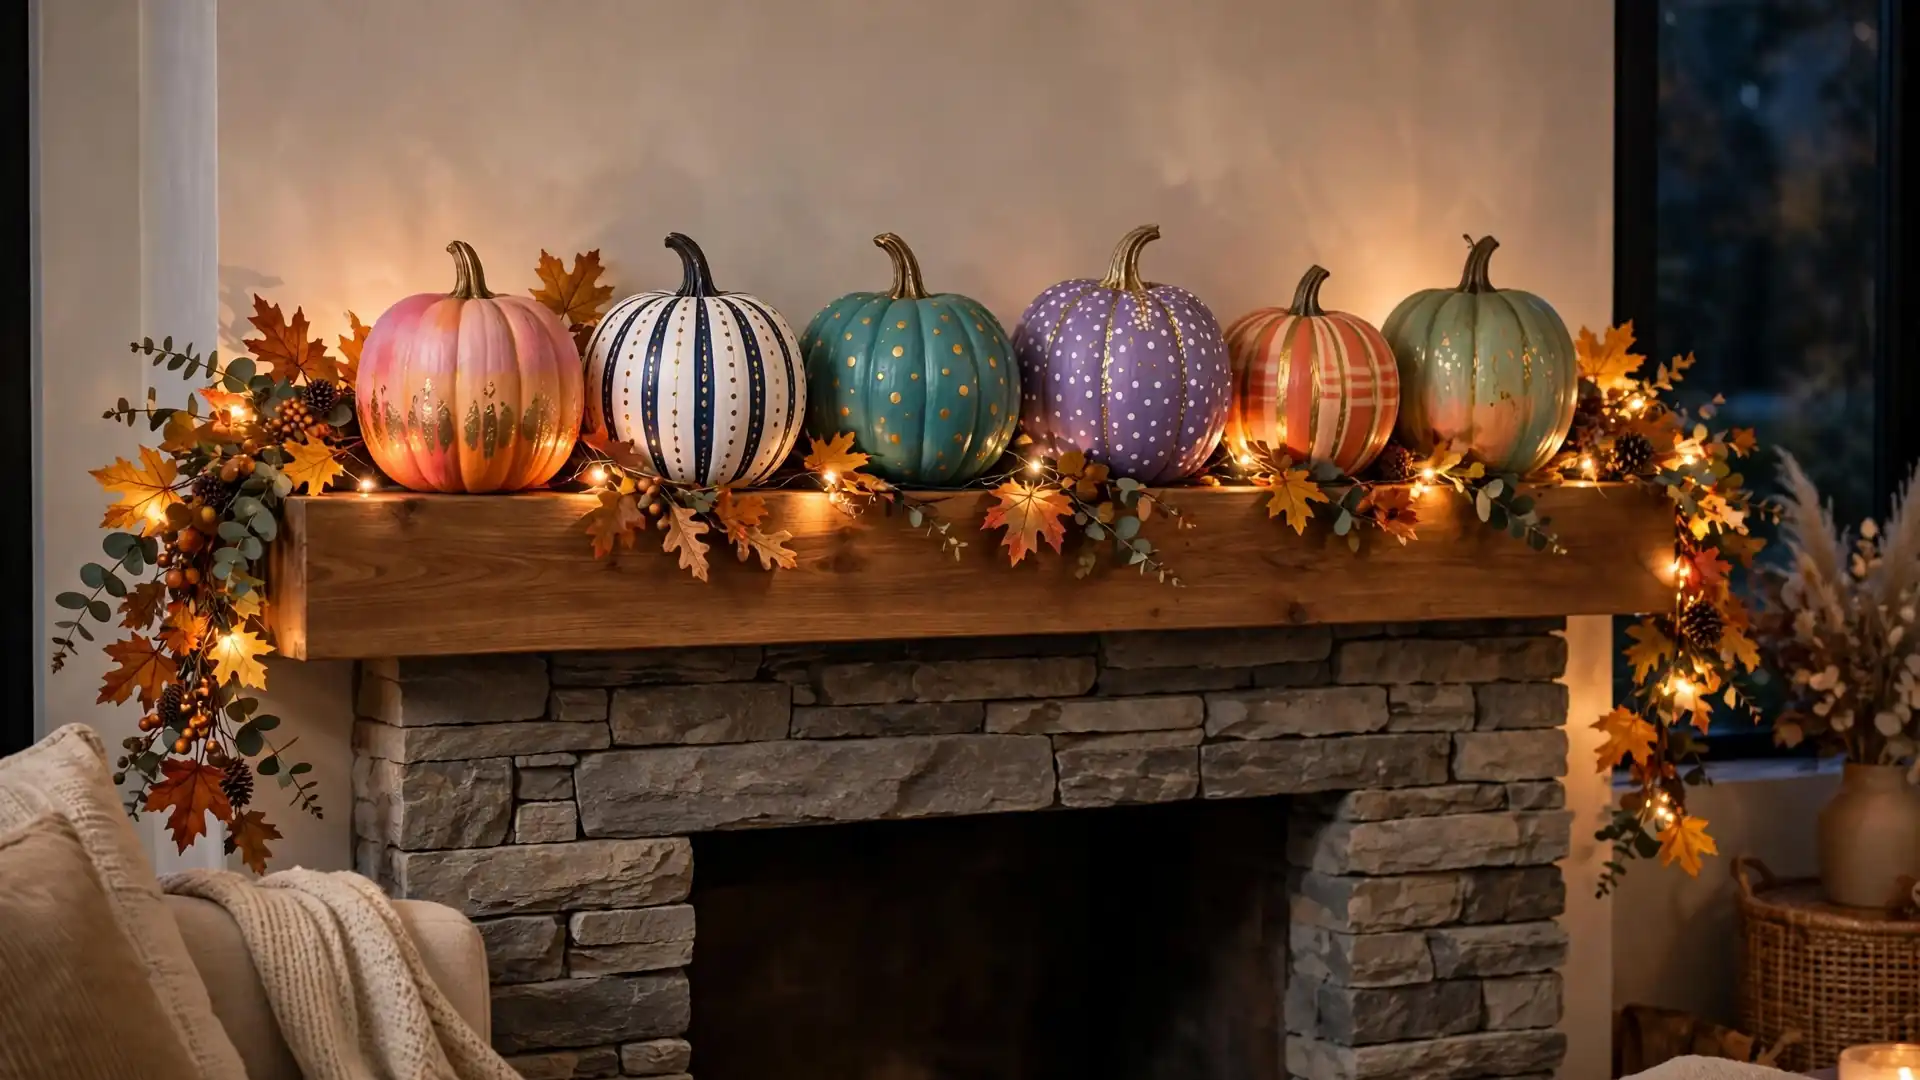
No-carve painted pumpkins prove the easiest option is often the best: safer for kids, kinder to your schedule, longer-lasting on the porch. Pick a difficulty level above, wash and base-coat first, and seal anything outdoors. One afternoon and a handful of paint bottles fills a porch with pumpkins that still look great on Thanksgiving.
Pin this guide for next October — and tag your finished pumpkins so other families can steal your technique.

Thiago Alexander is the Chief Editor at Nested Charm. With a deep passion for interior design and cozy living spaces, he leads the editorial team in crafting stories that make every house feel like a home.