
23 Primary Bedroom Ideas on a Budget: A $500 Phased Makeover for Renters and First-Time Owners
Executive Summary
An empty or mismatched primary bedroom usually does not need more furniture — it needs an order of operations. Spending $500 in the wrong order buys decor for a room with no working bed, no blocked light, and nowhere to put anything down. Spent in phases, the same $500 fixes sleep first, then colour and softness, then walls and storage, then the finishing layers.
This plan collects 23 ideas in four paid phases — $100, then $150, then $150, then $100 — plus a free reset first. Every phase stands alone, so you can stop after any of them with a better room. Prices are approximate planning figures as of 2026, and every idea is renter-safe or flagged with a safer alternative.
In short: Reset the room for free, spend the first $100 on the bed and blocking light, the next $150 on a rug, lamps, and colour, the next $150 on a headboard effect, art, a mirror, and closed storage, and the final $100 on finishing layers — $500 total, spent in the order that changes the room most first.
Before You Spend: The Free Reset
One honest afternoon of editing and rearranging costs nothing and usually removes two or three items from your shopping list entirely.
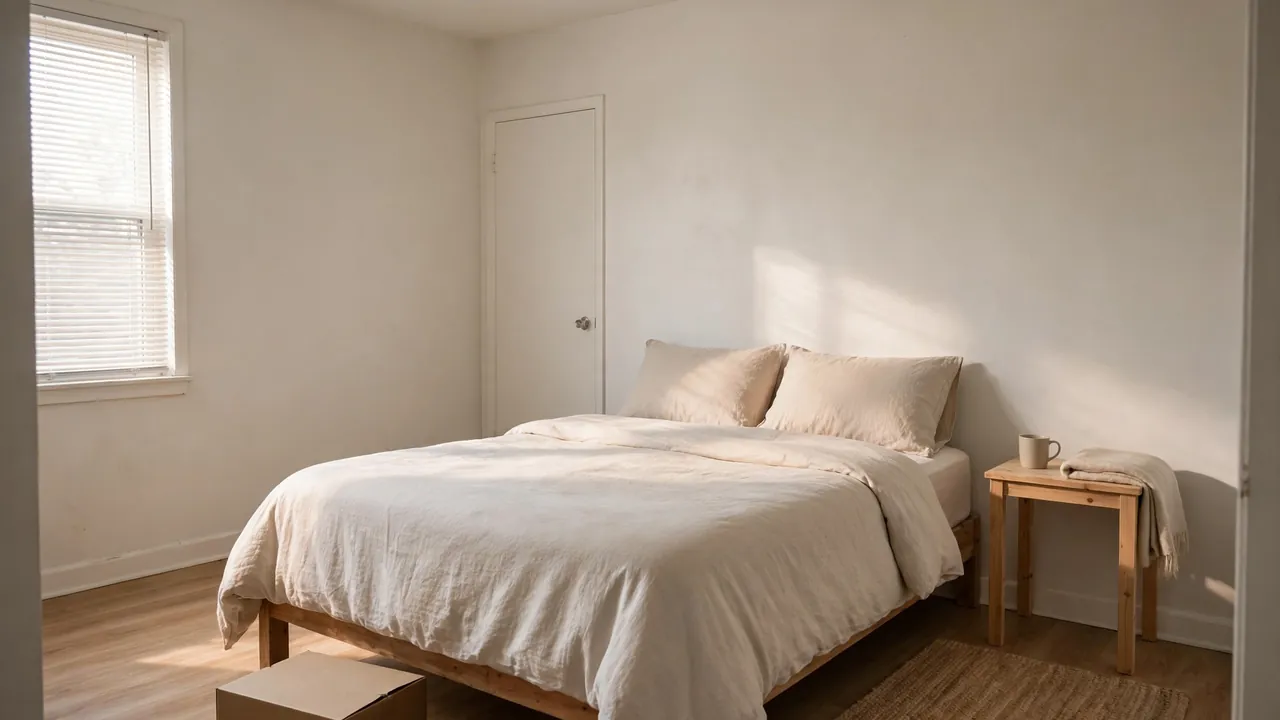
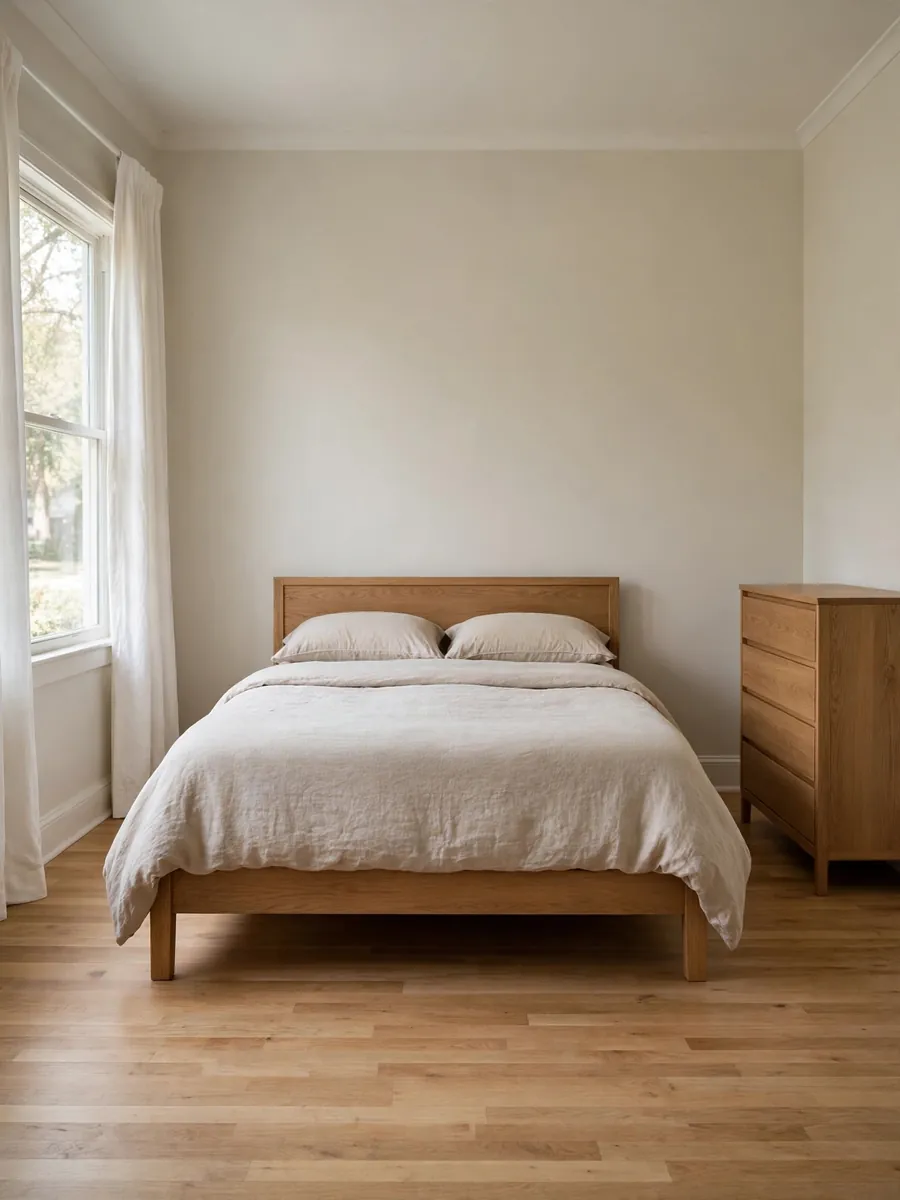
1. Empty the room down to the bed and one dresser. Bring pieces back only if they have a job: sleeping, storing clothes, or holding a lamp. Mismatched extras — the spare chair, the random shelf — are what make a furnished room look unfinished. Cost: $0.
2. Put the bed on the wall that leaves both sides reachable. Centre it where two people can walk around it, ideally facing the door or a window. A good layout makes even a bare room feel deliberate, and tells you what size rug and lamps you need. Cost: $0.
3. Give everything a closed home before buying storage. Sort what came out into keep, relocate, and let-go piles. Use suitcases, lidded boxes, and drawers you already own for chargers, paperwork, and cables — visible clutter reads as “unfinished” faster than bare walls do. Cost: $0.
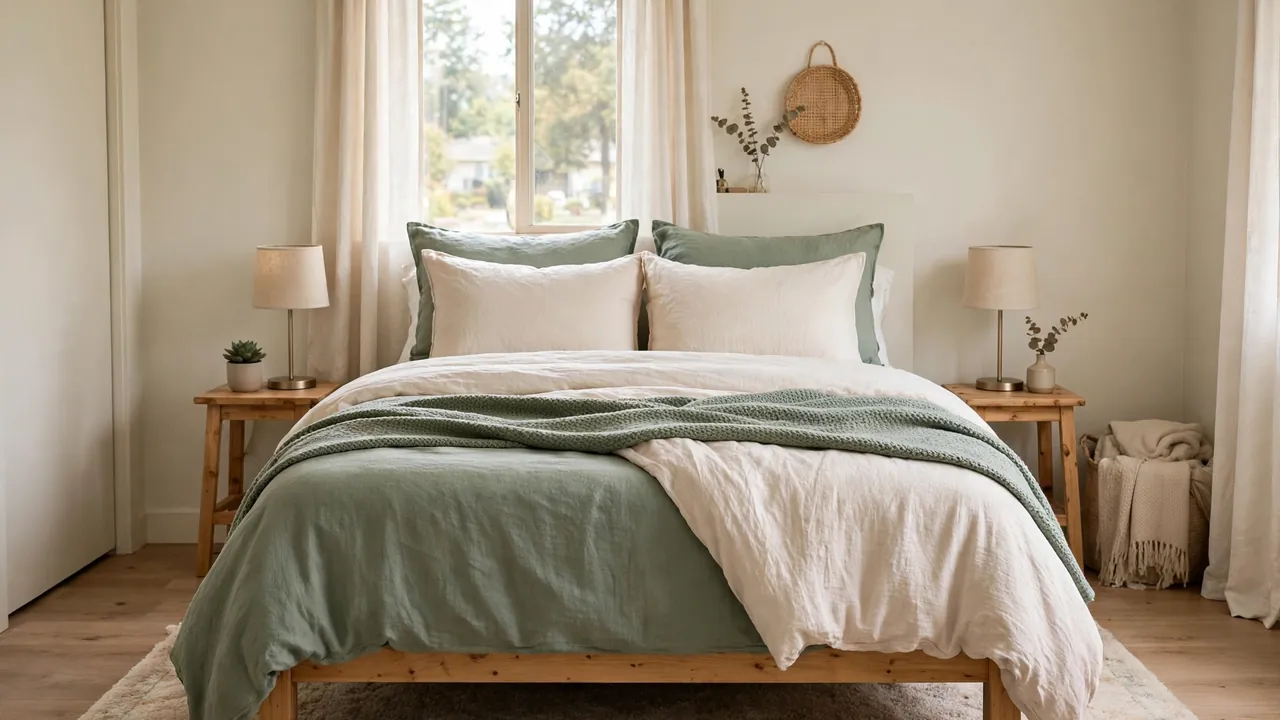
4. Lock a three-colour palette before phase one. Pick one main colour (about 60%), one supporting colour (30%), and one accent (10%), drawn from something you already own and like. Soft green is a forgiving main colour; these sage green bedroom ideas show how it pairs with warm whites and wood tones. Check every later purchase against the palette. Cost: $0.
Phase 1 — The First $100: Fix the Bed and the Light
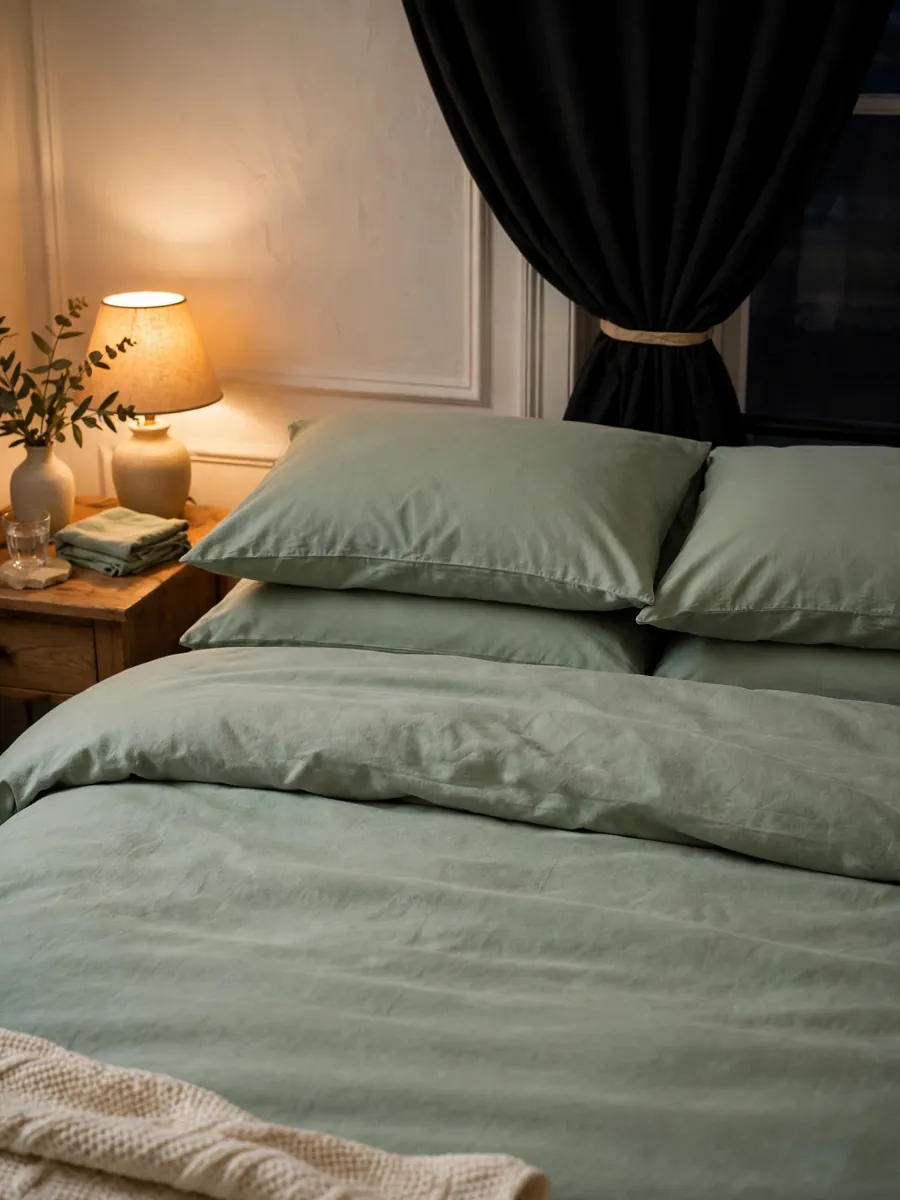
Sleep is the room’s main job, so the first money goes where your body notices it: matching bedding, darkness, and warm light. Phase total: about $100, as of 2026.
5. Buy one complete sheet set in your main palette colour. A matching set in breathable cotton or a cotton blend looks calmer than patterned sets that fight each other, and it washes as a unit. Solids hide wear longest. Cost: roughly $30–$40.
6. Cover the comforter you own with a duvet cover set. It turns a stained or clashing comforter into the room’s visual centre for far less than new bedding, and most sets include matching shams — your first “styled bed” layer, free. Cost: roughly $25–$35.
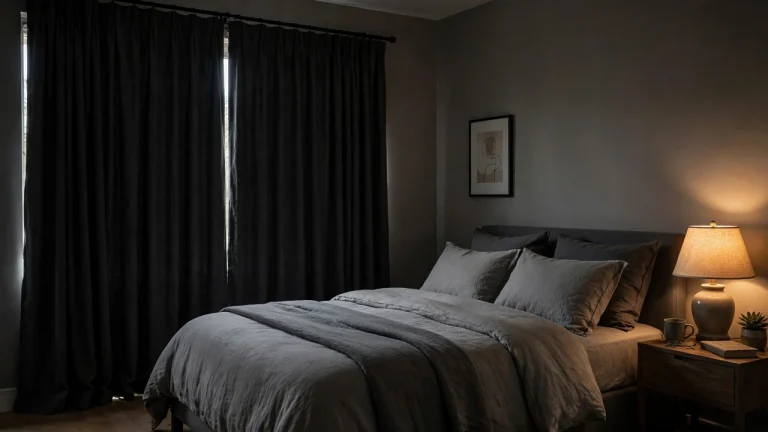
7. Block the light with lined or blackout curtains. Hang panels on a tension rod or removable hooks rated for the weight — no drilling. If you like the curtains you have, clip blackout liners behind them instead. Cost: roughly $20–$30.
8. Swap in warm-white bulbs. Cool, blue-toned bulbs make bedrooms feel like offices. Warm-white bulbs (often labelled 2700K) in lamps you already own soften the room at night — the cheapest atmosphere change on this list. Cost: roughly $8–$12.
9. Style the bed you just built — for $0. Fold the duvet down a third, stand pillows upright, lay the shams in front. Two minutes each morning is the difference between “bedding we bought” and “a made bed.” Cost: $0.
Phase 2 — The Next $150: Softness, Lamps, and Colour
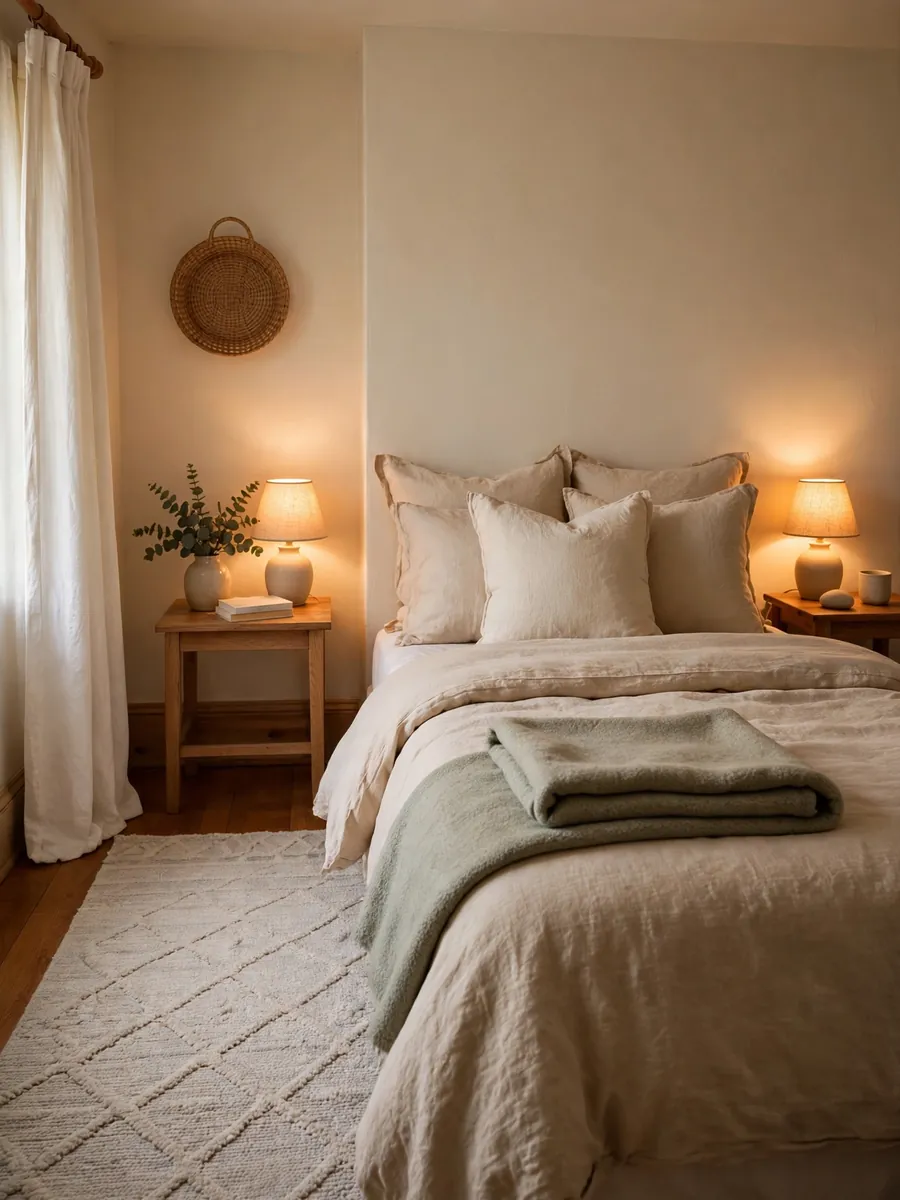
Phase two fixes how the room feels underfoot and after dark. Running total: about $250, as of 2026.
10. Lay a washable low-pile rug under the lower two-thirds of the bed. Extending beyond both sides, it gives you a soft landing and anchors the bed visually. Low pile is easier to vacuum; a 5×7 ft rug suits many queen setups. Cost: roughly $60–$75.
11. Add two matching bedside light sources. Symmetry is a shortcut to “finished” — two small thrifted or basic lamps beat one bright ceiling light. Switch secondhand lamps on before buying; if the wiring looks worn, choose new basic lamps instead. Cost: roughly $30–$45 for a pair.
12. Bring colour up one wall — carefully. Owners can paint the wall behind the bed in the supporting palette colour; one gallon usually covers it. Cost: roughly $35–$45. Renters: do not paint without written permission — it can cost deposit money. Your safer alternative is the textile or art in phase three, at $0 here.
13. Add one washable throw across the foot of the bed. A throw in your accent colour is the cheapest test of whether that accent works. Pick one machine-washable and long enough to span the bed. Cost: roughly $15–$25. Renters who skipped idea 12 can redirect the paint money here.
14. Borrow texture from the living room before buying more. Swap in a cushion or spare blanket for a week. If the room feels better, your palette works; if not, you learned it free. It is the same borrow-first thinking behind these living room decor ideas on a budget. Cost: $0.
Phase 3 — The Next $150: A Headboard Effect, Art, and Closed Storage
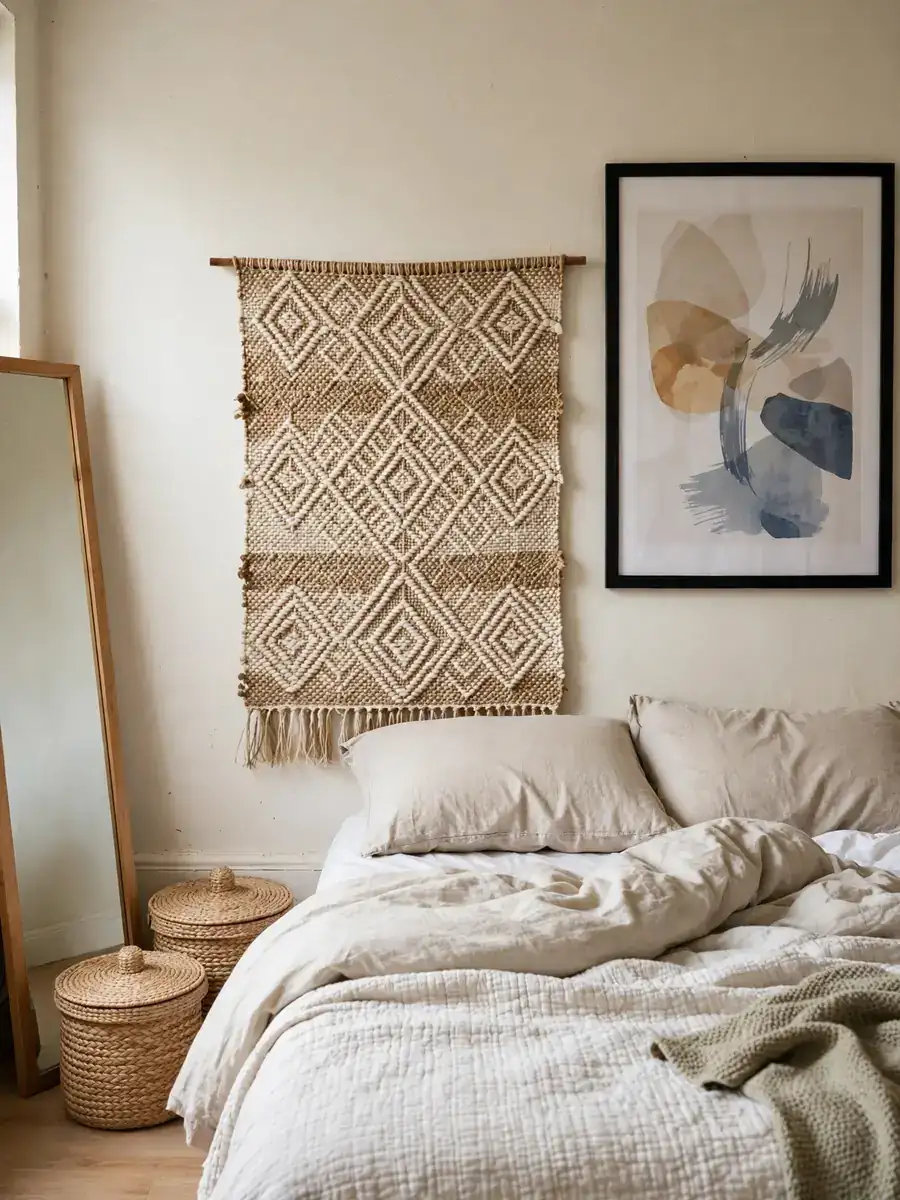
Phase three is what visitors notice: something behind the bed, something on the walls, nowhere for clutter to perform. Running total: about $400, as of 2026.
15. Create a headboard effect without buying a headboard. Lean two large cushions, hang a woven textile or quilt on removable hooks, or stand a folding screen behind the pillows. The goal is a defined edge, not a furniture purchase. Keep anything hung above the bed lightweight and securely hooked — nothing heavy over pillows. Cost: roughly $35–$50.
16. Hang one large piece of art, not six small ones. One big framed print above a dresser calms a room faster than a scattered gallery. Use removable strips rated for the frame’s weight, and plan the position with painter’s tape first — tape is renter-safe, extra holes are not. Cost: roughly $30–$45.
17. Add a mirror to borrow light. Opposite or beside a window, a mirror bounces daylight into the room’s dark half and gives you a getting-ready spot outside the bathroom. If your lease forbids fixings, lean it against the wall, anchored so it cannot slide. Cost: roughly $30–$40.
18. Buy closed storage for the visible mess. Two or three lidded baskets or fabric boxes — for laundry overflow, chargers, and spare bedding — remove the piles that make a styled room look temporary. Match them to the palette so storage reads as decor. Cost: roughly $25–$35.
19. Fill the under-bed gap. Low boxes or bags slide under the bed for out-of-season clothes, freeing dresser space. Measure clearance first; if the frame sits too low, skip this and stack idea 18’s boxes neatly instead. Cost: $0–$15.
Phase 4 — The Final $100: Layers That Make It Look Finished
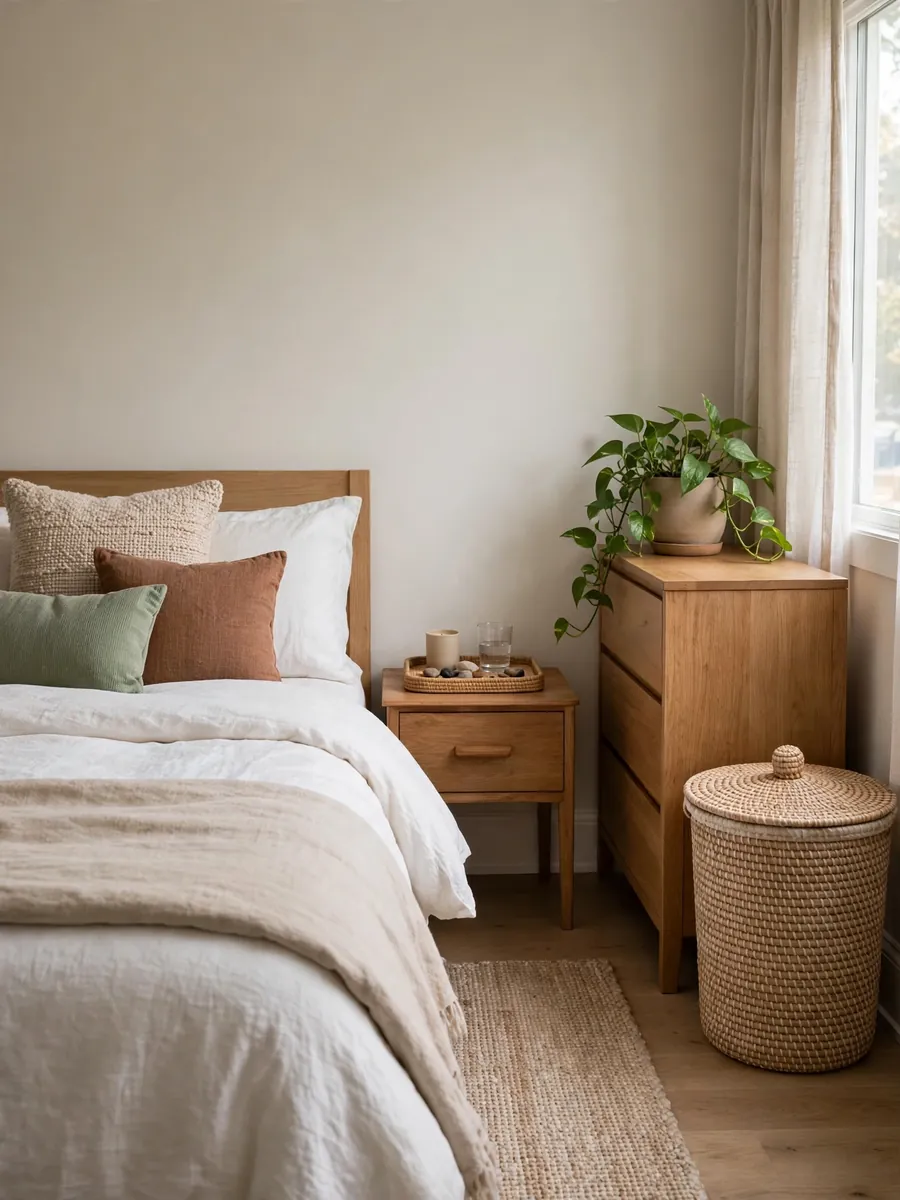
The last phase is deliberately small things — together, the difference between furnished and done. Final total: about $500, as of 2026.
20. Give each bedside a landing strip. A small tray or dish per side corrals glasses and phones into one tidy footprint; clear surfaces elsewhere make the room feel larger. Cost: roughly $10–$20 for two.
21. Upgrade the laundry basket. A lidded, decent-looking basket replaces the overflowing plastic one most bedrooms start with — a lid alone makes a corner look finished. Choose one that fits your usual wash load. Cost: roughly $20–$30.
22. Add one plant or a vase of dried stems. Something organic softens all the rectangles. One easy-care plant on the dresser, away from the pillow if pollen bothers you; dried stems are the zero-maintenance alternative. Cost: roughly $12–$20.
23. Do a final palette pass with cushion covers. Two covers in your accent colour, over inserts you already own, pull bed, throw, and art into one story. If the room still feels off, remove one item before adding anything — editing is the last layer. Cost: roughly $15–$25.
| Phase | Focus | Approx. spend (2026) | Running total |
|---|---|---|---|
| Reset | Edit, layout, palette | $0 | $0 |
| 1 | Bedding, blackout, warm light | $100 | $100 |
| 2 | Rug, lamps, colour, throw | $150 | $250 |
| 3 | Headboard effect, art, mirror, storage | $150 | $400 |
| 4 | Trays, laundry, plant, cushions | $100 | $500 |
Frequently Asked Questions
What if I can only afford phase one right now?
Do phase one and stop happily. Matching bedding, real darkness, and warm light change how the room sleeps and looks more than any later phase — the rest is improvement, not rescue.
I rent. Which ideas could risk my deposit?
Painting without written permission, drilling for rods or mirrors, and adhesive strips used beyond their weight rating. Every idea here has a no-drill route: tension rods, removable hooks and strips within their ratings, and leaning mirrors anchored against sliding.
Should first-time owners follow the same order?
Yes — the order is about impact, not tenure. Owners simply get the paint option in idea 12 and can use proper fixings instead of removable strips.
My furniture is mismatched wood. Will this still work?
Usually, yes. Bedding, curtains, and a rug cover most of what you see, and a locked palette makes different wood tones read as intentional. Matching textiles beat matching furniture at this budget.
How long does the whole makeover take?
Each phase is roughly one shopping trip and one afternoon. Spread across four weekends, the room improves weekly without ever being unusable — the point of phasing.
Where should I cut if prices run higher in my area?
Cut phase four first, then buy the rug and lamps secondhand. Protect phase one — bedding and blackout are what your sleep depends on.
Conclusion
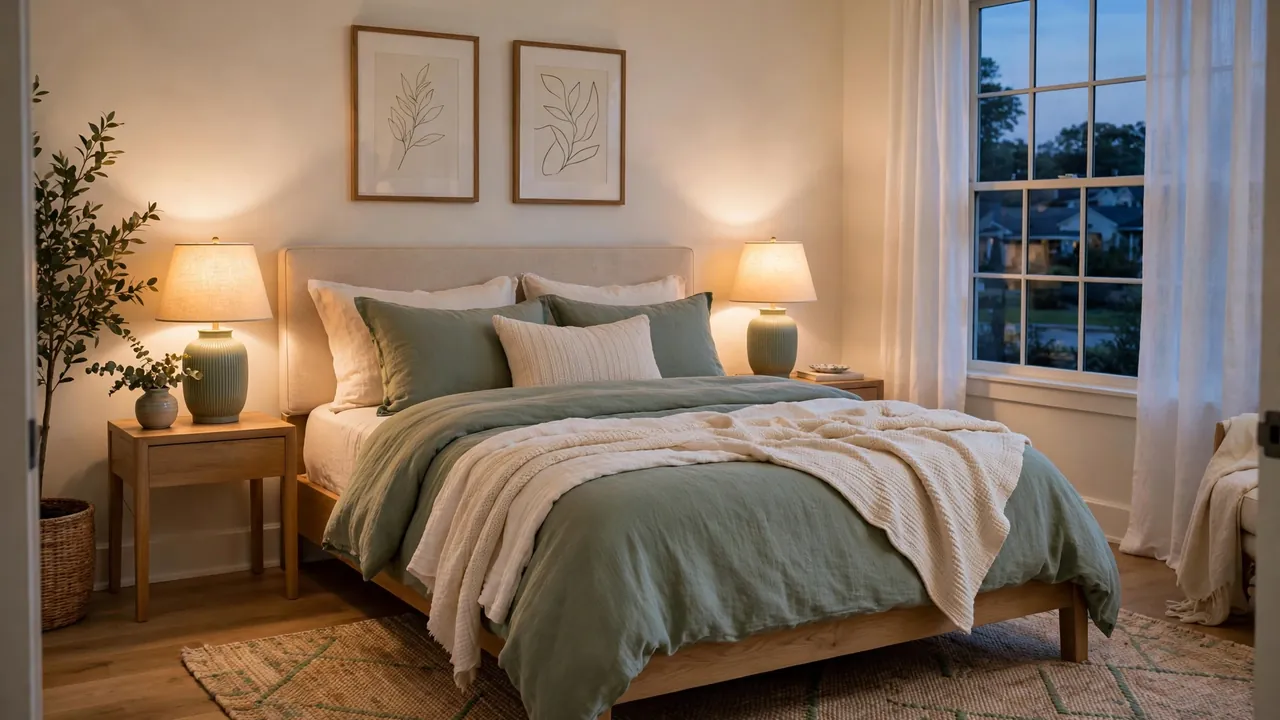
A $500 primary bedroom works when the money arrives in the right order: a free reset, $100 for the bed and the dark, $150 for softness and light, $150 for walls and storage, $100 for the layers that signal “finished.” Stop after any phase and the room still makes sense; finish all four and it looks planned — because it was.

Thiago Alexander is the Chief Editor at Nested Charm. With a deep passion for interior design and cozy living spaces, he leads the editorial team in crafting stories that make every house feel like a home.


One Comment