
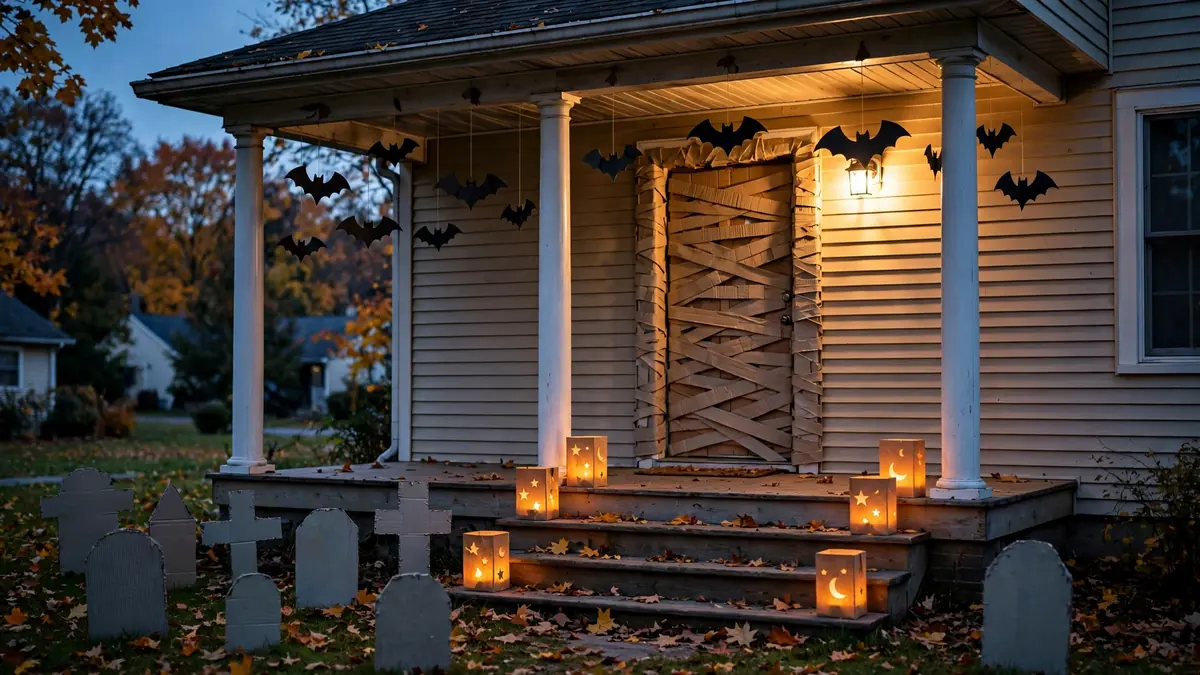
15 Cardboard Halloween Decorations You Can DIY for Pennies
Executive Summary
Every October, the boxes piling up by your front door can become your Halloween display. Shipping boxes, cereal boxes, and the odd shoebox are free, sturdy enough to stand on a porch, and easy to cut into spooky shapes. For budget DIY families, cardboard is the rare craft material that costs nothing yet looks impressive from the sidewalk.
These 15 projects are grouped so you can build a whole display one weekend at a time: graveyard builds, doorway dress-ups, window silhouettes, glowing porch projects, kid crafts, and the weatherproofing upgrades that keep outdoor builds standing through October. Most cost nothing beyond paint and glue; where money is involved, approximate costs are noted as of 2026.
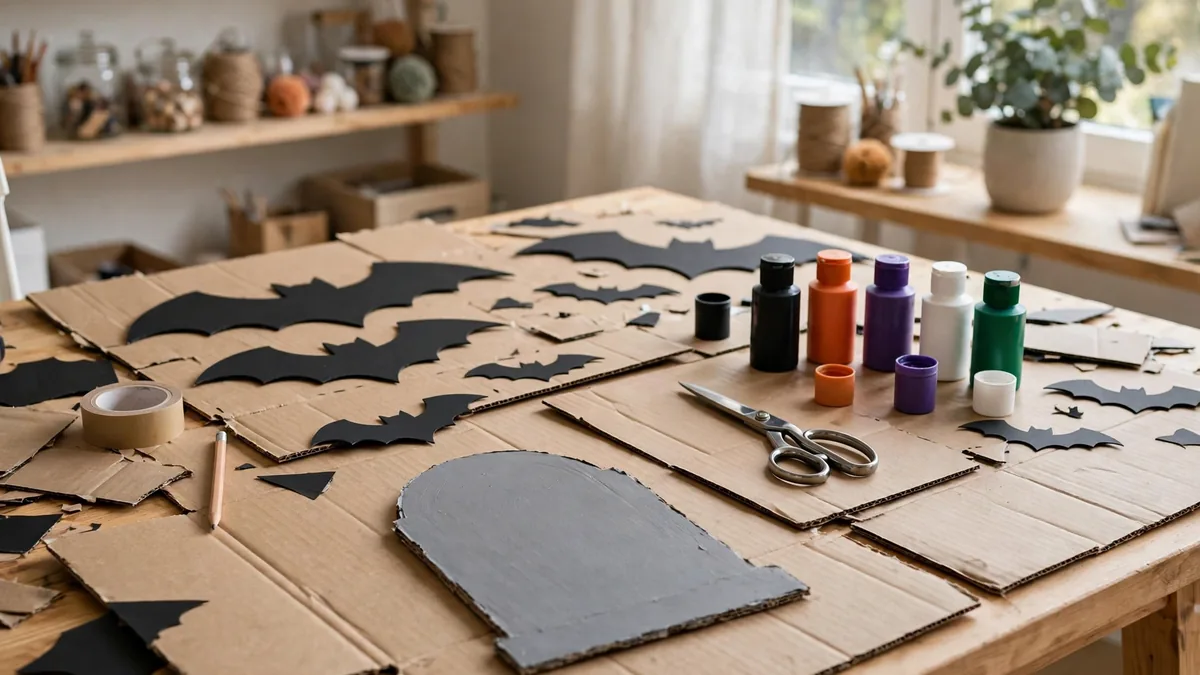
In short: Cardboard Halloween decorations are the cheapest way to get a big, spooky look this season — 15 projects from free shipping and cereal boxes, with kid-friendly steps and real weatherproofing tips so porch builds survive October weather.
Life-Size Graveyard Builds
Nothing says Halloween like a front-yard cemetery. Corrugated shipping boxes are the right material here — thick enough to stand upright and they take paint well.
1. Classic Cardboard Tombstones
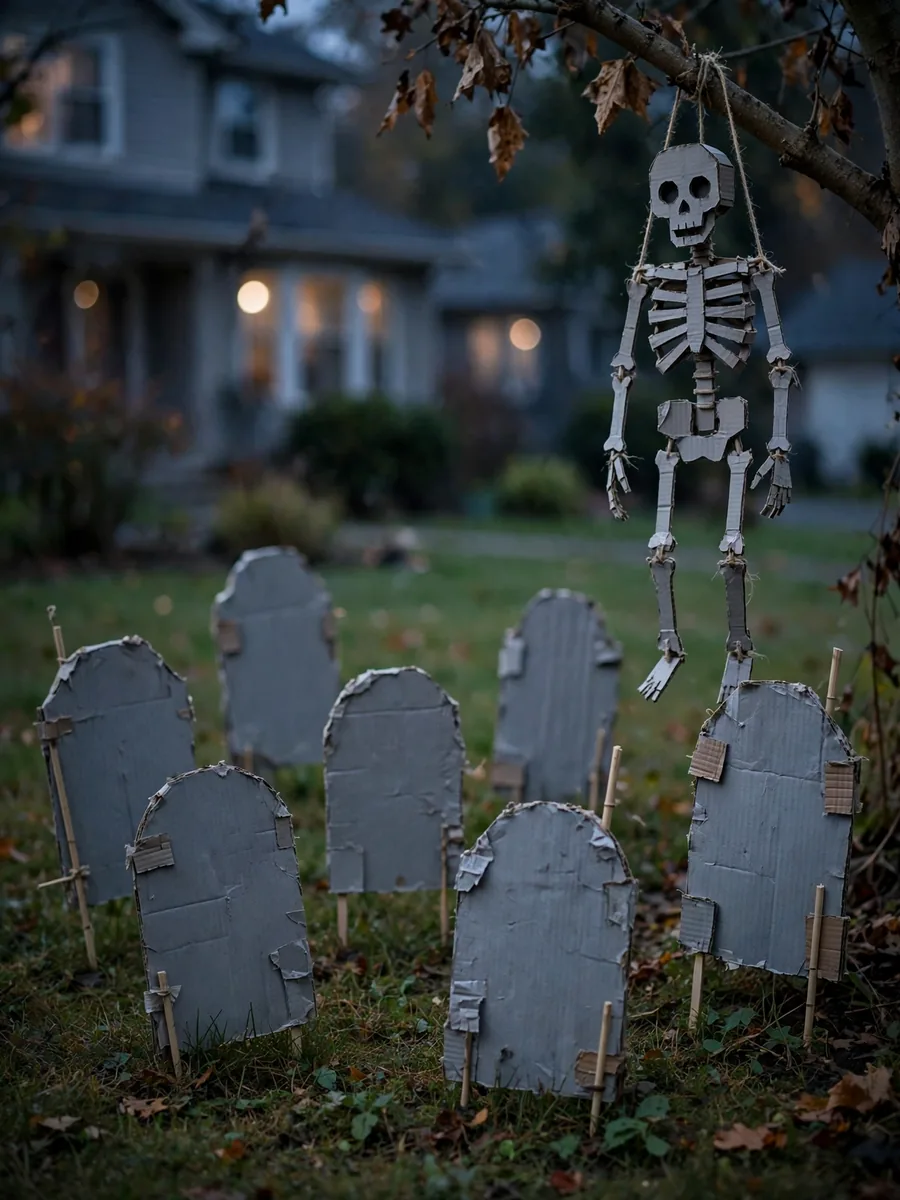
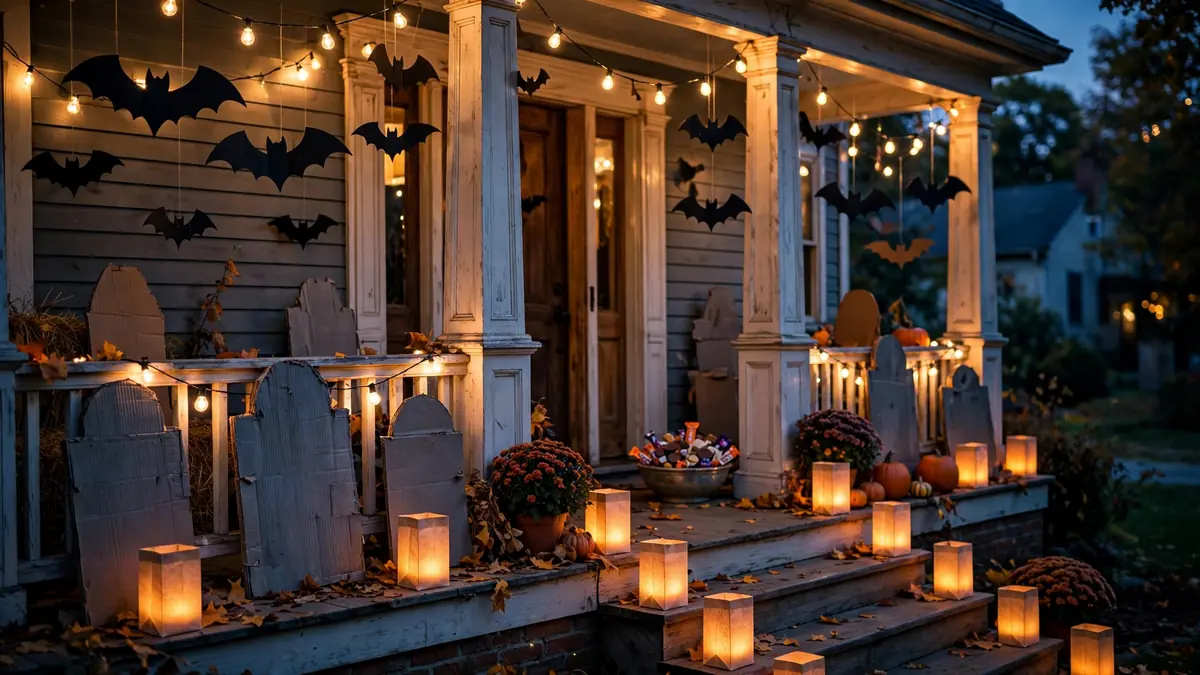
Cut tombstone shapes (rounded or pointed tops, 18–24 inches tall) from large box panels. Paint gray with black “aged” edges — a dry brush dragged lightly over the surface gives a stone texture. Add epitaphs with a marker: “RIP,” “Here Lies the Wi-Fi.” Push a yard stake or straightened wire hanger through the bottom into the ground. Cost: free if you own gray acrylic paint; a bottle runs about $1–$3 as of 2026. Seal outdoor tombstones with the packing-tape method in idea 14.
2. Jointed Skeleton Crew
Draw a simple skeleton on a flattened box — skull, ribs, arms, legs — and cut out each section. Punch a hole at each joint and connect pieces with brass paper fasteners so limbs swing. Hang two or three from porch railings or tree branches with string so they sway in the wind. Kids can do the painting while an adult handles cutting. Cost: free, plus a few cents per fastener (a pack is roughly $2–$3 as of 2026).
3. Zombie Hands Rising from the Lawn
Trace hands (kids’ hands make great templates) onto box cardboard, cut out, and paint grayish-green. Tape each hand to a short garden stake, then push into mulch beds or along the walkway so hands look like they are clawing out of the ground. Cluster three to five together for the best effect. Cost: free. Nearly indestructible in wind — a good first project with young kids.
Haunted Doorway Dress-Ups
Your front door gets more eyeballs on Halloween night than anywhere else on the house. These three projects make it the centerpiece for almost nothing.
4. Mummy-Wrapped Front Door
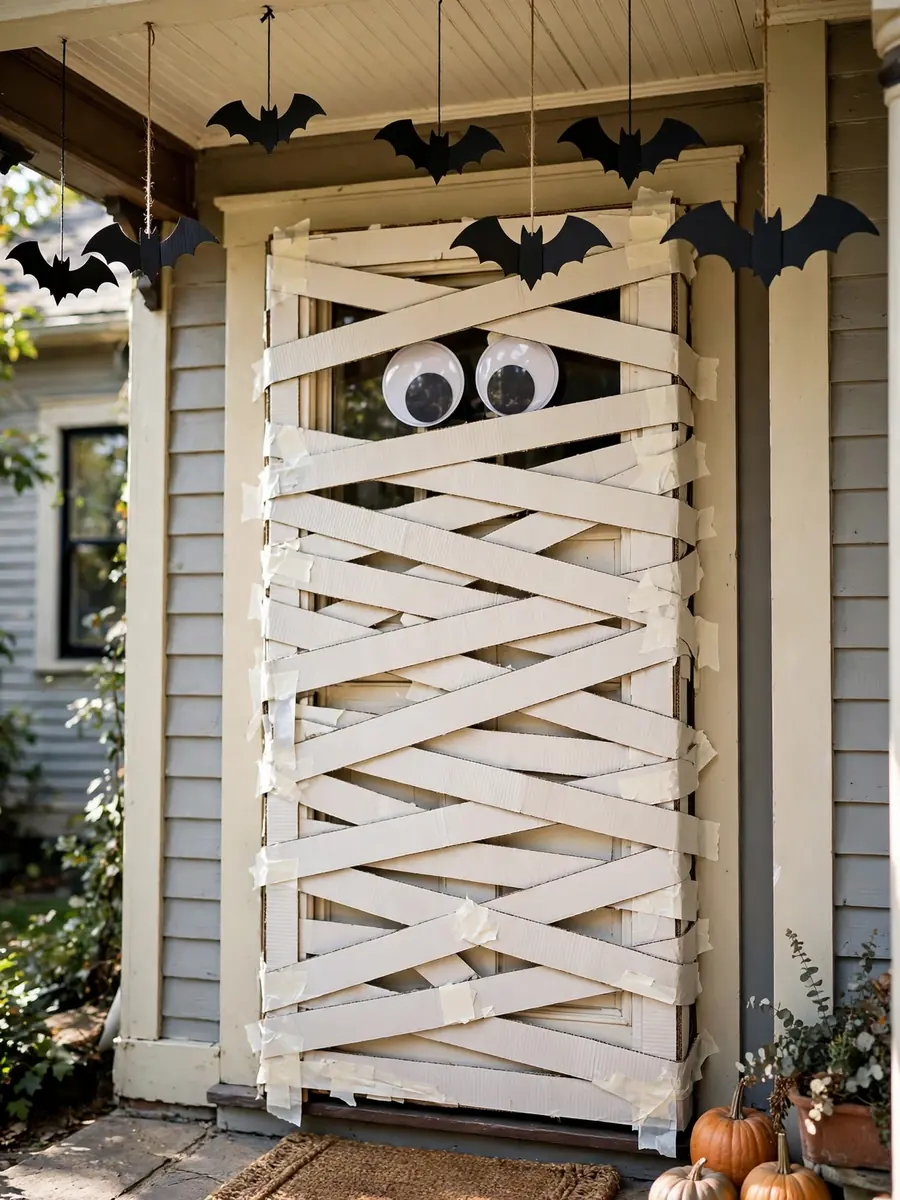
Cut long strips (3–4 inches wide) from a large box and paint off-white. Starting at the top, tape strips across the door at slight angles, overlapping like bandages — painter’s tape avoids damage to the door’s finish. Leave a gap near the top for two big googly eyes (or paint eyes on a cardboard oval). Cost: free, plus googly eyes at about $2–$3 per pack as of 2026. Take it down within a few days so tape does not bake onto the paint.
5. Stand-Up Coffin Frame
A wardrobe or appliance box makes a perfect coffin. Cut one wide panel into a coffin shape — wide at the shoulders, narrow at the feet — about 4–5 feet tall. Paint dark brown or black, prop the “lid” slightly ajar, and lean it beside your door or stake it in the yard. A white-painted cardboard hand draped over the edge sells the effect. Cost: free. Safety note: an adult should handle the box cutter — long cuts through thick corrugated board need firm control.
6. Fluttering Bat Swarm
Cut simple bat shapes (oval body, scalloped wings) from cereal boxes or thin box flaps — thin cardboard flutters better. Paint both sides black, punch a hole, thread fishing line through, and hang a dozen from your porch ceiling or a tree branch at different heights. Even a light breeze makes them twist and flap. Cost: free. Hand this one to kids with safety scissors instead of craft knives.
Window & Wall Silhouettes
Black-painted cardboard silhouettes are the highest-impact, lowest-effort Halloween decor there is. From the street they read as store-bought; up close they are just painted boxes.
7. Black Cat Window Silhouette
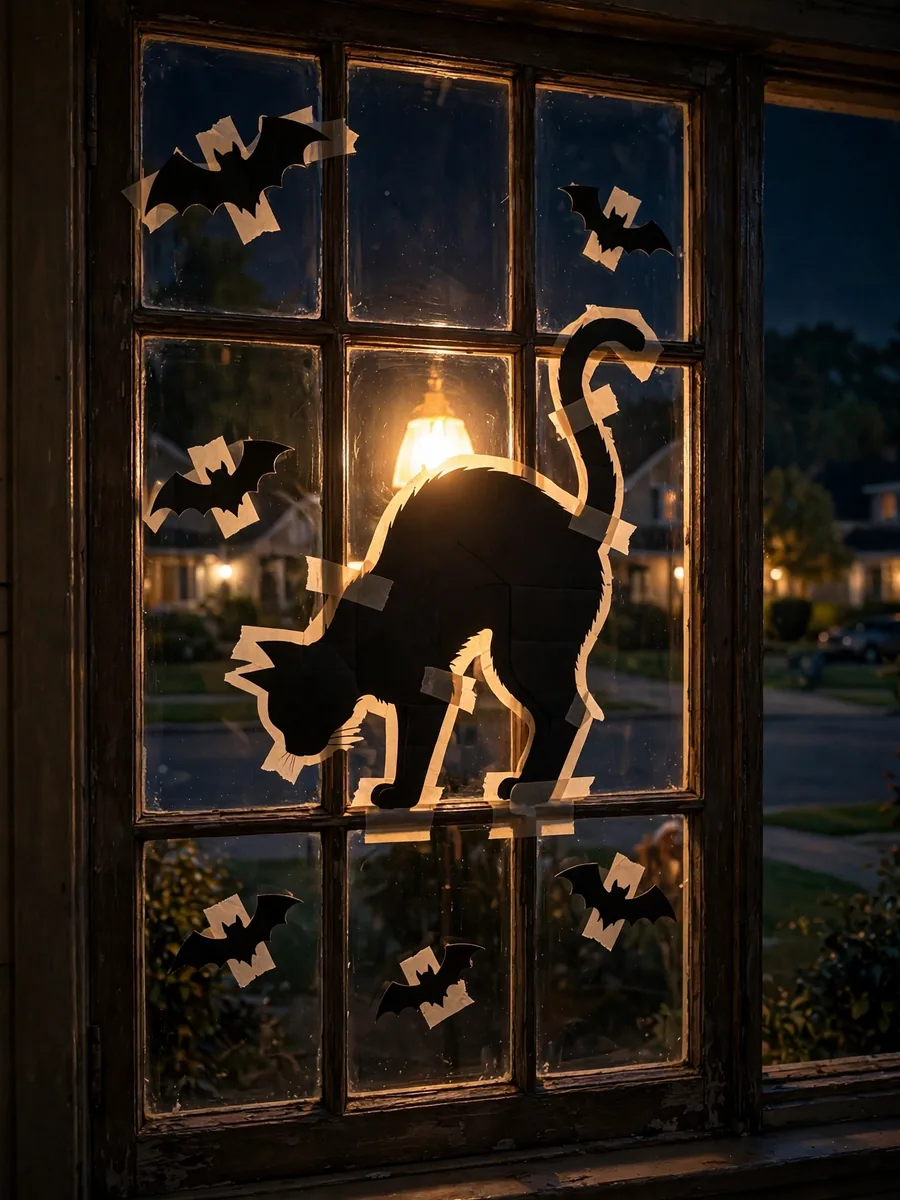
Draw an arched-back cat with curled tail on a large box panel — simple, bold, about 2 feet tall. Paint solid black on both sides and tape inside a front window facing the street. At night your indoor lights turn it into a glowing silhouette. Cost: free. For more window ideas, pair these with our indoor Halloween decor ideas roundup.
8. Witch Trio Wall Display
Cut three witch silhouettes — pointed hat, flowing cloak — in descending sizes. Paint black and mount on an exterior wall or garage door with removable outdoor mounting strips so they look like they are flying in formation. Slight tilts make them appear to swoop. Cost: free, plus mounting strips at roughly $4–$6 per pack as of 2026. Check the strips’ weight rating — layered cardboard gets heavy.
9. Jack-o’-Lantern Walkway Row
Cut pumpkin shapes from box cardboard, paint orange, and cut out triangle eyes and jagged mouths. Mount each on a yard stake and line your walkway with five to seven. They will not rot, squirrels will not smash them, and they store flat for next year. Cost: free. They mix well with real carved pumpkins — see our DIY outdoor Halloween decorations for porch layouts that blend homemade and store-bought pieces.
Glowing Porch Projects
Light makes cardboard look expensive. These builds use cut-out designs backed with LED lights for a warm Halloween glow — with one non-negotiable safety rule.
10. Cardboard Luminaries
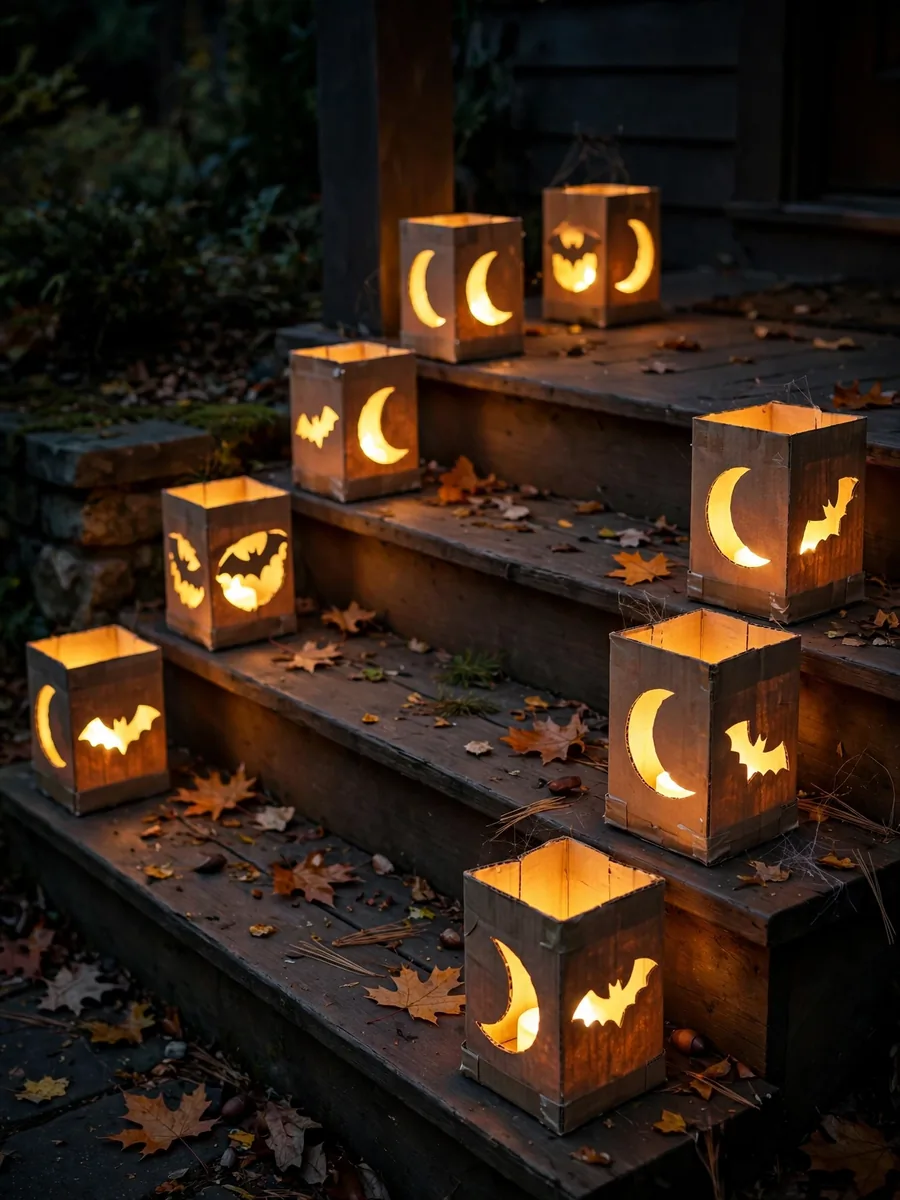
Cut the front panel out of small boxes (shoebox size works), leaving a 1-inch frame. Cut Halloween shapes — moons, stars, bats — into the remaining sides. Set a battery-operated LED tea light inside each and line them along porch steps or the walkway. Cost: free for boxes; LED tea lights run about $5–$8 per multi-pack as of 2026. Safety: LED lights only — never real candles. Cardboard and open flame are a dangerous combination.
11. Haunted House Light Box
Cut a haunted-house scene into one large panel of a medium shipping box: crooked windows, jagged roofline, dead tree. Tape white tissue paper behind the cut-outs to diffuse the light, then set a strand of LED fairy lights inside. Place on a porch table or in a front window. Cost: free, plus LED fairy lights at roughly $5–$10 per strand as of 2026. The tissue diffuser is what makes it glow softly instead of showing harsh bulb dots.
Kid-Friendly Cardboard Crafts
Cereal boxes are thinner and easier for small hands to cut than shipping boxes — the right material for projects kids build mostly themselves.
12. Cereal-Box Monster Masks
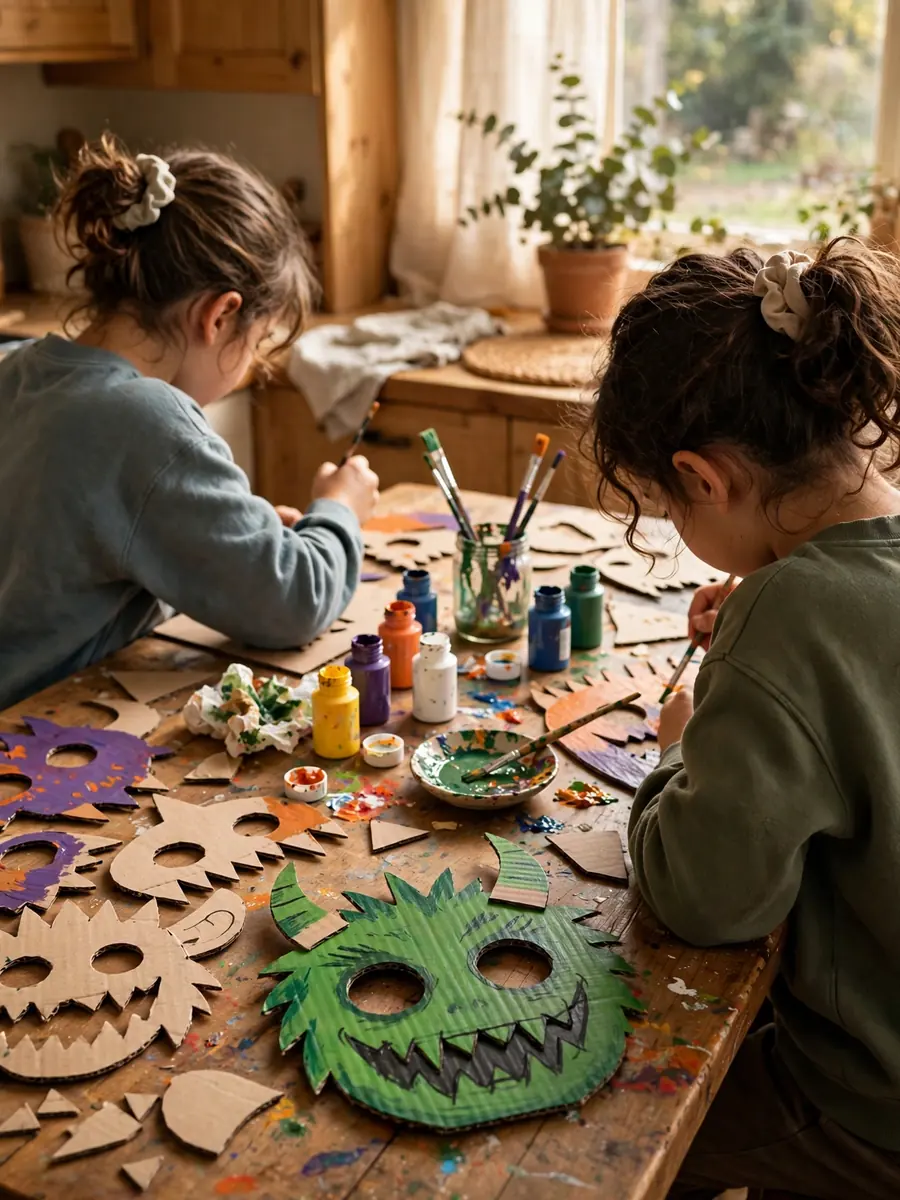
Cut an oval face shape from a cereal box front, sized to a child’s face. Cut eye holes (an adult should do this part), then let kids decorate: green paint, glued-on cardboard horns and fangs, yarn hair. Punch side holes and tie elastic to wear it. Cost: free. Safety note: smooth rough edges with a strip of masking tape anywhere the mask touches skin.
13. Decorated Candy Totes
Cut down a small sturdy box, then cut a handle from a cardboard strip and attach it with staples plus glue. Kids decorate with paint, stickers, or glued-on shapes. These hold more candy than a paper bag and survive being dragged up porch steps. Cost: free. Make the handle extra strong — a full tote gets heavy, and hot glue alone may not hold. Adult supervision recommended for the glue gun.
Porch-Proofing & Durability Upgrades
These last two are not decorations — they are why your decorations still look good on October 31st instead of dissolving after the first rain.
14. The Packing-Tape Weatherproof
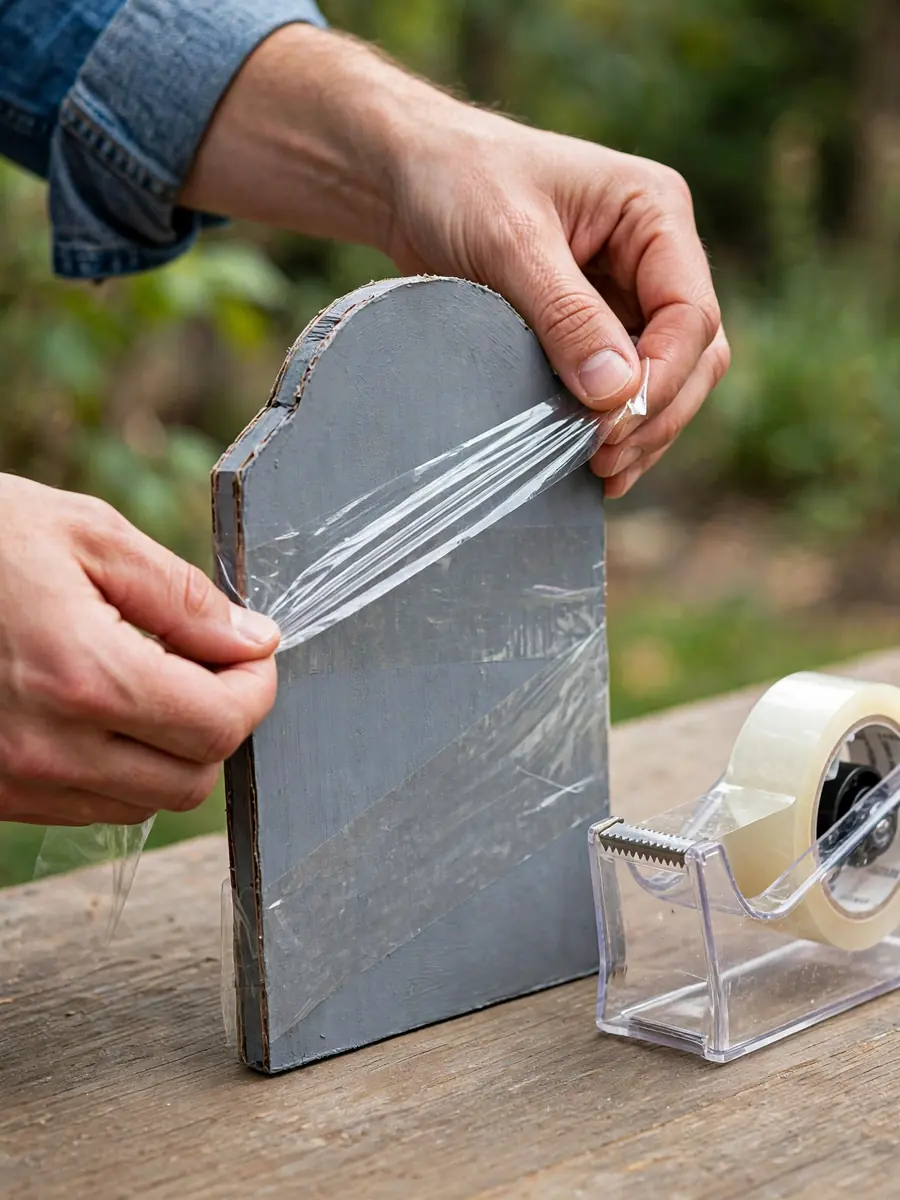
Wrap finished outdoor builds in clear packing tape, overlapping strips like shingles so water runs off. It is invisible from a few feet away and keeps light rain and dew from soaking the cardboard. Cover bottom edges and anywhere the build touches the ground. Cost: about $3–$5 per roll as of 2026; one roll covers several tombstones. Elevate builds on bricks or stakes — standing water kills cardboard faster than rain.
15. The Two-Coat Paint Seal
Paint is itself a weather barrier. Give outdoor builds two full coats of acrylic craft paint (letting the first dry completely) instead of one, and finish with clear water-based polyurethane if the piece lives outside all month — a small can runs roughly $6–$9 as of 2026. That will not make cardboard immortal, but many people find their builds easily survive a full October of normal weather. For the worst storms, bring pieces under cover overnight.
Frequently Asked Questions
Will cardboard decorations survive rain?
Light rain and dew, yes — if you weatherproof with the packing-tape wrap (idea 14) or the two-coat paint seal (idea 15) and keep builds off standing water. In heavy storms, bring them onto a covered porch or into the garage overnight. No weatherproofing makes cardboard truly waterproof, so plan a quick rescue rather than a permanent installation.
What kind of cardboard works best?
Corrugated shipping boxes suit anything structural — tombstones, coffins, light boxes — because the fluted layer makes them stiff. Thinner cereal-box cardboard is better for details: bats, masks, anything kids cut themselves. Avoid wax-coated produce boxes; paint and glue do not stick to them well.
How do I keep cardboard tombstones from blowing over?
Drive a yard stake or straightened wire hanger through the bottom of the tombstone and at least 6 inches into the ground. On hard surfaces like a porch, glue the tombstone to a flat cardboard base and weigh it down with a brick or sandbag hidden behind it.
Is hot glue safe for kids?
Low-temp glue guns are generally manageable for older kids (around 10 and up) with an adult nearby, but standard high-temp guns can cause real burns and should be adult-only. For younger kids, white craft glue works fine on cardboard — it just needs longer to dry, so plan the project across an afternoon.
Can I use real candles in cardboard luminaries?
No — never put an open flame inside or near cardboard. Battery LED tea lights and fairy light strands give the same warm glow with zero fire risk, and multi-packs run about $5–$8 as of 2026. This applies to every glowing decoration in this roundup.
Where can I get free cardboard?
Save your own shipping boxes first — October deliveries add up fast. Beyond that, many people find grocery and liquor stores happy to give away broken-down boxes if you ask at customer service early in the day. Appliance and furniture stores are the best source for the huge panels that tombstones and coffins need.
Conclusion
Fifteen decorations, and the priciest item on the list is a strand of LED lights. Cardboard Halloween decorations work because Halloween is the one holiday where rough edges and handmade charm are the whole aesthetic — nobody expects a tombstone to look store-bought.
Start with one section this weekend: tombstones for the yard, silhouettes for the windows, or luminaries for the steps. Weatherproof anything that lives outside, keep the craft-knife work for adults, and let the kids own the painting. For the rest of your display, our DIY outdoor Halloween decorations roundup has porch layouts to mix these builds into, and indoor Halloween decor ideas covers what to do once guests come inside.
Pin your favorite build, save those shipping boxes, and have a spooky — and nearly free — Halloween.

Thiago Alexander is the Chief Editor at Nested Charm. With a deep passion for interior design and cozy living spaces, he leads the editorial team in crafting stories that make every house feel like a home.


